


The images in a web page make the page much more attractive, descriptive, and help improve user experience. In this web development tutorial, we will talk about how to work with images in HTML, and, specifically, background images, inline images, image insertion paths, and the most important attributes of the HTML tag. We will also discuss best practices and modern approaches to using the
tag, using clear examples for a better understanding.
Read: Project Management Tools for Web Developers
HTML img Tag Attributes
The most commonly used image attributes for the HTML tag are:
The alt and src Attributes in HTML
The tag does not have a closing tag and is used to add one or more images to a web page. It has the required attributes
tag is used to indicate alternative text for the image. Basically, this attribute defines an alternative descriptive text for the image used in the web page. Here is an example showing how to use the HTML
tag, alongside the
<!DOCTYPE html>
<html>
    <head>
        <style>
            * {
                box-sizing: border-box;
            }
            .imgs {
                float: left;
                width: 33.33%;
                padding: 5px;
            }
            .box::after {
                content: "";
                clear: both;
                display: table;
            }
        </style>
    </head>
    <body>
        <h2>Example for using IMG tag and its attributes. </h2>
        <div class="box">
            <div class="imgs">
                <img src="https://mcdn.wallpapersafari.com/medium/55/46/BSVKjt.jpg" alt="Path to island" style="width: 240px; height: 180px;" />
            </div>
            <div class="imgs">
                <img src="https://cdn.wallpapersafari.com/21/66/KM51tL.jpg" alt="Settlements on the island" style="width: 240px; height: 180px;" />
            </div>
            <div class="imgs">
                <img src="https://mcdn.wallpapersafari.com/medium/36/20/1QrXdE.jpg" alt="The island with palm trees" style="width: 240px; height: 180px;" />
            </div>
        </div>
        <p>In this example I used the absolute source attribute and the ALT attribute to describe details related to the images used. </p>
    </body>
</html>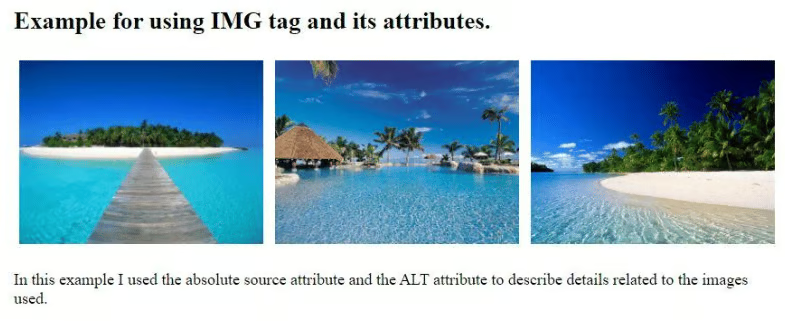
To use the relative path, we will link to the example above, showing you only the lines you can use to change the path. Therefore:
<div class="imgs">
    <img src="/images/BSVKjt.jpg" alt="Path to island" style="width: 240px; height: 180px;" />
</div>
<div class="imgs">
    <img src="/images/KM51tL.jpg" alt="Settlements on the island" style="width: 240px; height: 180px;" />
</div>
<div class="imgs">
    <img src="/images.jpg" alt="The island with palm trees" style="width: 240px; height: 180px;" />
</div>
Read: Some of the Coolest, Lesser Known HTML Tags
The height and width Attributes in HTML
We will now learn how to use the tag with a conclusive example. These attributes are used to specify the width and height of an image, the values of the attributes being specified in pixels, so you can resize the image up or down within the web page.
<!DOCTYPE html>
<html>
    <head>
        <style>
            * {
                box-sizing: border-box;
            }
            div.imgs {
                border: 1px solid #ccc;
            }
            div.imgs:hover {
                border: 1px solid #777;
            }
            div.imgs img {
                width: 300px;
                height: 200px;
            }
            div.desc {
                padding: 12px;
                text-align: center;
            }
            .resp {
                padding: 0 6px;
                float: left;
            }
            .box:after {
                content: "";
                display: table;
                clear: both;
            }
        </style>
    </head>
    <body>
        <h2>Example with height and width attributes</h2>
        <div class="resp">
            <div class="imgs">
                <img src="https://mcdn.wallpapersafari.com/medium/38/12/zCZG93.jpg" alt="Mountain" width="500" height="400" />
                <div class="desc">Panoramic image of the mountain</div>
            </div>
        </div>
        <div class="resp">
            <div class="imgs">
                <img src="https://mcdn.wallpapersafari.com/medium/74/93/ltEYqO.jpg" alt="Mountain" width="500" height="400" />
                <div class="desc">Panoramic image of the mountain</div>
            </div>
            <div class="box"></div>
        </div>
    </body>
</html>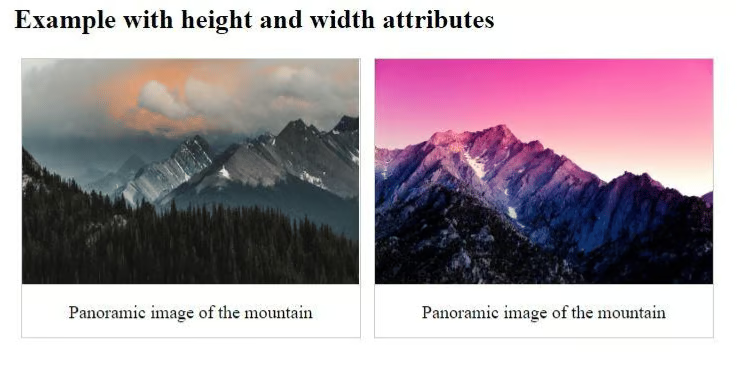
In the example HTML code above, we stylized the images a bit, framing them in a square that has a border. We further used the hover selector so that when you hover your mouse over the image you can select the chosen item.
Read: HTML Formatting Tags
How to Insert GIFs in HTML
HTML also allows web developers to use animated gifs. Here is an example showing how to insert a GIF in HTML:
<!DOCTYPE html>
<html>
    <body>
        <h2>Example of using animated image</h2>
        <img src="https://mir-s3-cdn-cf.behance.net/project_modules/1400_opt_1/9e5e3257490547.59d79d39ec3e2.gif" alt="Girl with dog walking" style="width: 580px; height: 280px;" />
        <p>If you run this example in an HTML editor, you will see the efect!</p>
    </body>
</html>
How to Insert a Background Image in HTML
HTML also allows web developers to set a background image on the web page, using the background image property. Here is an example:
<!DOCTYPE html>
<html>
    <head>
        <style>
            body {
                background-image: url("https://cdn.wallpapersafari.com/72/33/EYpnXG.jpg");
                background-repeat: no-repeat;
                background-attachment: fixed;
                background-size: 100% 70%;
            }
            p {
                color: white;
            }
        </style>
    </head>
    <body>
        <h2>Background image on a page</h2>
        <p>To set a wallpaper, use the background-image property, indicating the path, and the background-size property, to set the size of this wallpaper.</p>
    </body>
</html>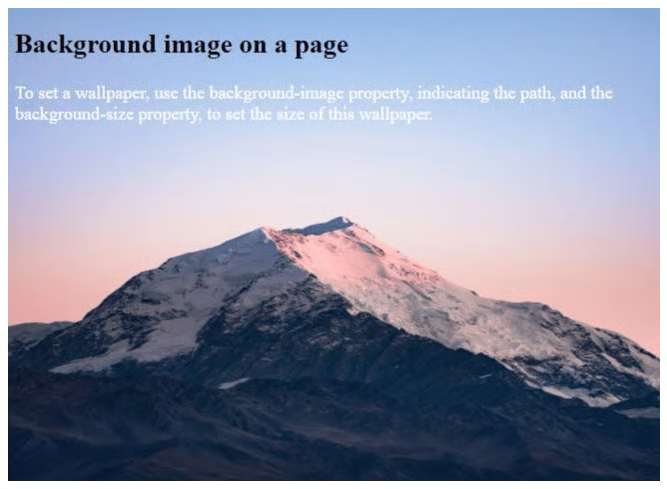
How to Use the HTML picture Element
Next, we will use the HTML
<!DOCTYPE html>
<html>
<head>
<meta name="viewport" content="width=device-width, initial-scale=-1.0" />
</head>
<body>
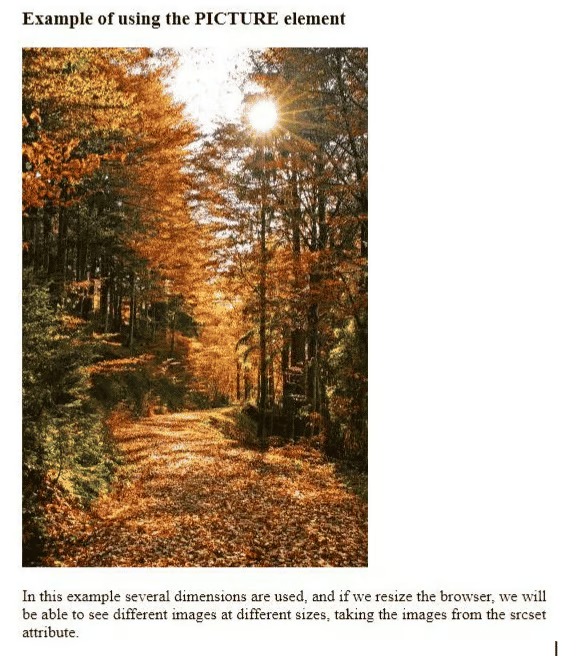
<h3>Example of using the PICTURE element</h3>
<picture>
<source media="(min-width: 550px)" srcset="https://mcdn.wallpapersafari.com/medium/6/4/MEFWNa.jpg" />
<source media="(min-width: 450px)" srcset="https://mcdn.wallpapersafari.com/medium/29/37/R6rh3E.jpg" />
<img src="https://mcdn.wallpapersafari.com/medium/29/37/R6rh3E.jpg" style="width: auto;" />
</picture>
<p>In this example several dimensions are used, and if we resize the browser, we will be able to see different images at different sizes, taking the images from the srcset attribute. </p>
</body>
</html>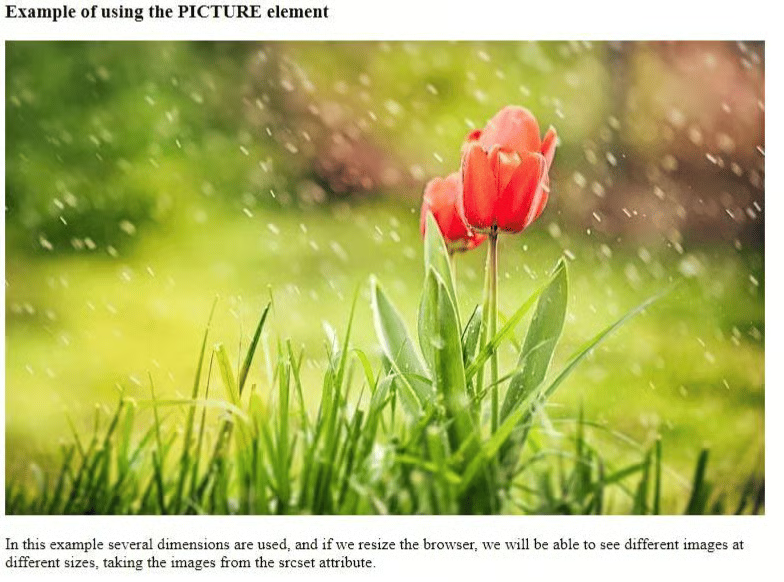
And after we resized browser
Read: How to use the HTML a Tag
Final Thoughts on Working with HTML Images
HTML images are an effective way to provide non-textual information, to improve user experience, and, last but not least, to improve the visual appeal of developed web pages. We hope this web development tutorial helps you understand how the HTML tag works with its attributes, so you can use it in all your future web design projects.
Read more HTML web development tutorials and web design guides.
