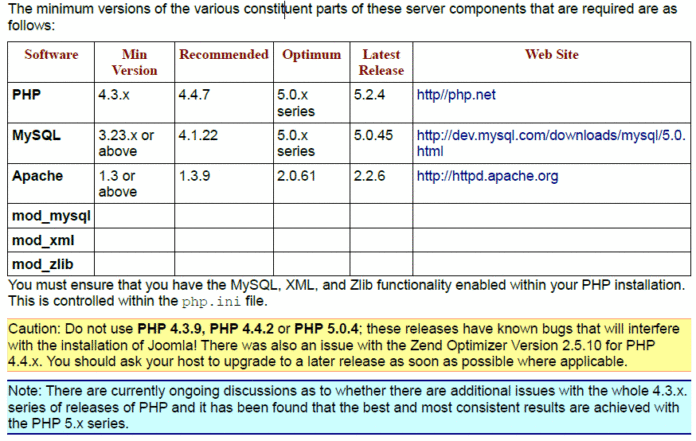
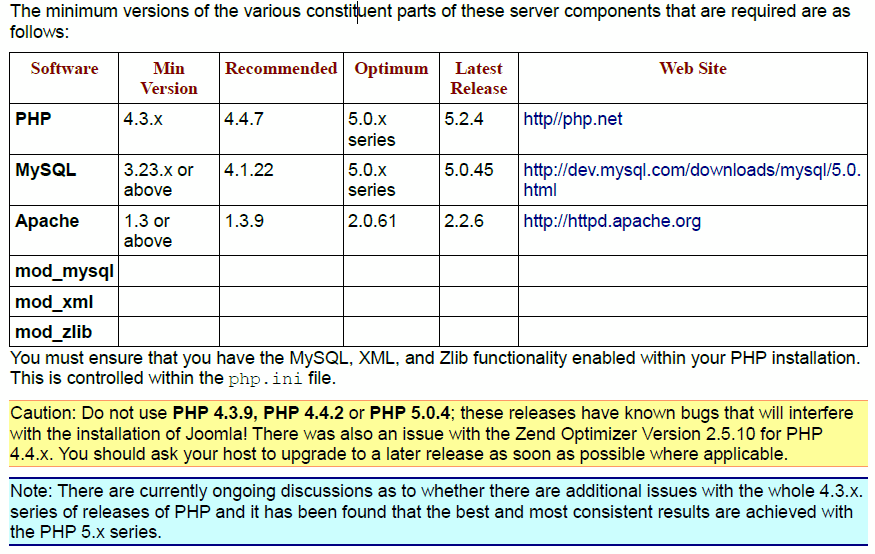
In this article you’ll learn how to install Joomla!. At the beginning of this series, we looked at the minimum system requirements to install Joomla! For reference, I’ve included that information again.
To install Joomla!, you have two choices, by web browser or by FTP. I’ve decided to choose the FTP route. I created my first installation of Joomla! using an automated interface in GoDaddy. Since I know that GoDaddy supports Joomla!, I’ll be using it again for the manual installation.
Before we get started, you need to download Joomla! by going to the main page, and clicking on the orange download button to download Joomla 1.6. Another option is to go to the download page directly.
You’ll also need to download the installation manual:
I chose to download the ZIP file. Before you can install it, you need to unzip the file. Before you do that, create a directory first, then extract Joomla! there. If you don’t and you extract Joomla! into a directory where there are other files, it will create a real mess, because the Joomla! zip file doesn’t automatically create a folder when it’s extracting the files.
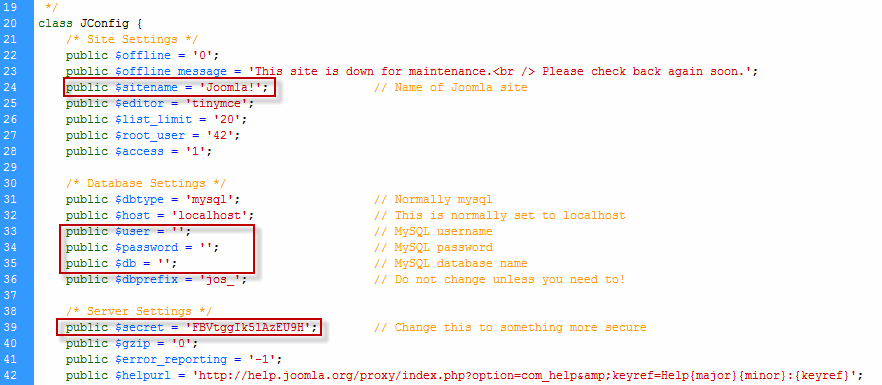
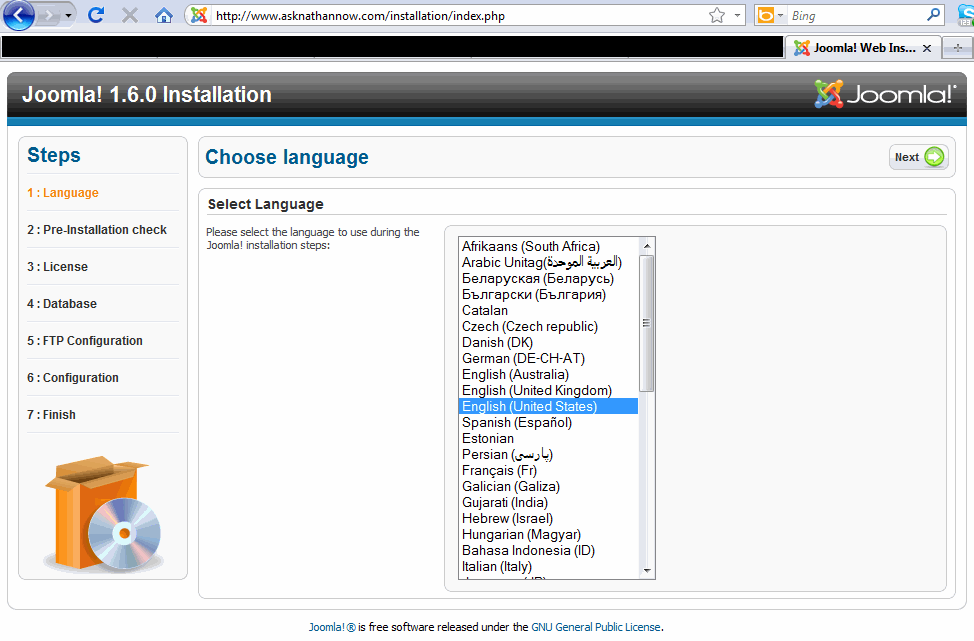
In the course of installing Joomla!, the manual confused me, partly because it asks for a lot of settings in step one (see the illustration above) and some of those are for the database, which they want you to install later. This doesn’t make any sense at all. In my experience, you need to install the database first so you’ll have the settings available so you can set the configuration before you upload the software.
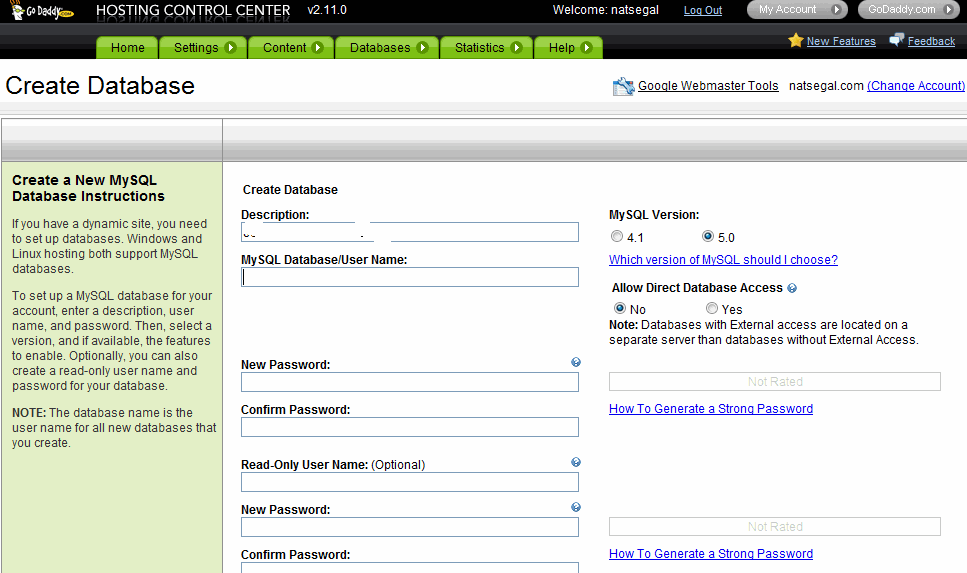
I logged into GoDaddy to set up the Database
To set up the user name you can only use letters and numbers. For the Database Password, you can use a variety of characters, numbers and special characters with some exceptions. This will vary with different hosting providers. When you create a database, it takes about five minutes to build it, after which you’ll be ready to configure and upload Joomla!.
Before you install Joomla! there are several steps to observe. Go the directory where you’ve unzipped Joomla! and once you’re there, go to the Intallation directory and locate the configuration.php-dist file. Rename it to configuration.php, then edit the file in your HTML editor of choice.
Now you’re ready to upload the files. In my case I have an FTP connection in place and I had a domain and directory set up, I decided to use that. Once Joomla! had finished installing, I typed in the name of my site and the directory (http://www.asknathannow.com/asknathannow/). This took me to the following URL:
http://www.asknathannow.com/installation/index.php
Here are the results of the installation so far. Now, I’ll need to proceed with the rest of the installation to set up Joomla!.
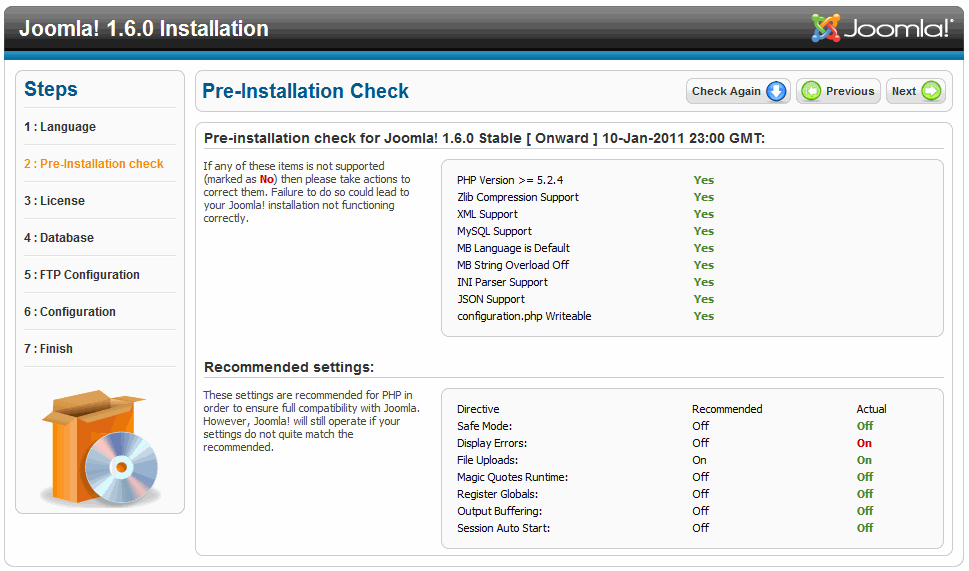
This is the pre-installation check for Joomla!.
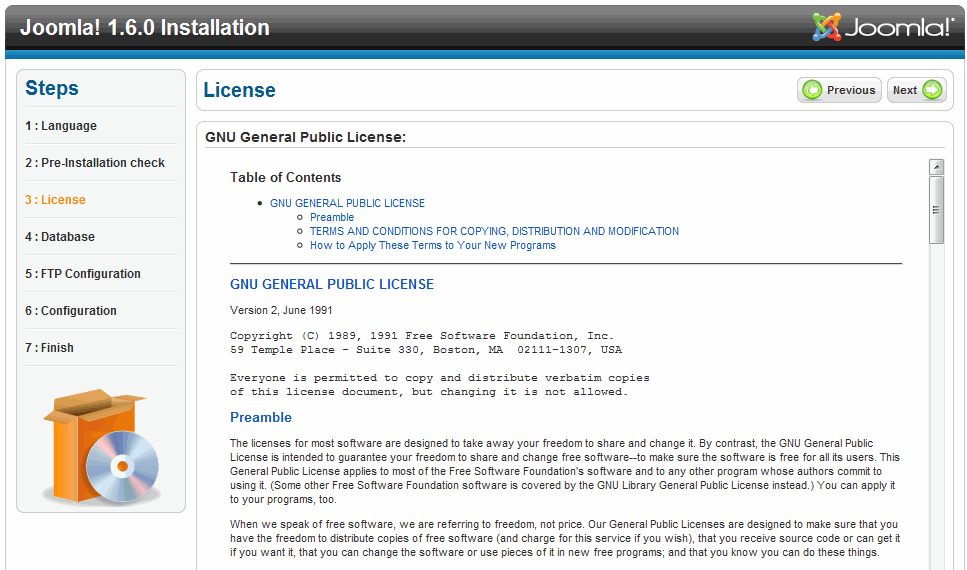
This is where you view the license for Joomla!. Click on Next to continue.
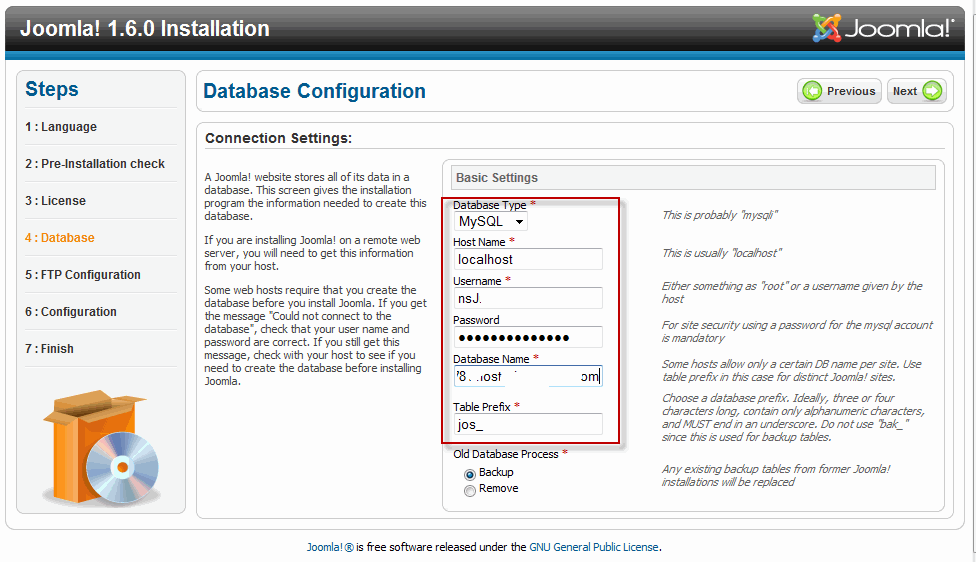
This is where you enter in all the database settings. It’s really easy to screw up here, so if you have any issues, contact your hosting provider to help you with the installation. As a case in point I made one installation mistake that prevented this step from working. It was a simple thing, instead of the letter, “j,” I had “J.” That stopped the entire process in its tracks. Once I fixed that everything fell into place.
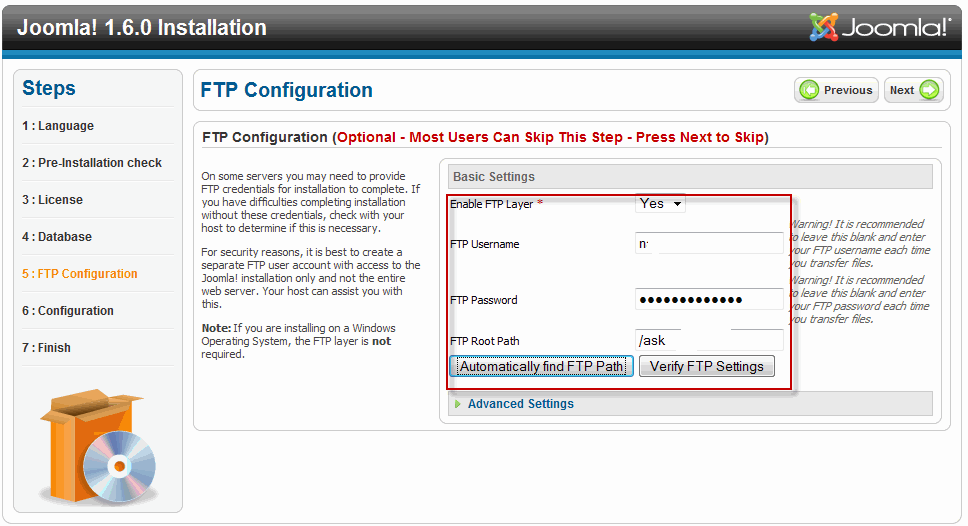
In this area you set up your FTP. As with the other settings, this varies between hosting companies, so if you have any issues, get a hosting rep on the phone.
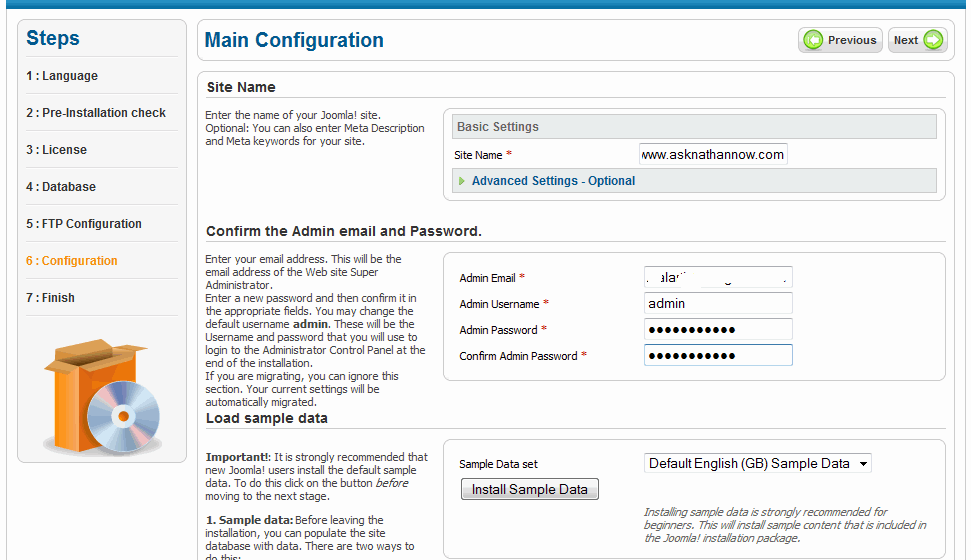
The configurations for your site. Make sure you enter your domain name, an email address and a strong password.
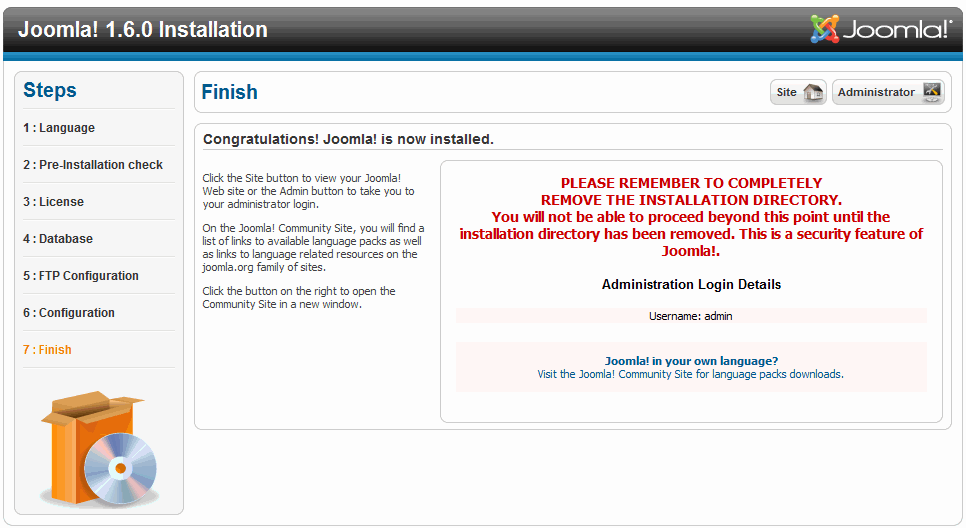
Your site has now been installed. As noted, you need to completely remove the installation directory or you won’t be allowed to proceed. I removed that directory and I logged into the Administrator.
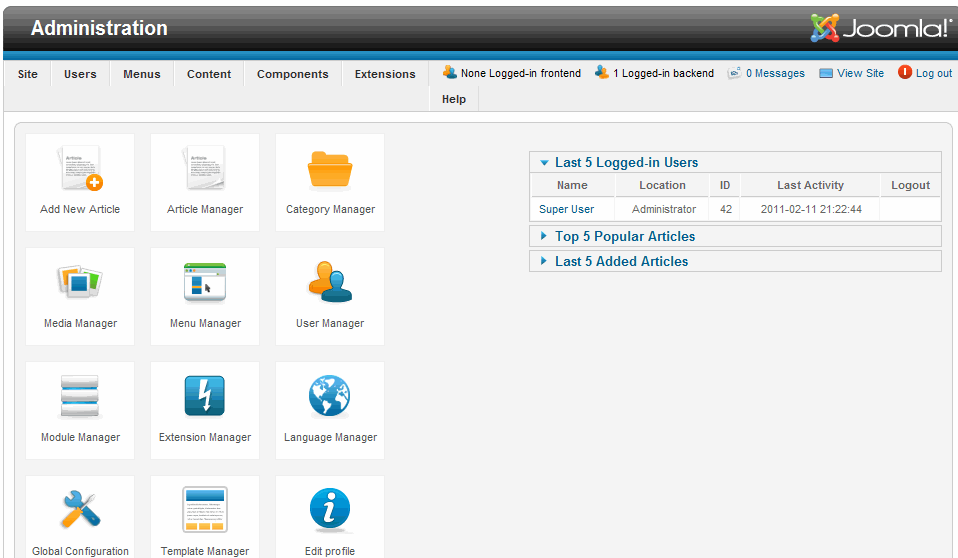
This is the Administrator (backend) of the Joomla 1.6 installation.
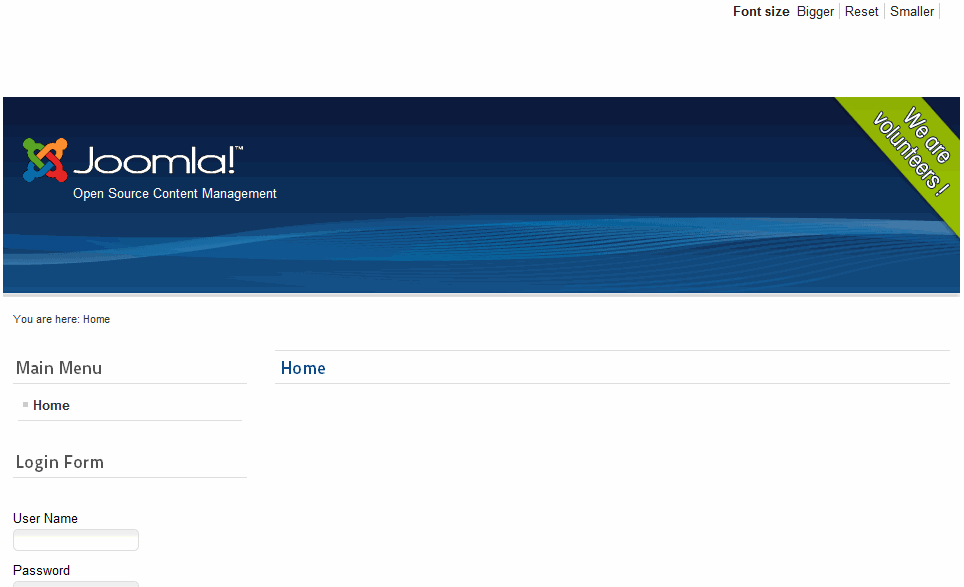
And this is the frontend of the newly installed site. Now you’re ready to start building your site.
This concludes our article on how to do a manual installation of Joomla! 1.6.


