In this article we’ll look at some social media extensions for Joomla!. The first one we’ll look at is a Facebook “Like” extension, which allows you to to display a Facebook Like Box on your Jooma! site. As with all extensions, go the the Joomla! Extensions directory.
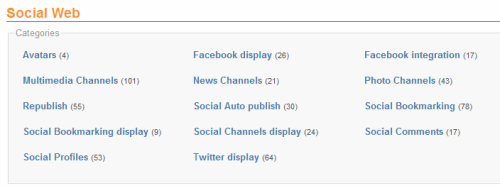
To find the facebook extension, I decided to find it using Categories and I clicked on the Social Web heading, which brought up the options above. From there, I clicked on the Facebook display link. On the next page, after looking at all the options, I decided to use the ITPFacebookLikeBox extension.
Installing this module was a breeze. Simply log into adminstrator, go to Extensions: Install/Uninstall, browse for the file and when you find it, click on the Upload File & Install button. This should only take a few seconds.
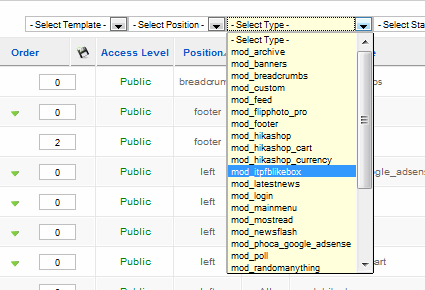
Now it’s time to configure the module. Go to Extensions: Module Manager. To find the module that was just installed, go to the Select Type drop down list and look for mod_itpfblikebox.
That brings up the module right away. Click on it to open the Module [Edit] page. Now it’s time to enter the settings. One caveat, you must have a fan page created in facebook. If you don’t this module won’t work.
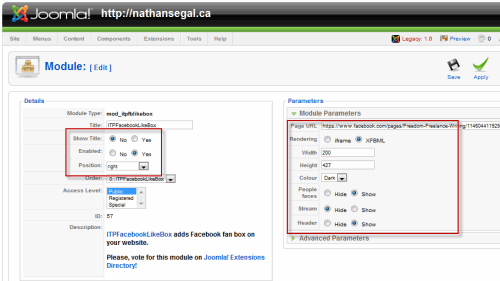
Here are the settings:
Show Title: No
Enabled: Yes
Position: Right
Page URL: Your facebook page URL
Rendering: XMBFL
Width: 200
Height: 427
Color: Light
People faces: Show
Stream: Hide
Header: Show
Save your settings.
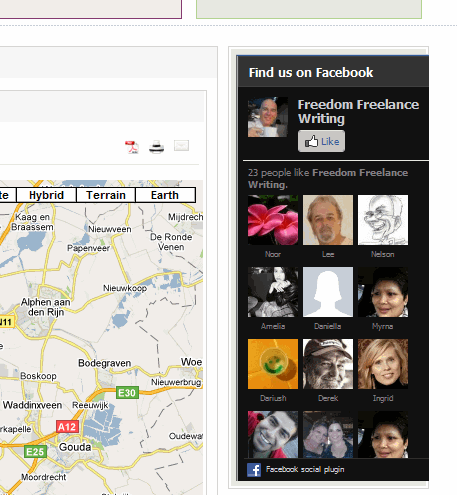
Refresh the frontend. Note that you’ll have to play around with the settings to get your facebook page to display properly. The number one thing I had to work with was the width, which I had to reduce from the default figure of 250. Overall, this is a great extension, virtually problem-free. I highly recommend it.
In this next section we’ll look for a social media extension that will display sharing buttons on your web page. The place to find them is on the Social Web page http://extensions.joomla.org/extensions/social-web. Drilling down into that list, I clicked on Social Bookmarking and found the ITPSocial Buttons extension.
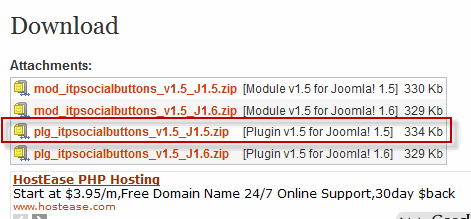
Note that when you go do the download section at the bottom of the page, you have two options, the module or the plugin. I recommend downloading the plugin, because it offers far more functionality than the module.
To install it, log into administrator and go to Extensions: Install/Uninstall. On the next page, browse for the extension and when you find it, click on the Upload File & Intall button.
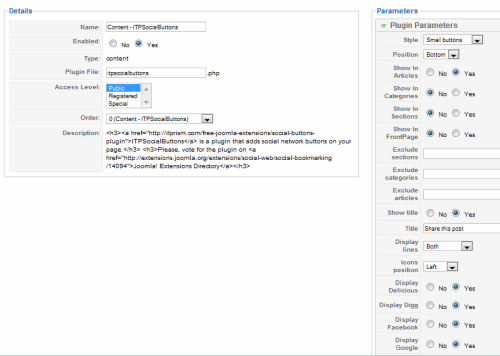
Now you’re ready to configure the plugin. Go to Extensions: Plugin Manager. On the Plugin Manager page, find the plugin by typing itp in the Filter parameters box and click on Go. When the Content – ITPSocialButtons heading comes up. click on it to open it.
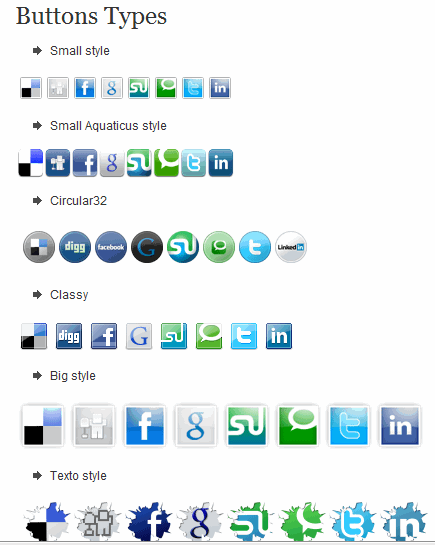
Now you have accesss to a wide variety of settings. Most of these concern the button types and there are thirteen different types and sizes. There are also three positions for the placement of the buttons in your articles: Top, bottom and both. I’ve chosen the bottom setting.
For the purposes of this article, I’ve enabled the plugin so it will only show the social media buttons in articles, but there are three more options: Show in categories, Show in sections and Show in frontpage. As for the buttons, there are eight options, all of which are enabled. These are: Delicious, Digg, Facebook, Google, LinkedIn, StumbleUpon, Technorati and Twitter. I’ve also decided to use small buttons because I find some of the others to be a bit too large.
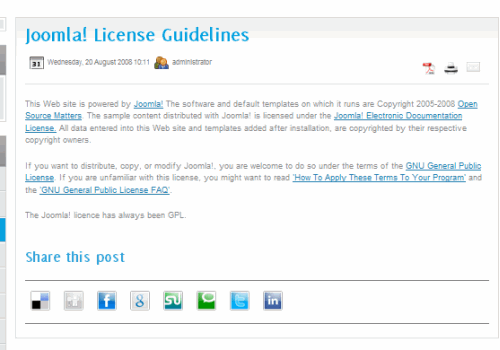
Here’s what it looks like on the frontend in an article.
Like the first extension, installing the ITPSocial Buttons extension was a simple process. All I had to do was enable the plugin, change a few settings and it worked perfectly, right away.
Still, it took quite awhile to find this particular extension. I tested out several other extensions only to find that many of them didn’t do the job. And this last bit is important to realize. Sometimes an extension will do exactly what you want, but in my experience so far, it’s necessary to test several to find what you want. Unfortunately, this can also be quite time-consuming.


