
In this article we pick up from where we left off in the last one and continue to customize our Joomla! template. In this section I want to customize the FlipPhoto Pro extension by adding some of my own images.
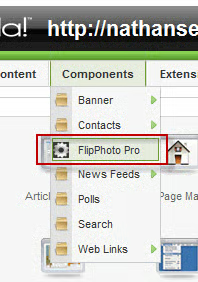
First off, log into the Joomla! Administrator. Next, go to Components: FlipPhoto Pro.
On the FlipPhoto Pro page, click on the Sample Data heading. This takes you to the Flip Photo Pro area where you can adjust the configuration, upload images and manage images. Note that there are four images under the Manage Images tab. One has been disabled and each is named: Rotate1, rotate2, etc. I’m going to add two more images to the queue from my stock files.
In the previous article, you may recall that the size of the frame (and images) was 960×260 pixels. I’m going to maintain that size with my images, even though the height and width is a little smaller (938×255 pixels) in my template. This is to maintain consistency with the original images.

To work with my images, I’m going to use Photoshop. Several months ago I created a series of stock photography images, several of which are perfect for the rotating showcase. I decided to use two of them for the rotating banner. Here’s a sample photo from that series.
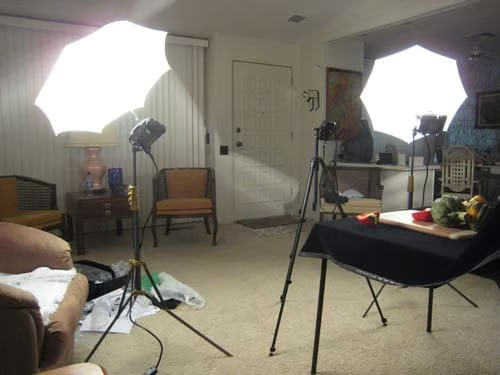
For those of you who are curious as to how this was done, I used two tungsten lights with umbrellas to soften the light so I could take these photos. The setting was my mother’s living room and as luck would have it, she had a large jar of pennies that I could use for my background. I also made use of black velvet and my camera was a Canon G9, which was perfect for the task. All images were shot as JPEG and Camera RAW, the latter because it offers a lot of control over the image.
In Photoshop I created a blank document and copied over the images, set them in postion and saved them as JPEG files with a 50% compression setting.
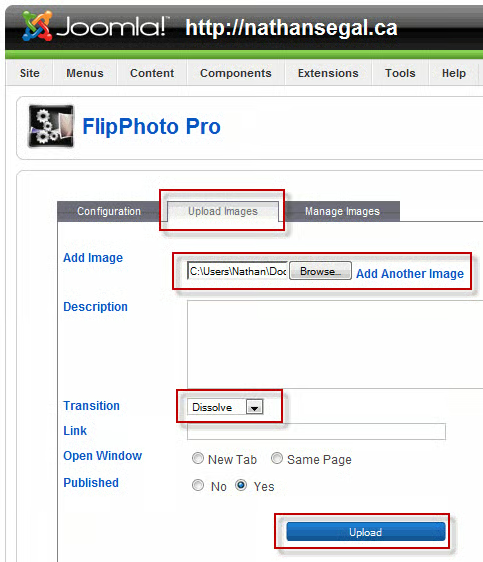
Now I was ready to upload the images. I clicked on the Upload images tab, selected an image, chose Transition: Default and clicked on the Upload button. Much to my suprise, I received an error which told me that my images needed to be resized to 938×255 pixels, the size of the frame to fit the page. After resizing the images, I was able to upload one successfully.
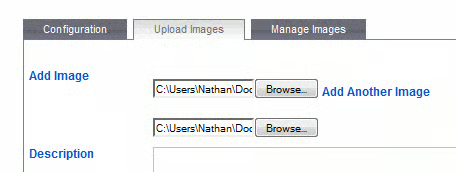
Then I ran into a problem when trying to upload the second image. It wouldn’t work. I also wound up with long file names, which confused me. When I tried to edit them I found out I couldn’t do so. As for the uploading of images, I finally managed to load both. The way to get around the problem is to browse for one image, then click on the Add Another Image button, add another image, and upload both at once.
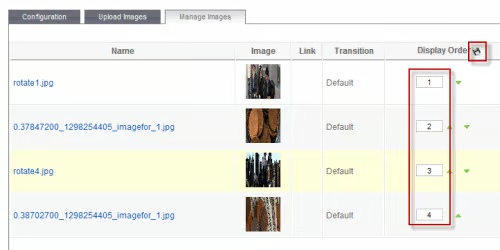
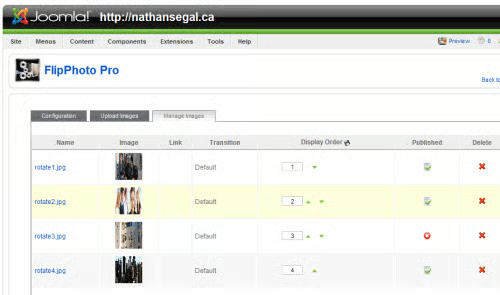
Here’s what the images look like in under the Manage Images tab. You might notice that a couple of images were deleted. Also, to set the order, I went the parameter box beside each image under Display Order and entered the number I wanted, then clicked on the icon beside the Display Order name to change the order.
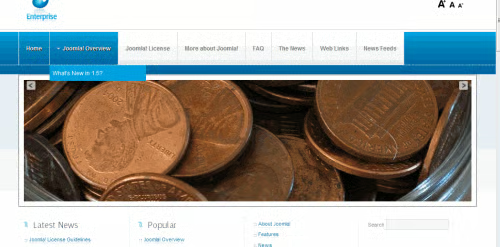
Go to the frontend and refresh the page. When you watch the showcase, you’ll see my two images come up. In the next step we’re going to create a logo for our template. To do so, I’m going to make use of CorelDRAW.
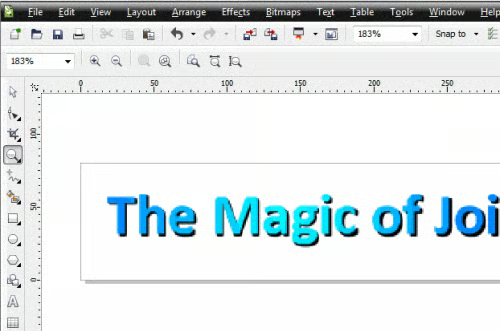
In CorelDRAW I created two pieces of text, one black and one with the blue wash you see here and saved it as a 256 color GIF. Note that when you’re creating a logo or other graphic you’ll have to try out several different sizes to see which one works within your layout.
Now that I have a logo, I’m ready to upload it to my template. To do so, go to Extensions: Template Manager. In the Template Manager window, click on the Enterprise heading.
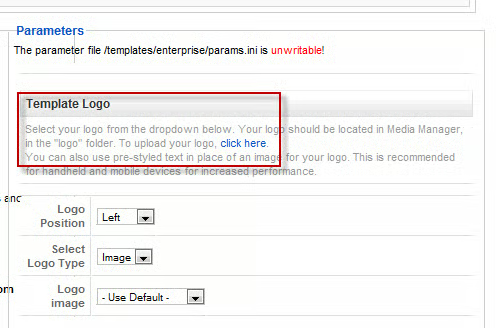
This opens the Template [Edit] page. Under the Template Logo heading, click on the “click here” hyperlink.
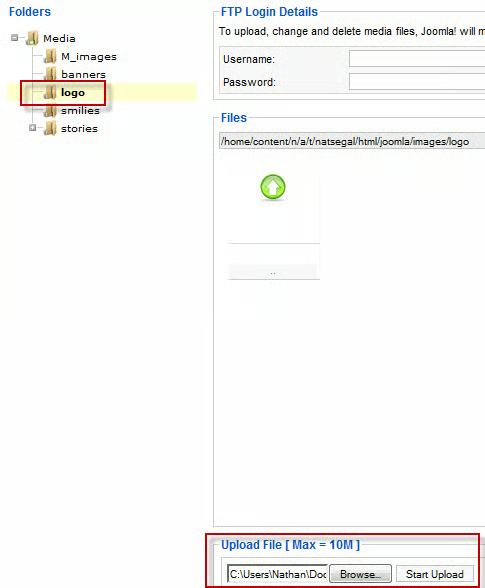
This opens the Media Manager. Under Folders, click on the Logo folder to open it. Next, scroll to the bottom of the page, find the logo file you created in CorelDRAW, and click on the Start Upload button.
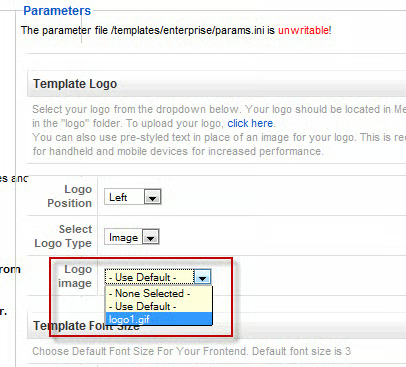
Go back to Extensions: Template Manager. In the Template Manager, click on the Enterprise name. This takes you back to the Template [Edit] page. Go to the Parameters section and in the drop down list beside Logo Image, select logo1.gif Click on the Save button at the top of the window to save your changes.
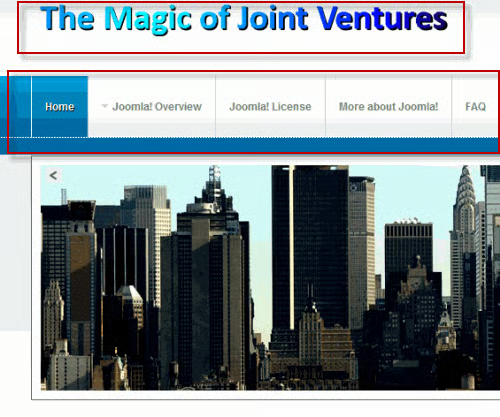
Refresh the frontend. As you can see, the new logo is in place, but it’s too high on the page. Looking at the controls in Joomla, there doesn’t seem to be an obvious way to fix it. I suspect that this is a function of using the text options which will give a title and a slogan, below. It’s the slogan part of the layout which seems to be pushing the logo too high on our template. I suspect that this is a CSS problem, which I’ll look at in the next article. I also want to reduce the height of the main menu bar, which I feel is too high. Stay tuned!
