
If you’re using the Joomla! CMS, there are many templates available. You can design one on your own or hire a designer to make one for you. Having said that, building a template from scratch is a complex and time intensive process. Right now we’re going to focus on how to use an existing template, rather than build one.
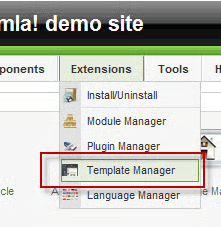
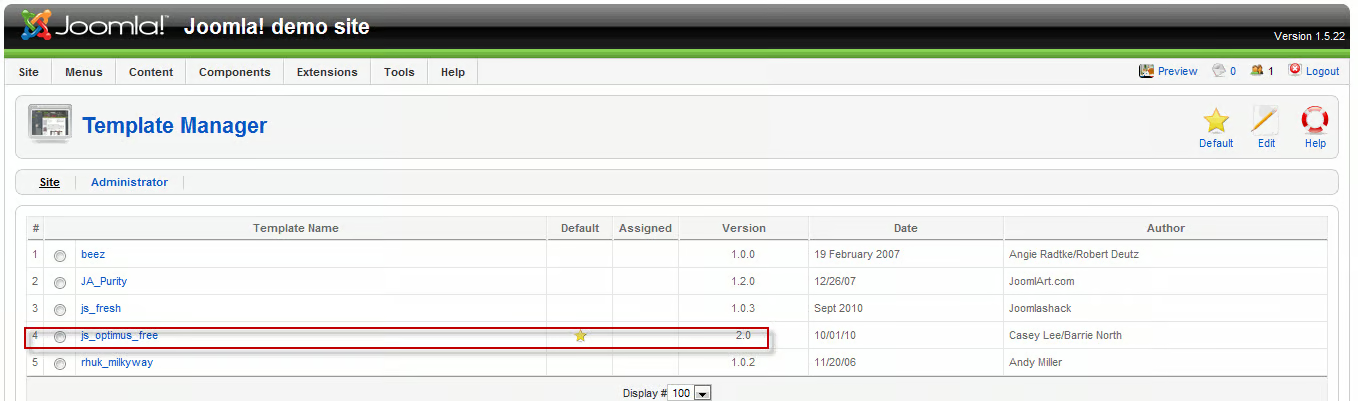
Log into Administrator and go to Extensions: Template Manager.
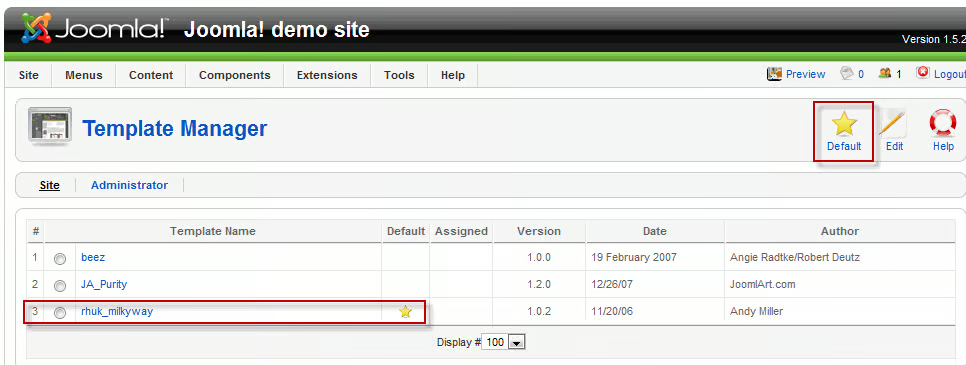
There are three templates installed; the current template is marked with a star. To change the template, choose a template and click on the radio button to the left, then click on the default start on the right. It’s that simple.
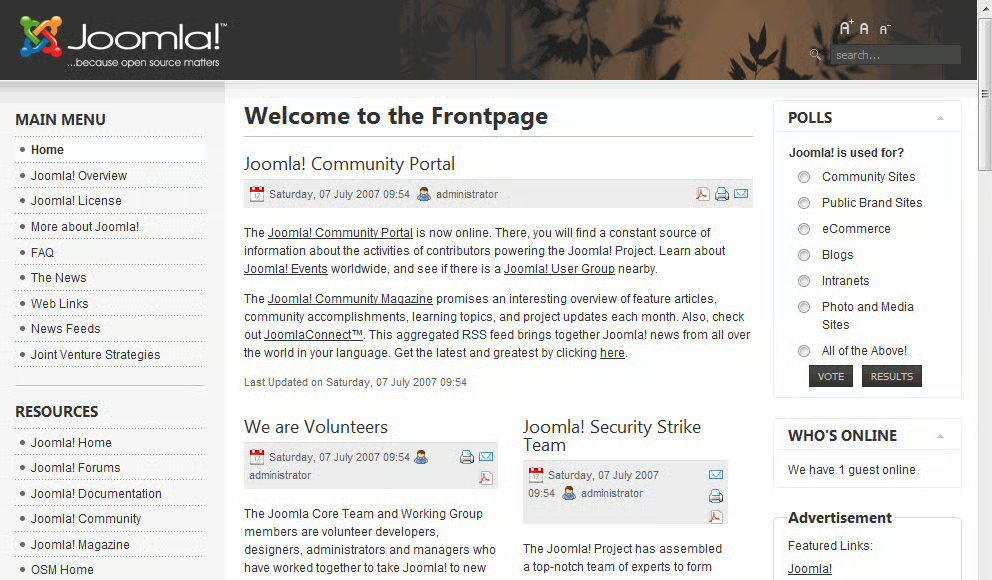
Now, go to the frontend and refresh the page. Note the new look.

Let’s do that again. Choose another template, click on the default star, wait for the page to update, then go to frontend. Refresh it again and you’l see another layout.
These are the only pre-loaded templates in this installation though you’re not limited to what’s there. There are literally hundreds of templates, both free and professional (i.e. commercial), that are ready for use. One such resource is on the Joomla! site itself. You can find more templates at CloudAccess.net, the host of my temporary Joomla! site. For this article, I found a couple of free Joomla 1.6 templates at Compass Designs
Other sites can be found by doing a search. When you find a theme you like and download it, it’s wise to read the instructions (if there are any) about the template. Depending on the template you might have to extract the file from the download; other times you’ll be able to use the file as it is.
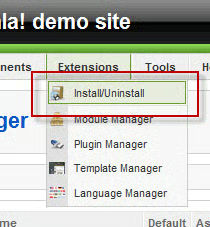
The next step is to go back to Administrator and click on Extensions: Install/Uninstall. In the Extensions Manager, click on the choose file button, navigate to the directory where the ZIP file was downloaded, click on it and click Open. In Joomla! click on the Upload file and install button.
Now we need to make this file the new default. Go to the menu and click on Extensions: Template Manager. Click the radio button beside the new template, and click on the default star on the right.

Next, go to the frontend to view the results.
When you use a template, you’ll find that there are different controls that allow you to change the look and feel of the template. To see how this works, we’ll go back to Administrator (making sure you’re in the Template Manager) and start looking at some of our options. The first thing to do is to click on the name: js_fresh. This takes you to the Template [Edit] page. Unfortunately, this template, probably due to being free, has virtually no controls, so it’s necessary to choose another template.
The CloudBase template is available here.
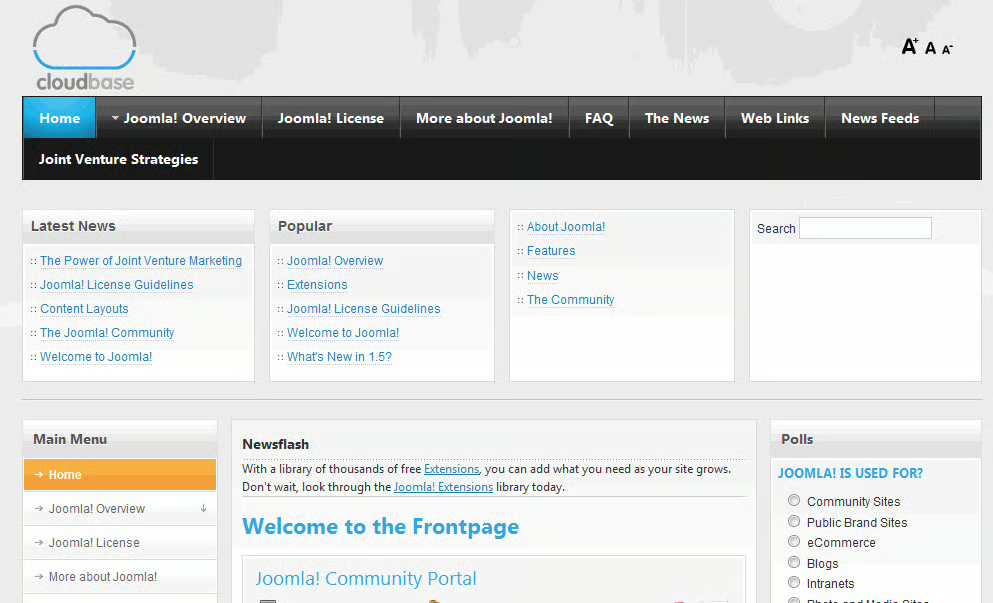
Here’s what it looks like on the frontend.
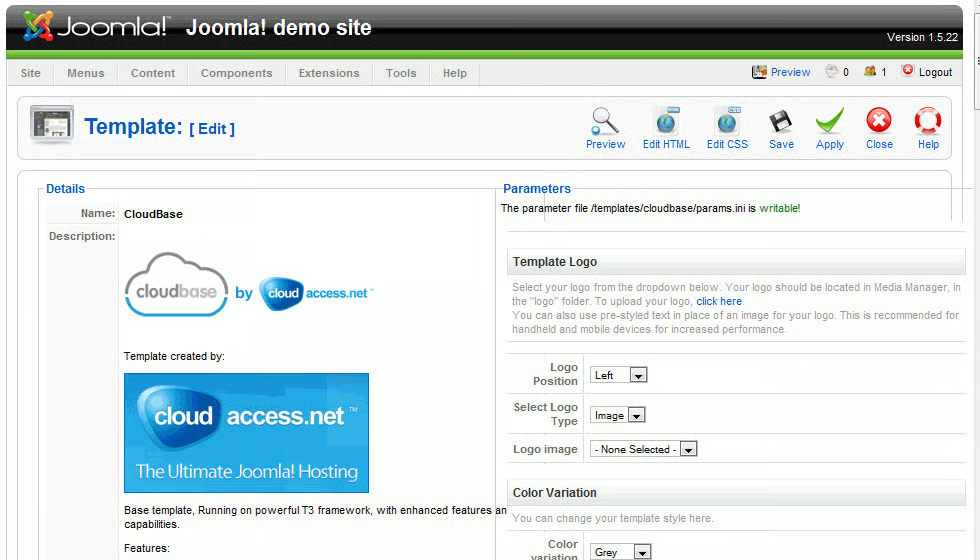
Now, return to the Administrator and in the Template Manager (Extensions: Template Manager) and click on the CloudBase name. The result are all these options on the far right. Here are a few of them:
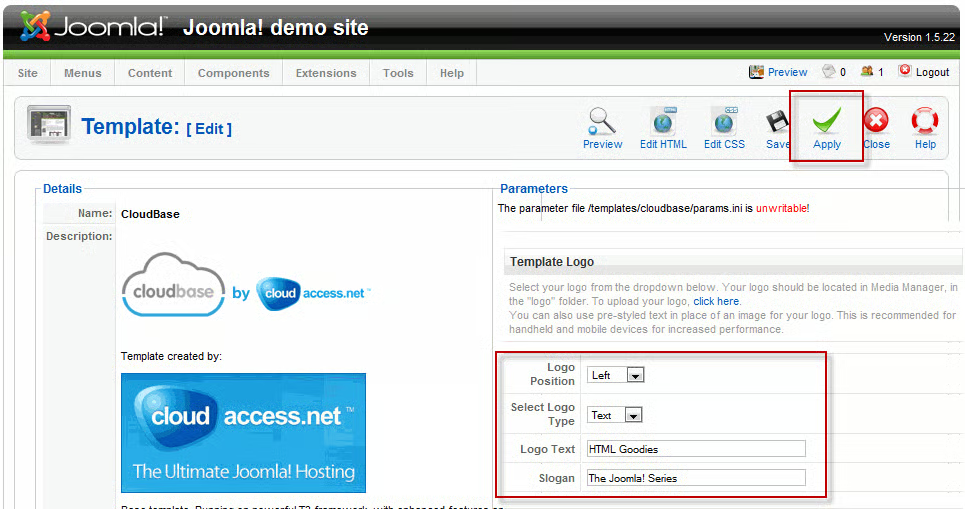
The first option is allows you to upload a logo. Unfortunately, there isn’t one on our system, so the text option was used, instead.
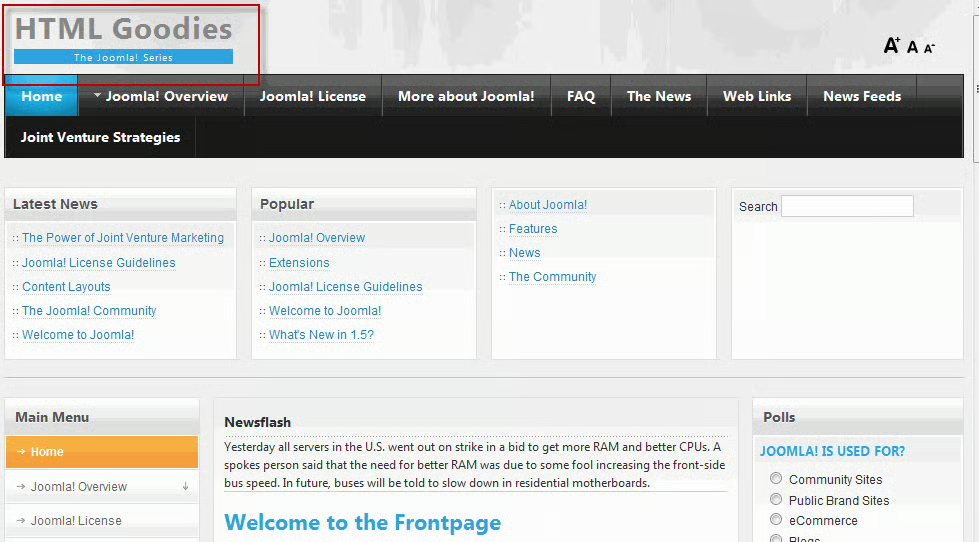
Here are the results on the frontend.
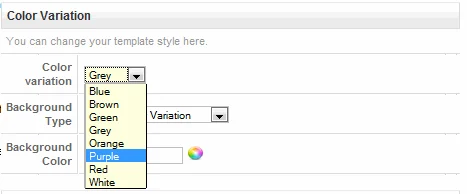
Another option that we’ll look at is Color Variation. At this point the default color is grey, but you can easily change it by clicking on the Color Variation drop down list and choosing one of the colors available. Click on the Apply button at the top right.
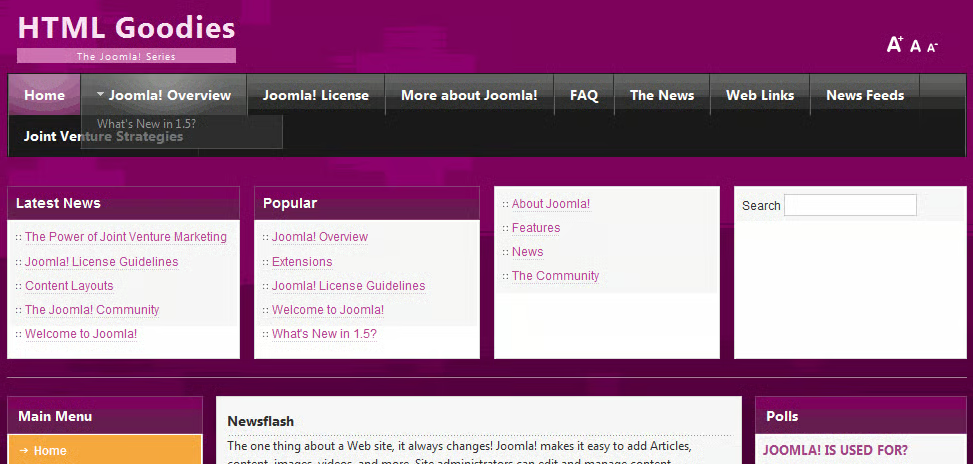
Now, view the changes on the frontend.
If that’s still not to your liking, you can go to the Background Color section and enter the hexadecimal code if you know that, or click on the Color Picker icon to the right and choose a color that you like. Click on the Apply button to save your changes.
A really useful feature is Template Width, which gives you some built-in automatic settings that you can apply to change the look of your website. As an example, the default for this site is 960 pixels, but let’s say you want a narrower site. No problem. Simply click on Narrow Screen in the drop down list (which is 750 pixels wide). If you want to specify the amount of pixels that you want to use, click on the SPECIFIED PERCENTAGE option and in the box below, type in the width. As an example, if you want the width to cover the entire viewing area of the browser, type in 100.
You can really get into customizing the interface in a major way with the Menu System and Layout Parameters but those are for advanced users. There are many more options that we could look at here, but that’s enough for now. We’ll dive into the subject in greater depth in future articles.
