


Recently we looked at Adobe Edge, the new HTML5 animation tool. This time we’re going to check out Adobe Muse, the no-code web design tool. Adobe Muse, recently released in beta, was created to allow non-programmers to create layouts much like they would do for print publication, use those layouts to create cross-browser compatible web pages, and publish those pages to Adobe hosted servers.
Adobe Muse Installation
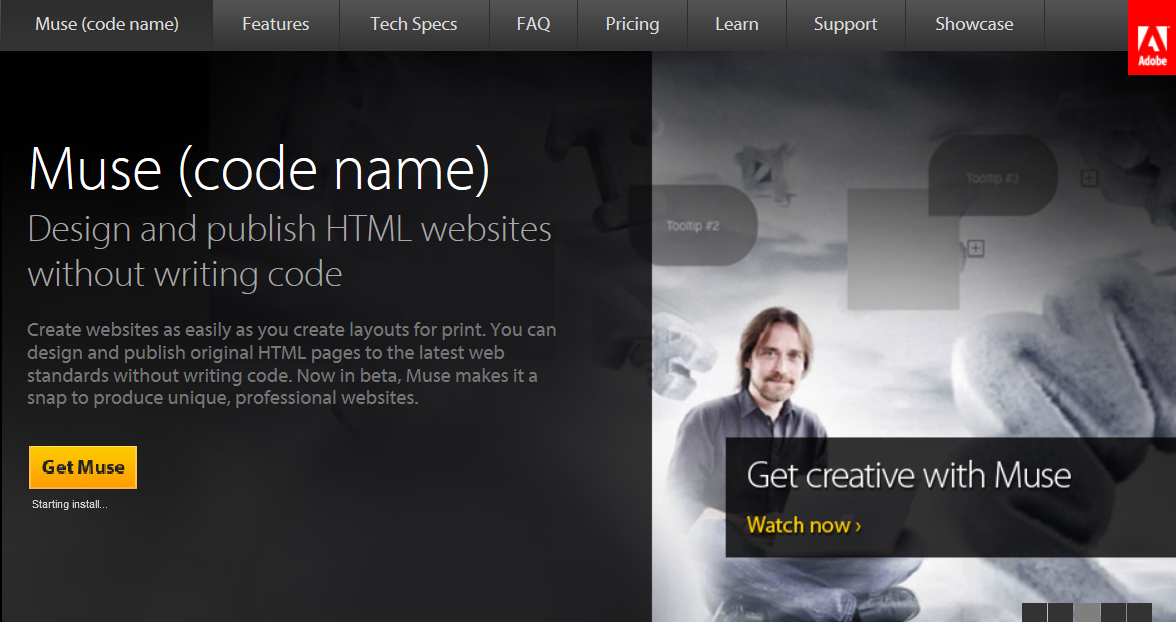
I visited the Adobe Muse website, shown above, and began the installation. Once you click the Get Muse button on the home page, the Adobe installer will open up and begin the downoad procedure:
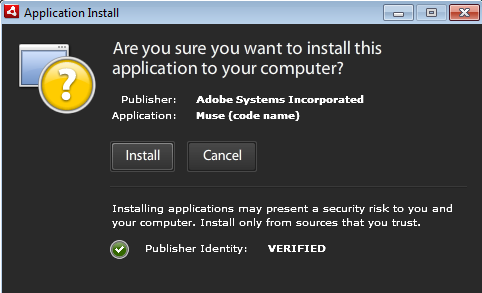
Once it has downloaded the software components, it will ask you to approve the installation of Adobe AIR, desktop icons, and if you wish to start the application when it’s finished installing:

Creating a New Page in Muse
That’s pretty much it for installation. Once I opened up Muse, I wanted to try it out, so I created a new site (you are given the option of creating a new site, or opening an existing one):
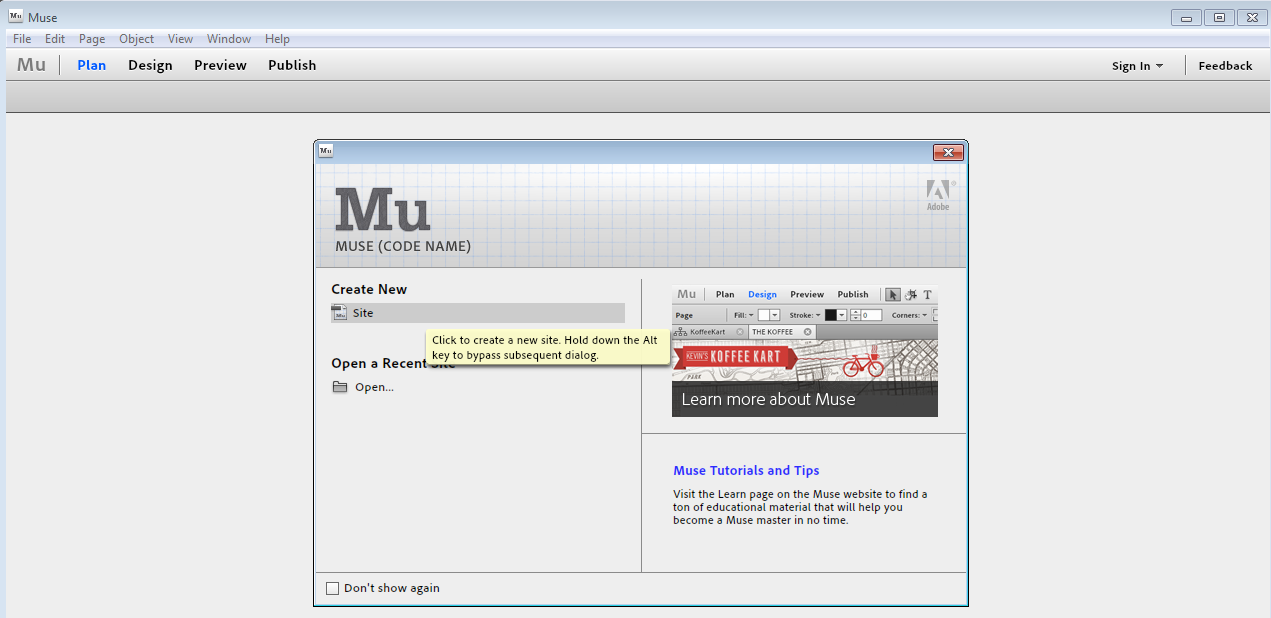
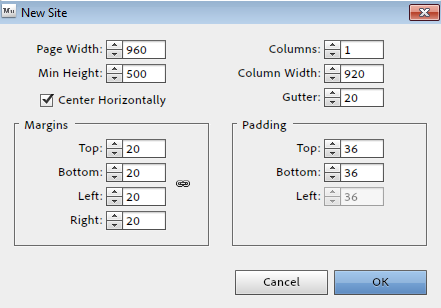
I selected New Site, and Muse prompted me to select a specific size for my website, as shown below. You are able to modify the following aspects of the page layout at this point:
- Page width
- Page height
- Columns
- Column width
- Column height
- Margins
- Padding
I was then presented with a tabbed interface showing an icon for the website (I imagine that once I had created several websites or pages, they would also be shown here). In this example, I used the name it provided, which was A-Master:

By clicking on the website icon at the bottom of the screen, I was presented with a blank page, devided into a header, body and footer section. A detached toolbar containing a color palette, styles and widget library is situated to the right of the main Muse screen:
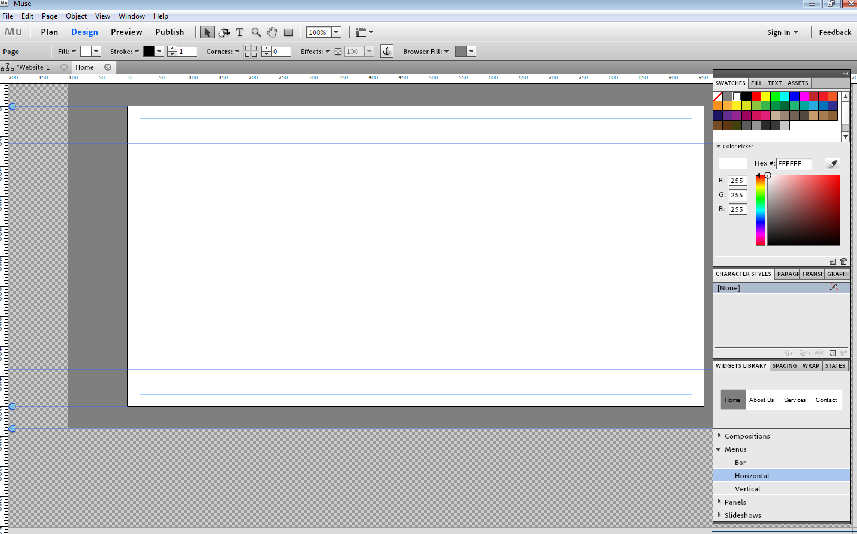
You are able to select a widget from the widget library, and drag it on to the blank website screen to the left. I dragged a menu, a tabbed interface, and a slideshow on to the blank page, and alligned them appropriately:
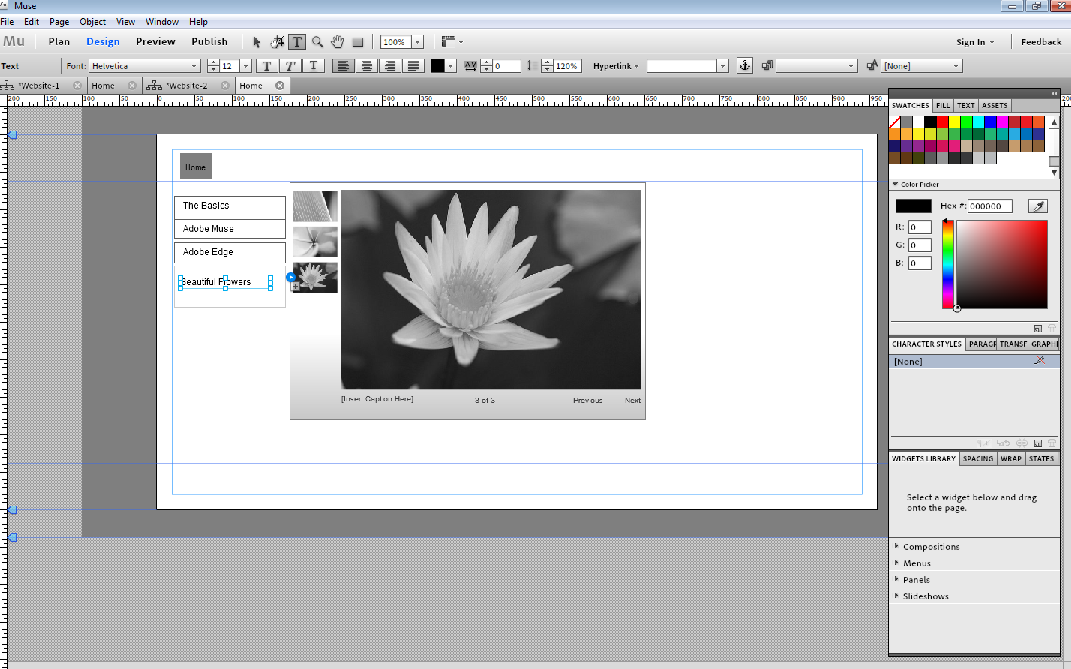
Interestingly enough, by dragging the slideshow to a particular tab, the code is automatically created to only show the slideshow from within that tab. It seems to be standard HTML, rather than HTML5, but it all works well and is designed to work across all browsers. Here’s what it looked like when I was done with it:
Publishing a Muse Website
Now we get to the publication aspects of Adobe Muse. Once you’re done working with your web page, you can publish it to an Adobe Business Catalyst account, which Adobe has integrated into the software. You can create a basic account for free:
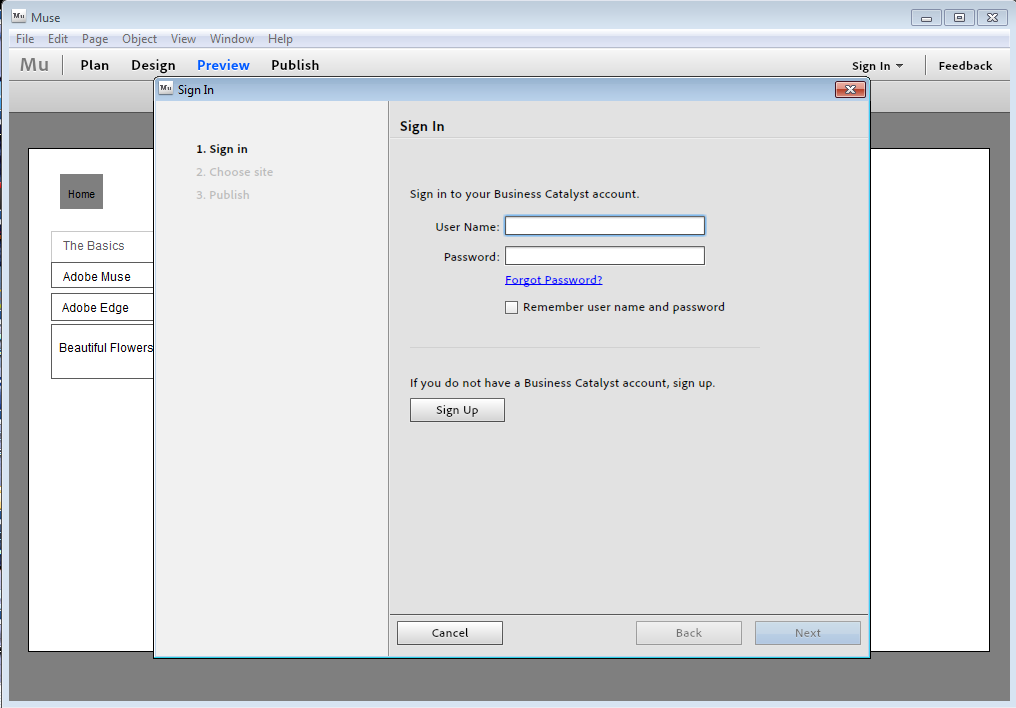
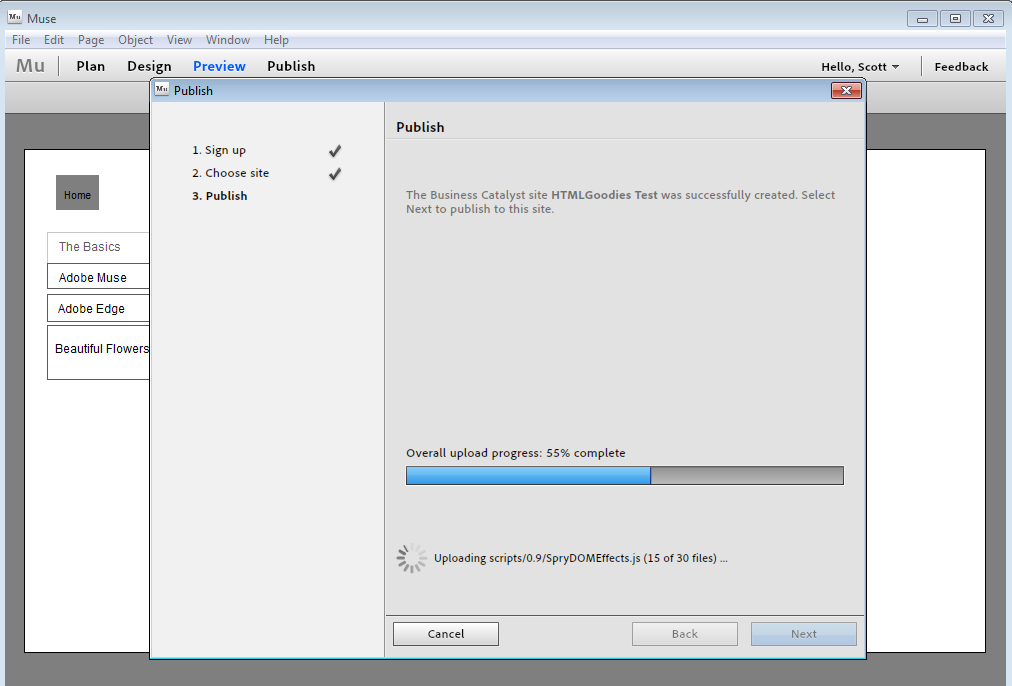
You will be prompted to name the website, and provide a user name and password for admin access. Once you are logged in, it will begin the upload of your new website:
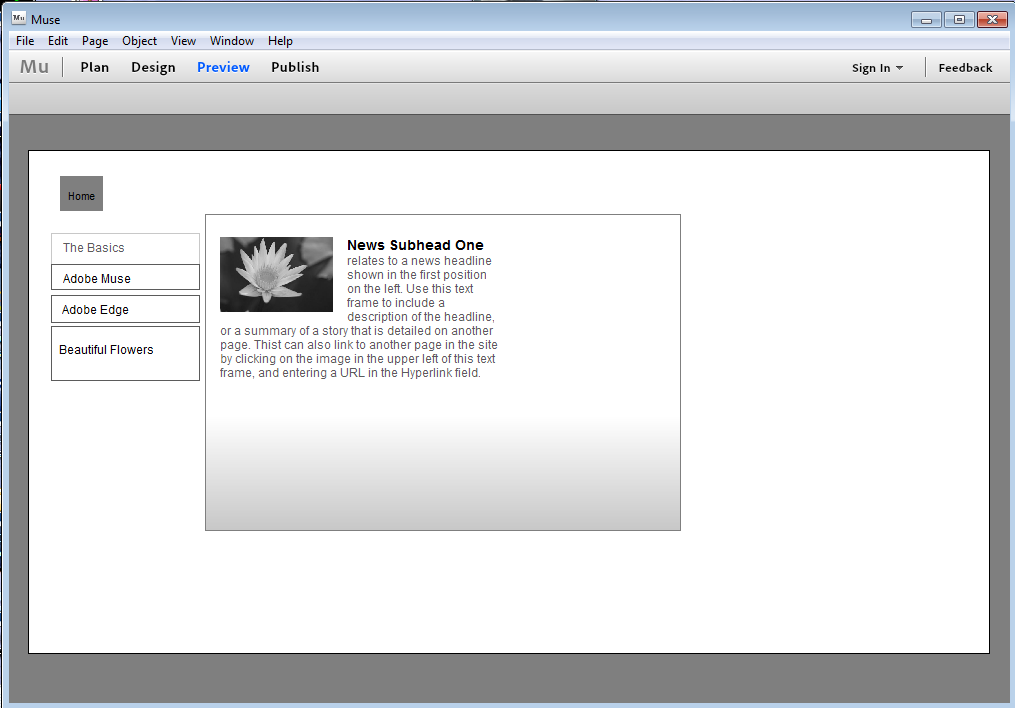
Once it’s been published, you can preview your new website online. Here’s what my sample page looks like:
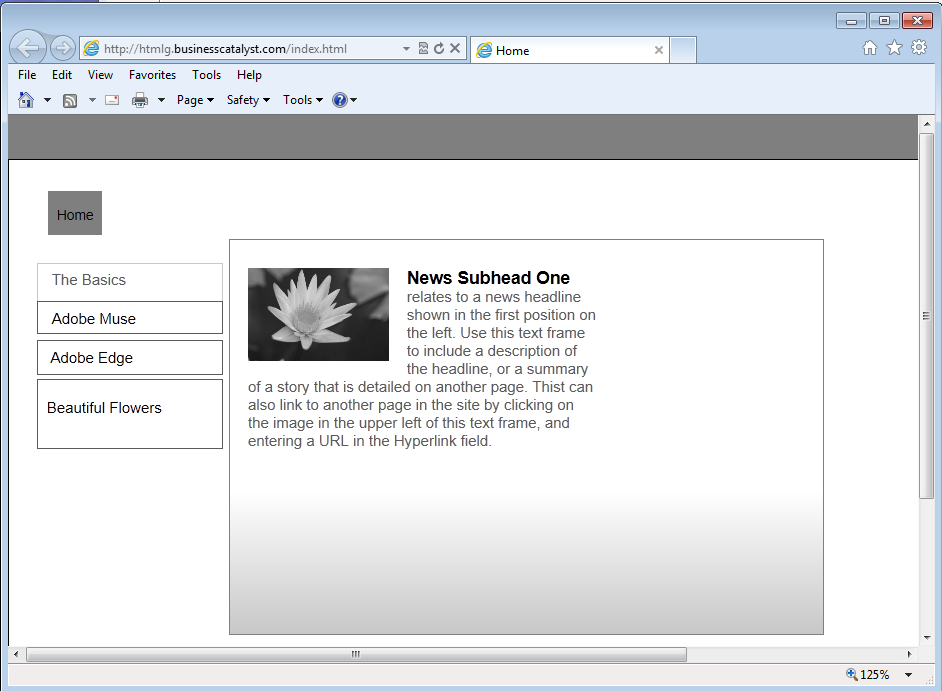
You can actually see the page live at http://htmlg.businesscatalyst.com/.
Conclusion
Adobe Muse isn’t going to be everybody’s cup of tea. Professional developers may feel limited by the functionality it provides, and users who aren’t coming from the print industry may find the interface a bit clunky–but this is still a beta product, so the clunkyness may go away. That said, if you are interested in creating a cross-browser compatible web page using rather advanced HTML, CSS and JavaSript, but you’re not a coder, Muse may be just the tool you were looking for.
