One of the most important parts of a website is how the content is stored. In Joomla! there are two components that we’ll look at here. These are: Storage and articles.
When you think of storage, Joomla! is similar to a filing cabinet. Inside each drawer are folders and inside each folder are documents. Below is a table which shows how this works:
- Drawers = Sections
- Folders = Categories
- Documents = Articles
When you write an article, you store it in a Category, which is part of a Section. To elaborate, let’s say you wrote an article called: “The Power of Joint Venture Marketing.” That article would be stored in a Category called: “Joint Venture Strategies.” That Category in turn would be stored in a Section, which I’ll call, “Joint Ventures.” You can have multiple articles stored in one Category and likewise, there can be many Categories stored inside one Section.
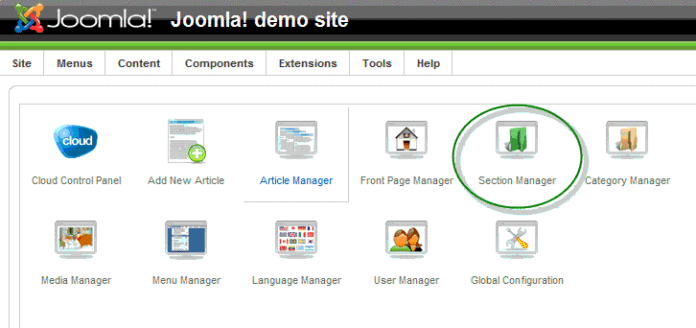
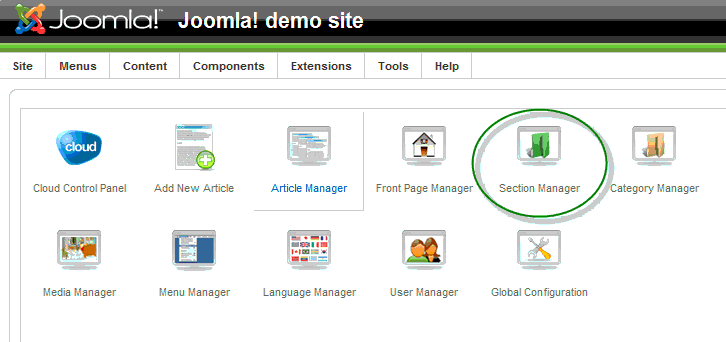
Let’s take a look at how this works in actual practice. Using the login information you were sent in your email message, log in to the Joomla! Administrator (backend). Click on the Section Manager button in the Control Panel.
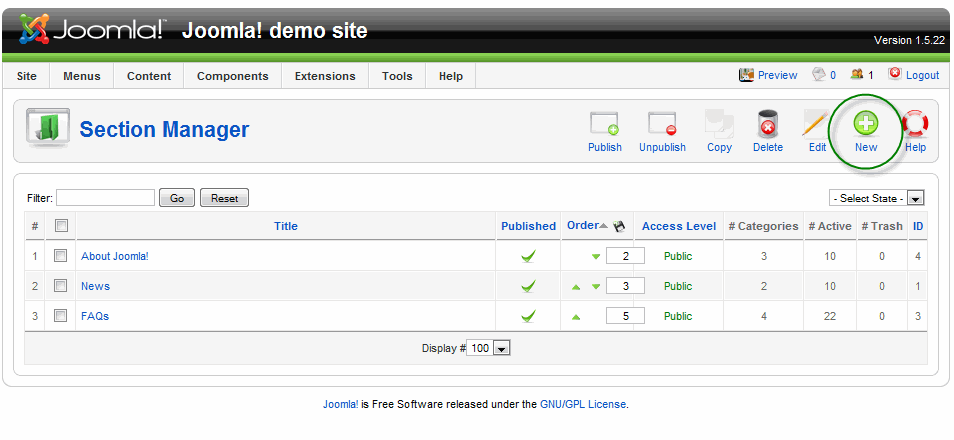
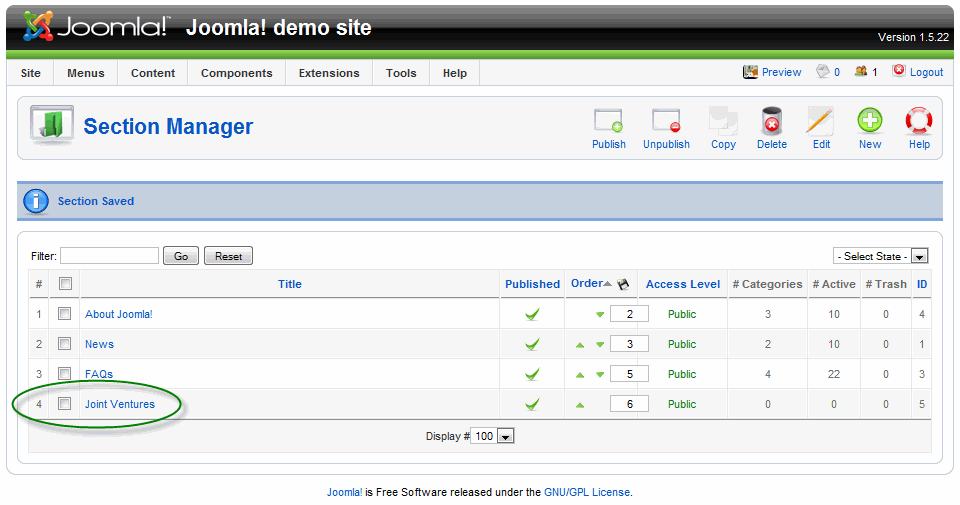
You’ll note that on the left are three sections that were installed with the sample data. To create a new Section, click on the New (+) icon at the top right of the page.
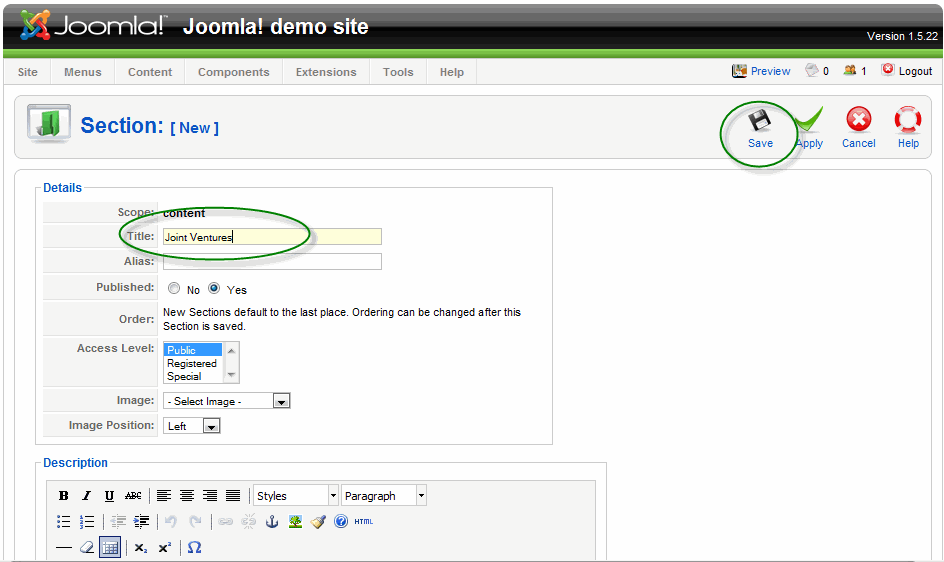
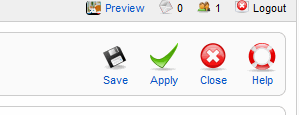
In this section I’ll enter “Joint Ventures” in the title area and click on the Save button on the top right.
This takes you back to the Section Manager page. Note the addtion of our new title on the left. If you want to edit a section, click on the title and you will be taken to the Section [Edit] page.
Note: Joomla! uses what’s known as a Checkout feature. Since there are many users who can access a page, when one user is working on a page, it becomes locked, preventing others from accessing it. When you save it, the page is unlocked.
On the surface, this is great except for one problem. If you leave the page by using the Back button on your browser, the program doesn’t know that you’ve left the page and it will stay locked, preventing other users from accessing it. To prevent this from happening, never use the Back button. Instead, click on the Save button or if you don’t want to save the changes, click on the Close button.
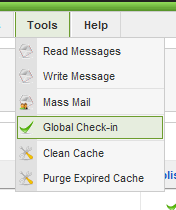
If you do make this mistake and you want to undo it, go to Tools: Global Check-in.
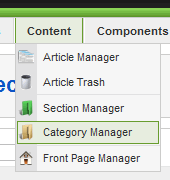
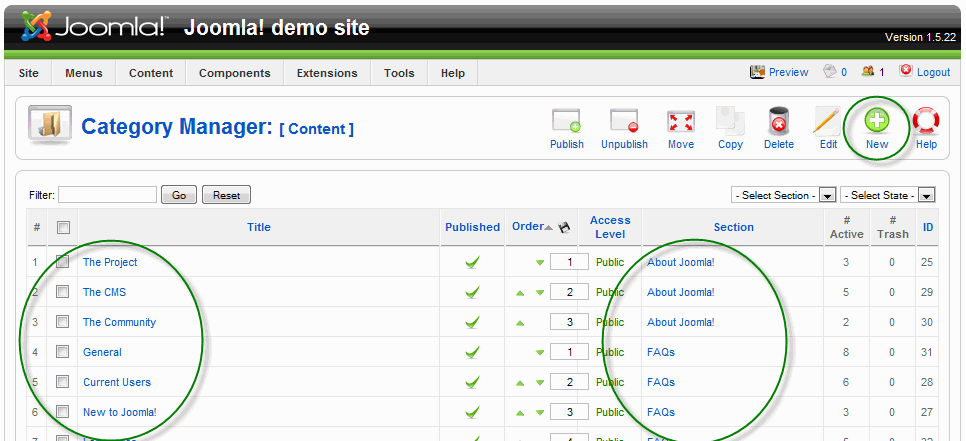
The next item to look at is Categories. To see how this works, go to the menu accross the top of the Control Panel and choose Content: Category Manager.
In the Category Manager, you’l see a number of Categories on the left and on the right, which Sections house these Categories. To create a new Category, click on the New (+) button at the top right of the page.
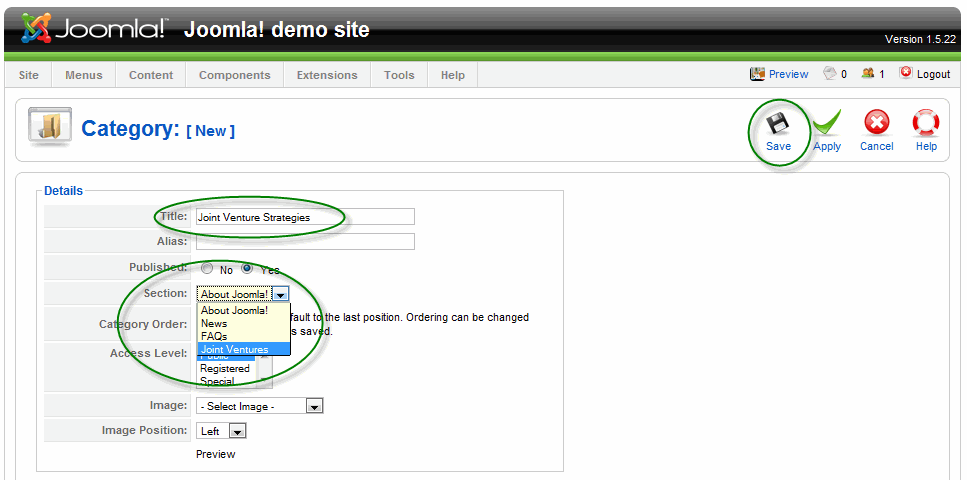
In this page, enter the title, “Joint Venture Strategies.” Since the category is a part of a Section, you’ll need to access the Sections drop down box and choose Joint Ventures. Click on the Save button at the top right of the page.
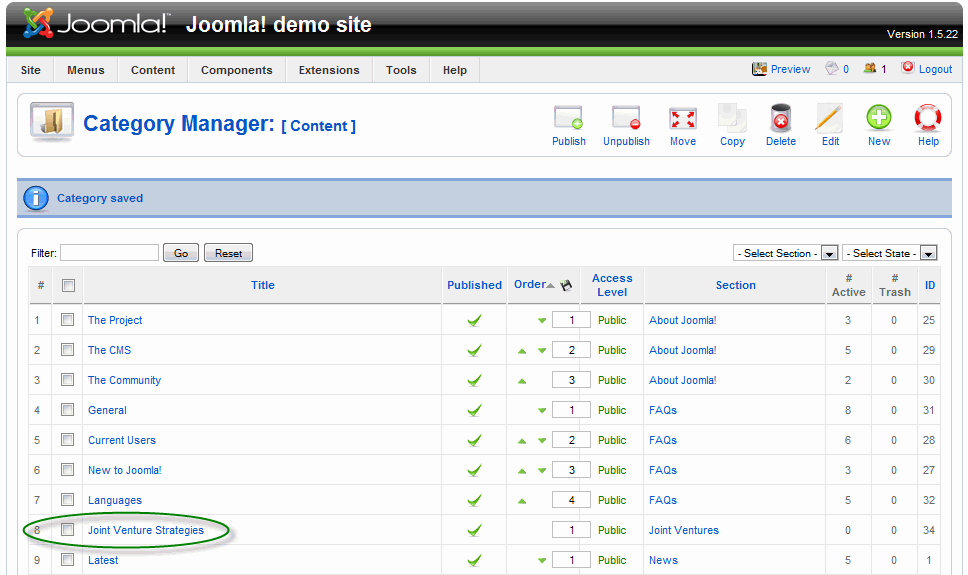
The new Category appears on the Category Manager page.
The Basics of Creating Articles
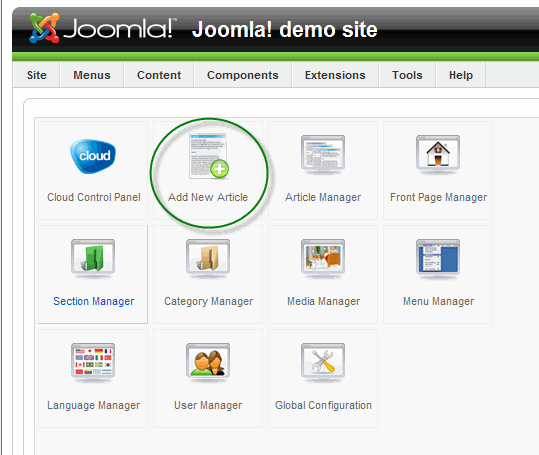
To create articles we need to return to the Control Panel and click on the Add New Article button.
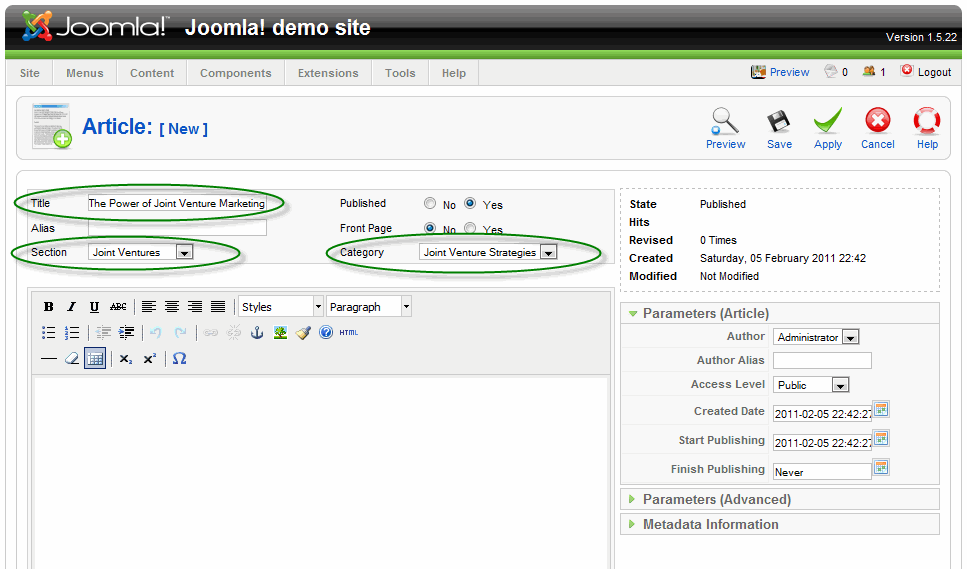
The opens the Article [New] page. Here, you want to add the title and in the Section area, choose the section which applies to your article. When I did this, it automatically chose the right category for my article. Once this is done you’re ready to add text.
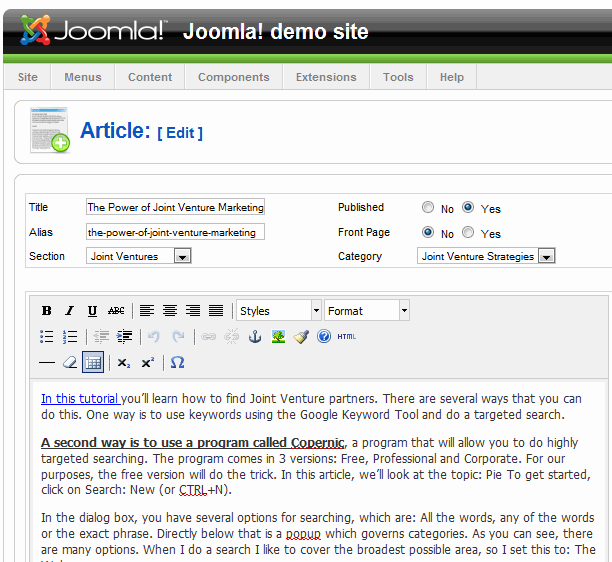
In this screen shot I’ve added some text to the body section of this page. One thing you’ll notice is that this page is similar to a number of text editors. As with text in a word processor, you perform a variety of tasks, such as highlighting some text, and make it bold, underlined, and more.
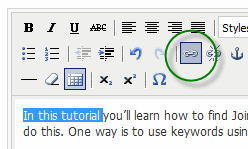
Here are a couple of things to note, which you’ll probably use a fair bit. The first is the Link tool. To create a link, highlight some text, then click on the Link icon.
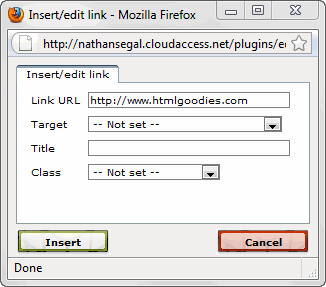
This brings up the Insert/Edit Link dialog box. Enter the URL that you wish to use and click on OK. Your text will change color to a link. When you’ve finished the article, click on the Save button at the top right. This takes you back to the Article Manager.
There are other controls that help you navigate around Joomla! Some of these are available at the bottom of the page. These include a display of the pages. Currently this is set to 20 articles per page. You can display articles in increments of 5, 10, 15, 20, 25, 50, 100 or all. You can also click on the numbers for the pages or the Next or Previous buttons, as necessary.
In this area, you can make use of these controls to find articles, rather than scrolling through lists. As an example. you can enter a word which you know is in the title of your article, then click Go. Other options for filtering your results include: Section, Category and Author. On the far right is the Select State popup, which gives you control over: Published, unpublished and archived.
Before we’ll be able to publish the article, we’ll need to build a Menu system, which is one of the subjects of the next article.


