In this article we’re going to explore WordPress categories, pages and posts in more depth. We’ll start of with pages. As I mentioned in the previous article, pages contain information that you want to remain in plain sight and quite often, they contain important information about a site, such as the about us pages, products and/or contact information.
Working With WordPress Pages
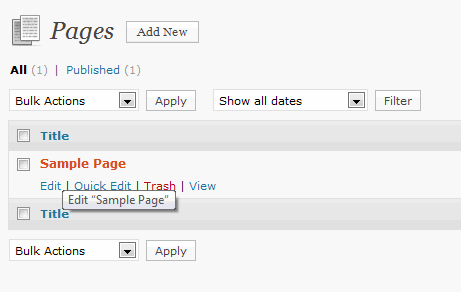
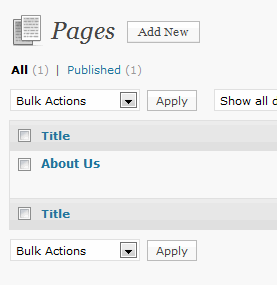
To access Pages, log into the WordPress Dashboard. On the main interface, click on the Page link, which takes you to the Pages SubPanel. You’ll note an entry already in place, named: Sample Page. This will be renamed to About. Another page will also be added, for products.
To edit the existing page, hover your mouse over the Sample Page name. This exposes some links below, one of which is Edit. Click on it.
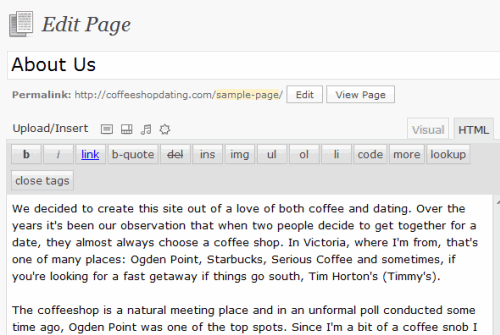
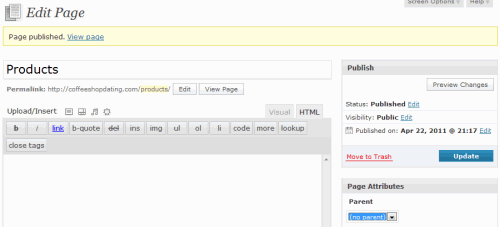
Here’s typical entry. In this case it’s just text, though as we delve deeper into this article you’ll learn how to add images and even video. When you look at the Edit Page panel, it’s essentiallly a simple word processor that allows you to add links, quotes, photos, video, audio and more. When you’re satisfied with what you’ve entered, click on the Update button on the far right of the interface.
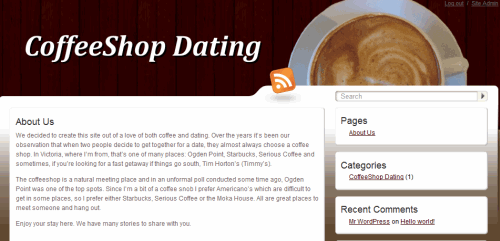
To see what the finished page looks like, click on the the View Page link at the top of the interface. Now we’ll add one more page.
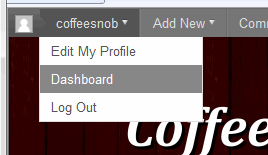
At the top of the browser, click on the first drop down box and choose Dashboard. Back on the Dashboard, click on the Page link again.
This brings up the Pages SubPanel again. Click on the Add New button.
Name this page: Products. In the Page Attributes section, make sure No Parent is selected under the Parent heading. Click on Publish to publish this page. We’ll come back to this page in the next article, when we address ecommerce.
More on WordPress Categories
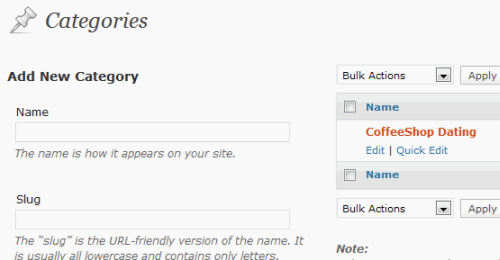
Now it’s time to look at Categories, which is how you organize your posts. To get to Categories, go to the Posts section and make sure it’s open, then click on the Categories link. In the Categories section, there’s only one Cateogory so far. Two more will be added, though the first one there will be changed. To do so, hover your mouse over the name: CoffeeShop Dating. This brings up some links underneath.
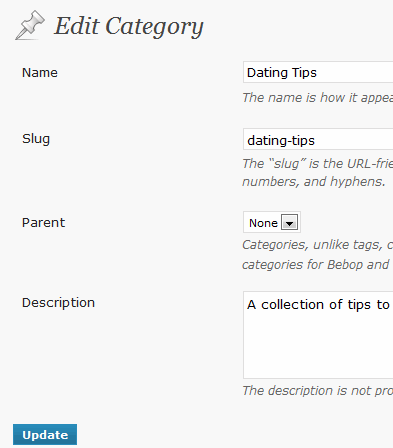
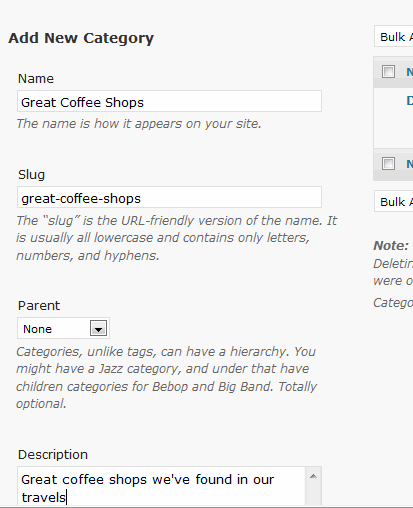
Edit the Category with the above information, making sure that the Parent drop down is set to: None. Click Update when you’re done, which takes you back to the Categories page.
To add a new Category, fill in the paramters boxes below (making sure that Parent is set to: None). Click on the Add New Category button at the bottom of the page when you’re finished. After that, add the Category: Tales of a Coffee Snob.
Note: The Parent section has been set to: None, though you could build a heirarchy if you wish. As an example, let’s say you wanted to add the Category “Coffee Roasting.” Using Coffee Roasting as a Parent, you could add sub categories such as: Beans, Roasting Machines, etc.
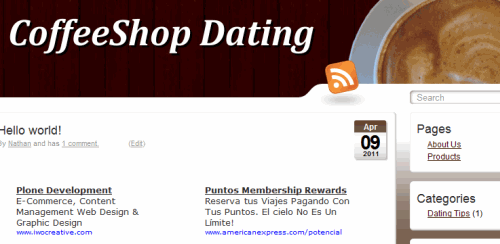
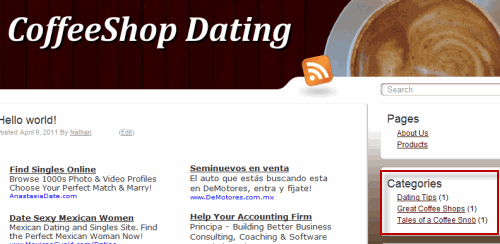
To see how our Categories look in action, visit the front page. When you do so, it seems like there’s a problem. Only one of our Categories is being displayed. Not to worry. This is easily resolved. The problem is that we don’t have any posts that link to the new Categories. This is why they cannot be seen.
WordPress Posts Are Simple To Work With
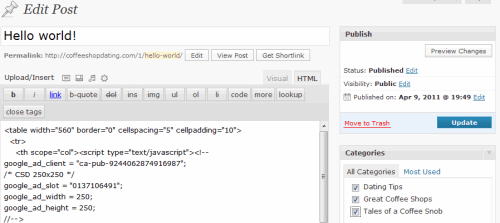
To resolve this issue (for now) and to display all the Categories (even though the content isn’t an exact match), make sure you’re on the Dashboard. Click on the Post link and in the Posts section, highlight “Hello World.” and click on the Edit link at the bottom left to open the post. In the Edit Post page, look to the far right, under Categories. You’ll note that only one of the checkboxes, the one beside Dating Tips, is enabled. Enable the other two, then click on the Update button.
At the top of the Edit Post page, click on: View Post. Note that all the Categories appear on the front page. Still, this isn’t what we want since the content doesn’t match the Categories. And as luck would have it, this is a perfect time to start working with posts. Going back to the Dashboard, click on the Post link. On the Posts page, highlight “Hello World” and click on the edit link. This is where you’ll make your first post. In my case, I’ve titled it: “Dating Tips and I’ve enabled the Dating Tips category. At this point I could save the page as is, but I want to draw your attention to another aspect of blogging, which involves what you see on the front page.
This is a bit of a side journey, but when you see how this works, you’ll understand it’s importance. Many people, when they begin blogging, simply write pages and post them. They might be in different Categories, but what shows up on the front page is one post after another. Trying to read posts in this way can be tedious, because you have to do a lot of scrolling. Here’s an example: TravelswithLaura.com.
There are a couple of ways of solving the problem. One is to make use of the WordPress “Loop,” and add it to your site so that it limits the length of your posts. You can read more about it in an article entitled The_Loop_in_Action. Essentially, you need to install this snippet of code into your blog.
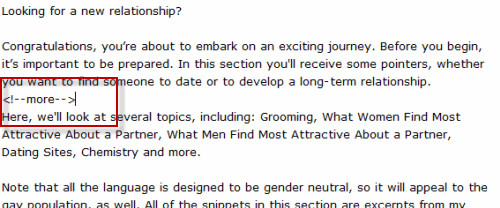
The only problem with that option is it limits the number of words to 55, which might not work for your blog. A better solution is to make use of the “More” tag, which you can place into the text at any time and will only display what you want the viewer to see on the front page. When the viewer clicks on the link, the entire entry opens. Here’s an example from my blog: TravelswithNathan.com.
And here’s how you would use the “More” tag in our blog.
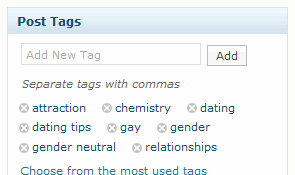
Another option, further down on the right side of the page, is the Post Tags area. This allows you to enter in the most common tags used in your posts. You can also choose from this list when you post other articles. When you’re satisfied with your entry, click on the Update button. to add another post, click the Add New link under the Posts panel.
Note: Regarding the AdSense code, you’ll want to use that at the top of every post. Rather than copying that out from your blog each time you want to add an entry, I recommend that you save the code in a separate Notepad file that you can access prior to blogging.
In the next article we’re going to look at the various ways of adding images to your blog. We’ll also look at a simple way of adding video.


