In this article we’re going to do some more tweaking to customize your WordPress installation. Some of the topics we’ll cover are: Pages, Posts Categories. The first place we’ll look is at your personal profile. Go to the Users section and click on the heading to open the box, then click on Your Profile.
Regarding this section: Your User name cannot be changed. If you don’t enter a nickname, the User name will be placed in this field. This could be a security risk, so I recommend your fill out the name and nickname fields. All users have to supply a valid email address. The email address is used to let you know about comments to your posts. It’s only for administrative purposes. The rest of the contact information is optional, is as the section about your biography. You could use this information later, when you create pages for your blog. Also, in the About Yourself area, this is where you’d change your password. Note the information about password strength. This is important.
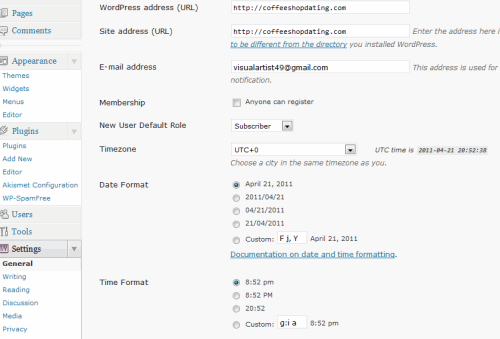
Next, we’ll have a quick look at the General Settings. To do so, go to the Users heading and click on it. Then, once the panel is open, click on the General heading. In this section we left the Site Title and Tagline areas empty. This is because that information was added to the header image previously.
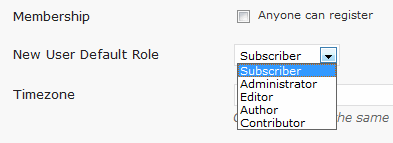
Note that you can decide if you want to offer memberships or not and what role you want to assign them, such as: Subscriber, Administrator, Editor, Author or Contributor. Other things to consider are the Date Format, Time Format and what day the week starts on.
Next, we’ll have a look at the Writing subpanel. Under the Users heading, click on the Writing link. For the most part I would leave these settings at the default. The only exceptions I would make are the number of lines in the post box. Still, it would be a good idea to wait and get a feeling for the blog before changing this setting. In the Default Post Category and Default Link Category, the names are Uncategorized and Blogroll. This is because we haven’t configured these sections yet. Once that’s done, you can go back and change these settings. Regarding the section on posting by email, I’d leave this alone unless you know in advance that you’ll want to post from other locations.
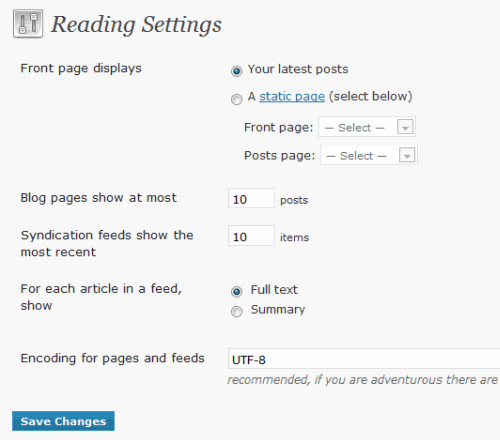
By default, the front page is set to display Your Latest Posts, though you can use a static front page that doesn’t change. This could be to your benefit if you want to talk about products and services that you want to remain on the home page, otherwise the content will change each time you make a posting. If you choose the static page option, you’ll need to pick which one of your posts you want to use for that purpose.
One of the advantages of a static page is apparent for users who don’t want their blog to look like a blog. The static page displays static content.
If you choose the posting option for your front page, you can choose how many posts you want to show, the number of syndication feeds, whether to show the full text or summary in a feed (a summary could save on bandwidth). Unless there’s a reason to change it, I recommend staying with the defaults. Click on the blue Save Changes button when you’re done.
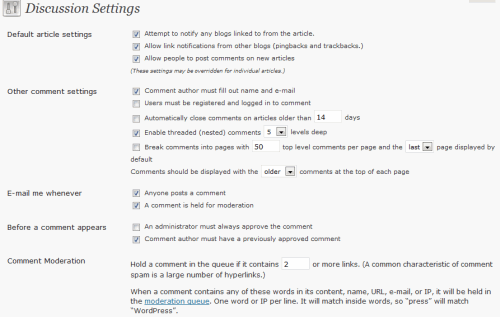
Still under the Users section, click on the Discussions heading. When we first set up WordPress, we enabled Akisimet to control comment spam. We also installed WP-SpamFree as well. In this section we refine this further by controlling what types of comments are allowed on our blog.
For the most part the settings are OK as is though I recommend a few changes. In the Other Comment Settings section, you’ll see: Comments should be displayed with the older/newer comments at the top of each page. Change that to newer. In the section: Before a Comment Appears, enable an Administrator must always approve the comment. This will keep the comment in moderation so you can approve the comments manually.
Note the Comment Blacklist section. When a comment is sent you’ll have the opportunity to approve of it or not and to flag it as spam. You’ll also have the opportunity to block the IP address if necessary. As for the Avatars section, you can leave these settings at the default or play with them a bit, so you can see what happens when users comment. When you’re done, click on the blue Save Changes button.
WordPress Posts, Pages and Categories
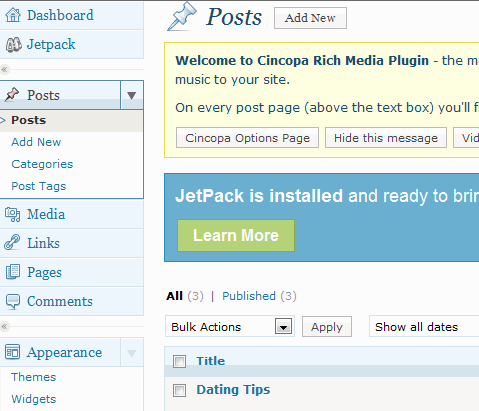
The posts section of WordPress is where you manage all the posts for your blog. You can edit posts, add posts, work with categories and post tags.
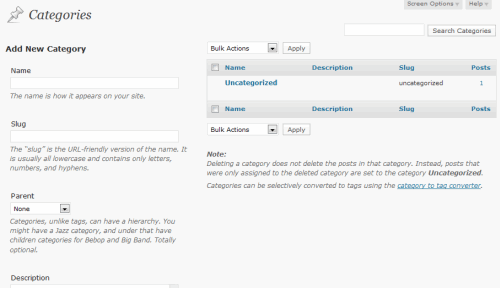
Each post is filed under one or more Categories. This makes it simple to find posts on a given subject. To access Categories, click on the link under the Posts panel.
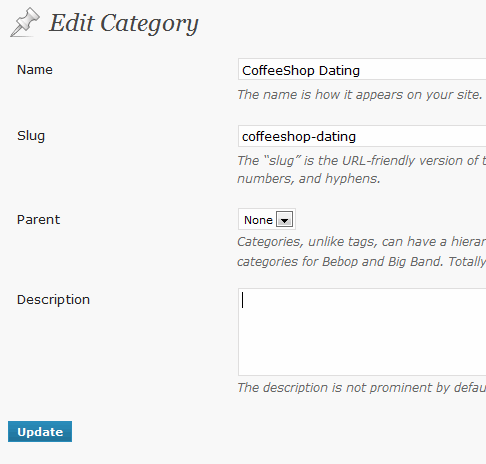
The installation comes with one Category in place, named Uncategorized. You can go in after the fact and change that.
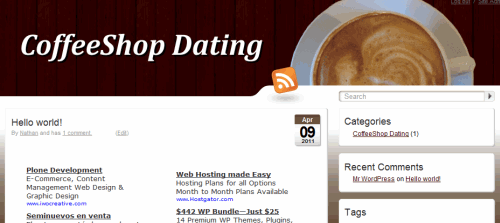
Now, when ou to go the front page, you’ll see the new category in place. You can do much more with categories than this, but this is a starting point. We’ll go further in upcoming articles.
Next, we’ll look at Pages, which contain information that you want to remain in plain sight and quite often. They contain important information about a site, such as the about us pages, products and/or contact information.
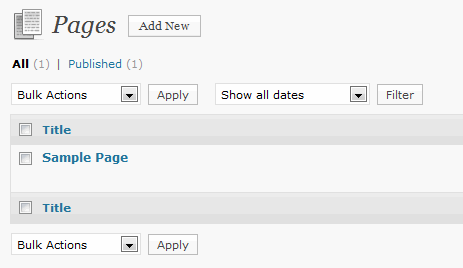
Go back to the Dashboard heading and click on it. This returns you to the default layout. On the Dashboard, under the heading: Right Now is a hyperlink for Pages. Click on it and you’ll see the Pages SubPanel. At this point you can edit the existing page or add a new one.
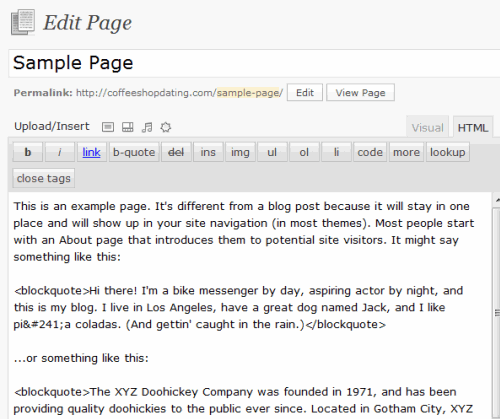
If you click on the the edit option, this is what you’ll see (above). The links for pages are often located on a menu bar that runs across the top of the blog or underneath the header. In this case, the page information is located on the sidebar. As with all the Widgets it can be placed wherever you want it to be on the sidebar. In this case, I’ve placed it at the top. To learn about Pages in more detail, visit the WordPress Codex page.
In the next article we’ll look at this structure in more detail–we’ll show you how pages, categories and posts work in actual practice.


