CSS3 Transformations
CSS3 transformations provide the process by which we can transform a standard HTML element into a spatial transformation module to 2D and 3D. Thus, you can model the standard HTML element by shrinking coordinates, expanding coordinates or moving them. But be careful! Do not confuse transitions (which are used to animate an element between two states) with transformations (used to create effects).
2D Transformations
2D variants are more often used than 3D variants because they are easier to write and most browsers accept them for viewing. So, the CSS3 2D module facilitates the following transformations:
- translate: we can change the position of the element along the X axis and the Y axis using the translated function, the positive values move the element straight or down, and the negative values move the element to the left or up.
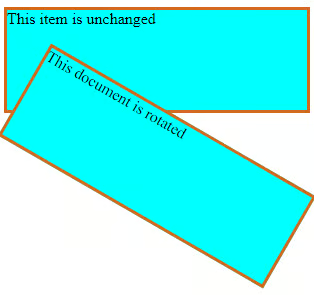
- rotate: you can rotate the item using the rotated function, the values are degrees (eg: rotated (90deg.)
- scale : we can increase the size of the element using the scale function; if the scale is <1, the size will decrease / if the scale is> 1, the size will increase
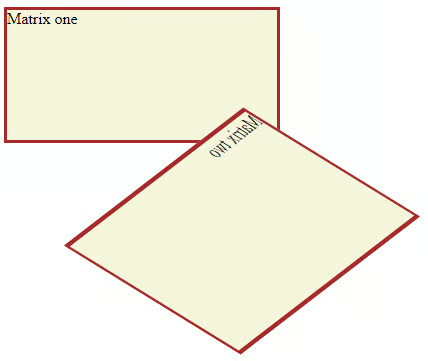
- matrix: we can combine 2D transformation (translation, rotation, scale, matrix and skew) into one statement
- skew: we can change the element angle along X axis and Y axis; skewX will change the angle of the element along the X axis, and skewY will change the angle along the Y axis
transform: skewX (value)
transform: skewY (value)Translate
div {
    -o-transform: translate(30px,10px);
    -ms-transform: translate(30px,10px);
    -webkit-transform: translate(30px,10px);
    - moz-transform: translate(30px,10px);
    transform: translate(30px,10px);
}
Rotate
<!DOCTYPE html>
<html>
<head>
<style>
div {
    width: 300px;
    height: 100px;
    background-color: aqua;
    border: 3px solid chocolate;
}
div#Div1 {
    -o-transform: rotate(30deg);
    -ms-transform: rotate(30deg);
    -webkit-transform: rotate(30deg);
    -moz-transform:rotate(30deg);
     transform: rotate(30deg);
}
</style>
</head>
<body>
<div>
This item is unchanged
</div>
<div id="Div1">
This document is rotated
</div>
</body>
</html>
The output of the above listing is:
Scale
div {
    -o-trnasform:scale(3,4);
    -ms-transform:scale(3,4);
    -webkit-transform: scale(3,4);
    - moz-transform: scale(3,4);
    transform: scale(3,4);
}
Matrix
<!DOCTYPE html>
<html>
<head>
<style>
div {
    width: 270px;
    height: 130px;
    background-color: beige;
    border: 3px solid brown;
}
div#myDiv1 {
    -ms-transform: matrix(-0.65,0.50,1.3,0.80,100,20);
    -webkit-transform: matrix(-0.65,0.50,1.3,0.80,100,20);
    transform: matrix(-0.65,0.50,1.3,0.80,100,20);
}
</style>
</head>
<body>
<div>
Matrix one
</div>
<div id="myDiv1">
Matrix two
</div>
</body>
</html>
The output of the above listing is:
Skew
 div {
  width: 120px;
  height: 120px;
  background-color: bisque;
}

.skewed {
  transform: skew(10deg);
  background-color: brown;
}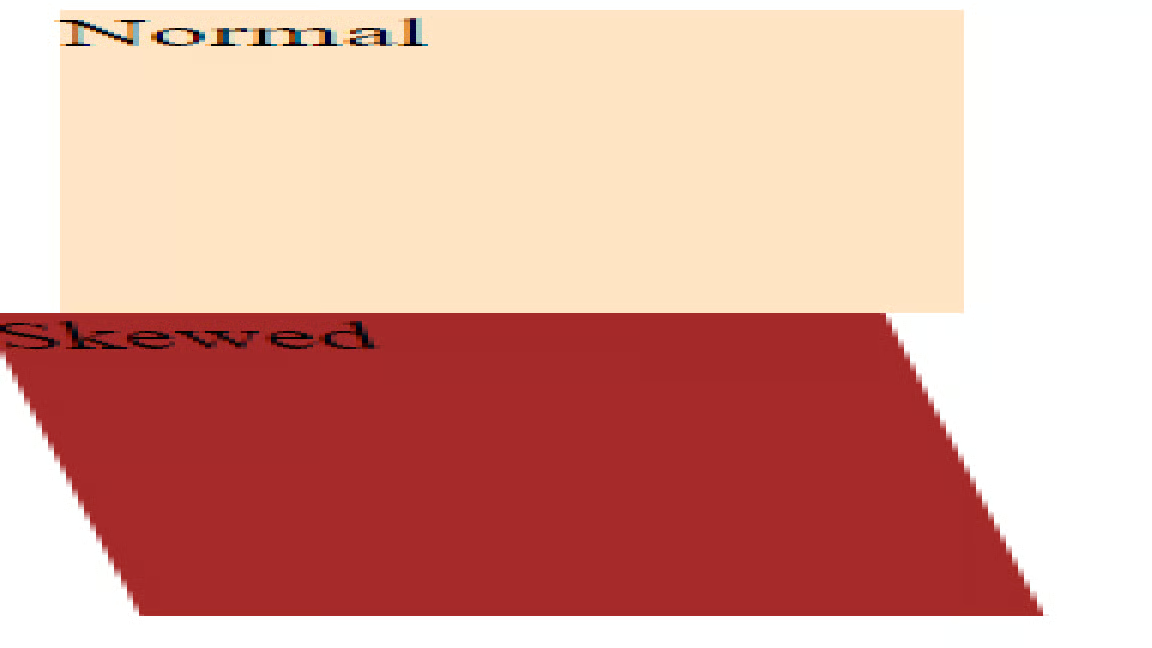
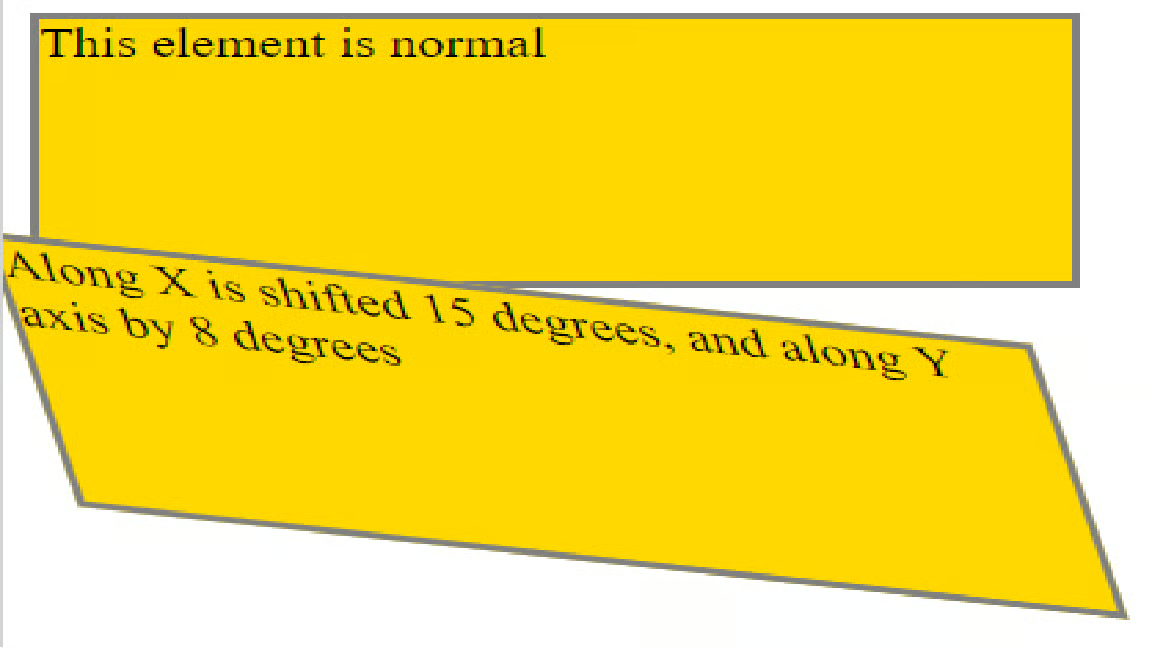
Another example is when the div element is shifted 15 degrees on the X axis and 8 degrees on the Y axis:
<!DOCTYPE html>
<html>
<head>
<style>
div {
    width: 300px;
    height: 100px;
    background-color: gold;
    border: 2.5px solid gray;
}
div#Div2 {
    -ms-transform: skew(15deg,8deg);
    -webkit-transform: skew(15deg,8deg);
    transform: skew(15deg,8deg);
}
</style>
</head>
<body>
<div>
This element is normal
</div>
<div id="Div2"> Along X is shifted 15 degrees, and along Y axis by 8 degrees</div>
</body>
</html>The output of the above listing is:
3D Transformations
Turning property in 3D transformations has added a new axis, namely the Z axis.
The syntax is:
transform: rotateX (value);
transform: rotateY (value);
transform: rotateZ (value);
The positive value will rotate the element clockwise, and the negative value counterclockwise. The preserve-3D property helps us modify the nested elements in a unique way.
If we want the transformations to be applied to the parent element and not to the nested element, then we use this function.
<!DOCTYPE html>
<html>
<head>
<style>
div {
width:100px;height:70px;
background-color:yellow;
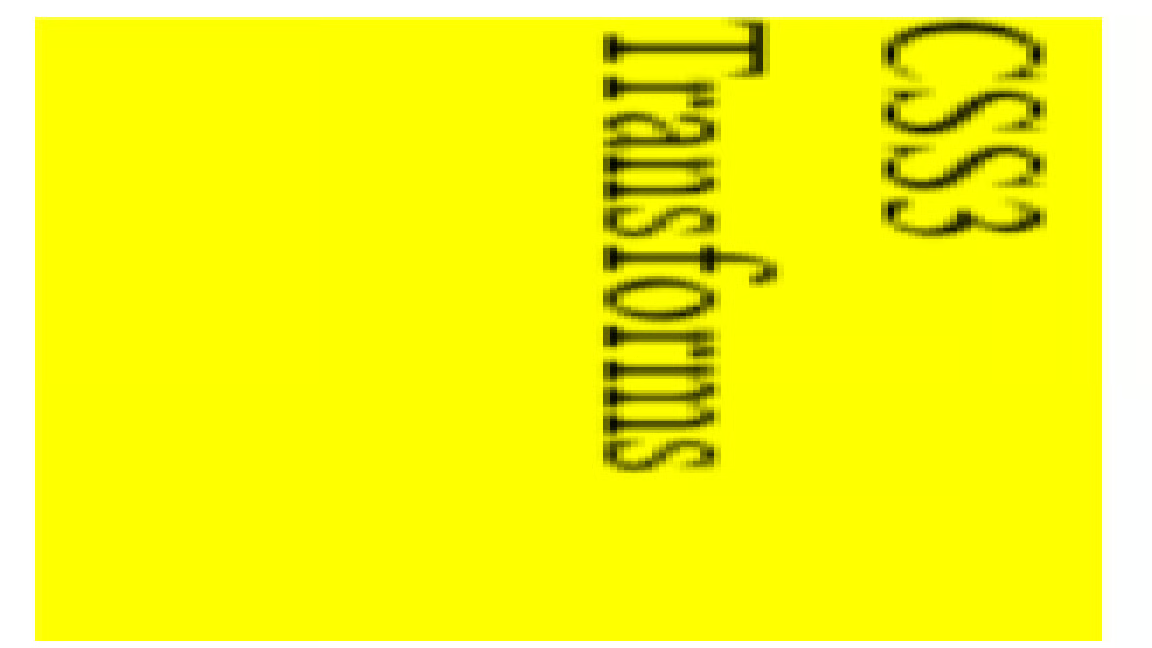
transform:perspective(350px) rotateZ(90deg)
translateX(30px)
translateY(-35px) translateZ(150px);
-webkit-transform: perspective(350px) rotateZ(90deg)
translateX(30px)
translateY(-35px) translateZ(150px);
}
</style>
</head>
<body>
<div>CSS3 Transforms</div>
</body>
</html>The output of the above listing is:
CSS3 Animations
With CSS3 Animations, we can animate content without using Flash or JavaScript. Thus, by using keyframes for animation, we can change one element from one style to another.
Properties of CSS3 animations:
- @keyframes – animation gradually changes from one style to another; you can use percentage points (10, 20, 30) or values (0% – 100%); we must add the prefix of the provider, namely @
<!DOCTYPE html>
<html>
<head>
<style>
div {
    width: 300px;
    height: 300px;
    background-color: plum;
    -webkit-animation-name: example;
    -webkit-animation-duration: 6s;
    animation-name: example;
    animation-duration: 6s;
}
@-webkit-keyframes example {
    from {background-color: plum;}
    to {background-color: purple;}

@keyframes example {
    from {background-color: plum;}
    to {background-color: purple;}
}
</style>
</head>
<body
<p>@keyframes example</p>
<div></div>
</body>
</html>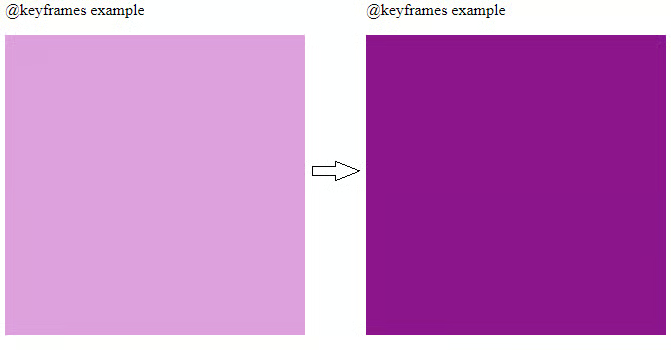
When you specify CSS styles under the @keyframes rule, the animation will gradually change from the current style to the new style at certain times.
- animation-duration – through this function, we can define the duration of the animation
div {
    width: 150px;
    height: 150px;
    background-color: violet;
    animation-name: example;
    animation-duration: 7s;
}- animation-direction – through this property, we can indicate the direction of the animation, the direction can be forward, inverse and alternate
div {
    width: 150px;
    height: 150px;
    position: relative;
    background-color: orchid;
    animation-name: example;
    animation-duration: 6s;
    animation-direction: reverse;
}- animation-delay – this function is similar to the transition delay property and specifies the animation delay with the specified time period
div {
    width: 200px;
    height: 200px;
    background-color: turquoise;
    position: relative;
    -webkit-animation-name: example;
    -webkit-animation-duration: 8s;
    -webkit-animation-delay: 3s;
     animation-name: example;
     animation-duration: 8s;
     animation-delay: 3s;
}- animation-timing-function – Through this function, we can decide the animation speed curve
The property of this function can take the following values:
- Linear – animation has the same speed as it begins until it’s over
- Ease-in – animation has a slow start
- Ease – animation begins slowly, then quickly and after it ends slowly
- Ease-out – animation has a slow ending
- Ease-in-out – animation has its beginning and ending slowly
- Cubin-bezier – allows you to define the values in a cubic-bezier function
- animation-iteration-count – with this property, we can specify the number of times the animation repeats, and we can also opt for the animation never to stop
div {
    width: 150px;
    height: 150px;
    position: relative;
    background-color: red;
    animation-name: example;
    animation-duration: 6s;
    animation-iteration-count: 3;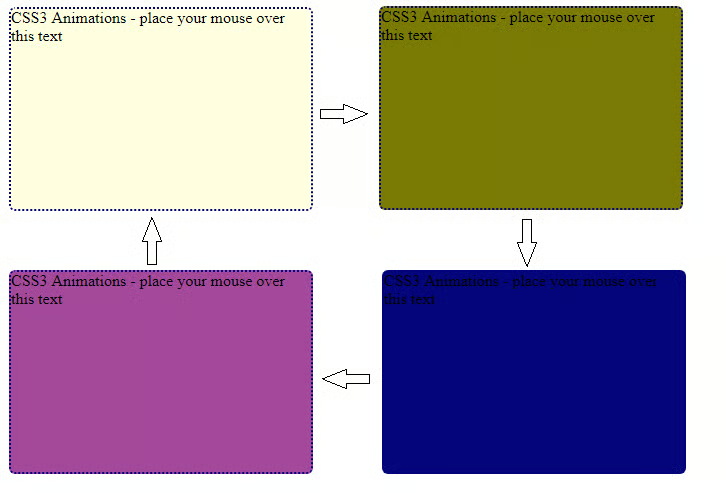
}- animation-play-state – using the animation-play-state function, we can specify whether the animation works properly or is interrupted.
<!DOCTYPE html>
<html>
<head>
     <style>
          div:hover {
	width:300px;
	height:200px;
	border:2px dotted;
	border-radius:6px;
	border-color: navy;
	background:red;
	position:relative;
	animation:packt 9s;
	webkit-animation:packt 9s;
	animation-iteration-count:5;
	animation-direction:alternate;
	animation-play-state:running;
	-webkit-animation-iteration-count:5;
	-webkit-animation-direction:alternate;
	-webkit-animation-play-state:running;
	}
@keyframes packt {
	0% {background:lightyellow; left:0px; top:0px;}
	25% {background:olive; left:350px; top:0px;}
	50% {background:navy; left:350px; top:350px;}
	75% {background:purple; left:0px; top:350px;}
	100% {background:lightyellow; left:0px; top:0px;}
}
@-webkit-keyframes packt {
	0% {background:lightyellow; left:0px; top:0px;}
	25% {background:olive; left:350px; top:0px;}
	50% {background:navy; left:350px; top:350px;}
	75% {background:purple; left:0px; top:350px;}
	100% {background:lightyellow; left:0px; top:0px;}
}
</style>
</head>

<body>
	<br>
	<div> CSS3 Animations </div>
</body>
</html>
The above example will have 3 iterations and after, the animation will automatically stop. Animation is in a different thread after the first reset and that is why it is the alternative. I have also defined the percentage of the keyframes, and the transition will take place according to the colors mentioned.