In the Binding CSS Styles to Events in Angular Applications article we learned a couple of techniques for dynamically styling elements in Angular, including the use of CSS variables. The great thing about CSS variables is that they may be applied to pseudo-classes like hover and focus. Another feature of CSS variables that we didn’t delve into is that they may be applied at either the document level or on individual elements as well. In this tutorial, we will explore some of the pros and cons of global versus element-level variable scoping as well as learn how to apply styles to specific elements at runtime.
Document versus Element Level Variables
Similar to compiled CSS extensions like Sass and Less, CSS now supports its own “pure” variables. These are defined by prefixing a double dash (–) before the variable name. We would then pass the CSS variable to the var() function in order to access its value. You declare a CSS variable at the top of your CSS file, as in the first snippet below, or at the rule level, as seen in the second snippet:
1: Document Level CSS Variable Declaration
--main-bg-color: brown;

.background {
  background-color: var(--main-bg-color);
}
2: Rule Level CSS Variable Declaration
.wrapper:focus {
  background-color: --focus-color;
}
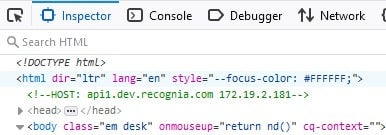
When you apply the CSSStyleDeclaration’s setProperty() method at the document level in TypeScript or JavaScript, the variable is added to the HTML tag’s inline style attribute:
document.documentElement.style.setProperty('--focus- color', this.textcolor);
This is very much equivalent to declaring a custom property on the :root pseudo-class in your stylesheet:
:root {
  --main-bg-color: brown;
}
Nothing wrong with that, but you should be aware that all elements that reference the —main-bg-color variable will be affected.
Programming best practices dictate that you should always try to declare your variables at the most limited scope as possible. This advice falls under the age-old adage that “global variables are bad”. Regardless of whether or not you yourself subscribe to this maxim, there can be many valid reasons for limiting the scope of your custom properties.
Here is how we would apply the –focus-color to a specific DIV element, using TypeScript code:
@ViewChild("svgImage", { static: true })
private svgImageRef: ElementRef<HTMLDivElement>;
//later in the code
svgImageRef.nativeElement.
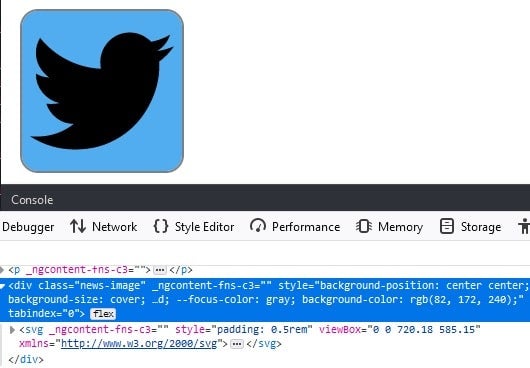
Now we see that the CSS variable has been added to that element’s inline style:
An End-to-end Example
Here’s some CSS that sets two color variables: one for the hover background color, the other, for the focus border color:
.news-image {
  $hoverColor: var(--hover-color);
  $focusColor: var(--focus-color);

  :hover {
    background-color: $hoverColor;
  }

  &:focus {
    outline: 2px solid $focusColor;
  }
}
Since the variables are declared within a rule, the variable scope is limited to elements that match the rule selector.
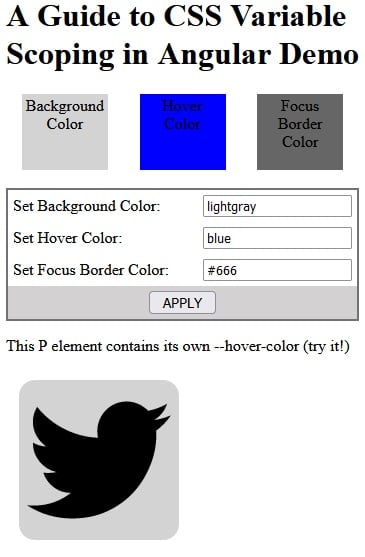
Recall that in the Binding CSS Styles to Events in Angular Applications demo, we used global CSS variables to set the three color preview squares. Now, let’s apply the same technique to the Feed Component, but using localized variable declarations, like the one above.
In order to reference the news-image DIV in TypeScript code, we’ll need to add the #svgImage template reference to the DIV tag:
<div
  class="news-image"
  #svgImage
  tabindex="0"
  style="background-position: center; background-size: cover"
  [style.backgroundColor]="backgroundColor"
>
  <svg>
  ...
  </svg>
</div>
At the top of the FeedComponent class, you’ll see the same @Input variable declarations as previously, as well as reference to the news-image DIV, courtesy of the @ViewChild input decorator:
export class FeedComponent implements AfterContentInit, OnChanges {
@Input('background-color')
backgroundColor: string = 'blue';
@Input('hover-background-
Perhaps you noticed that the FeedComponent now implements the AfterContentInit and OnChanges lifecycle hooks. Let’s go over those now.
Variable Initialization
Although you can access @Input variables in the ngOnInit event, you can’t reference DOM elements until ngAfterContentInit. The svgImageRef’s CSSStyleDeclaration is is stored in a private class member variable for later use. Then the hover and focus colors are set on the svgImageRef element:
private svgStyle: CSSStyleDeclaration;
ngAfterContentInit(): void {
this.svgStyle = this.svgImageRef.
Updating Variable Values
While the ngAfterContentInit lifecycle hook sets CSS variables when the application first loads, we need to implement another lifecycle hook for updates to the input variables, i.e., whenever the user enters data in the input fields and clicks the APPLY button. That’s where ngOnChanges comes in. It is called when any data-bound property of a directive changes, in other words, whenever the component’s @Input variable values change.
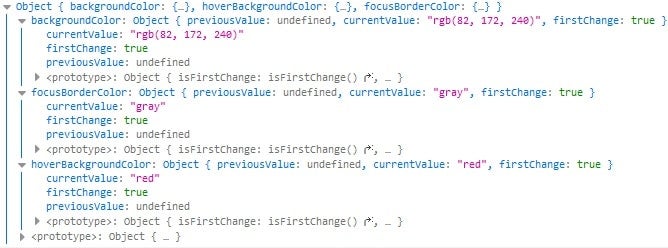
The first time ngOnChanges fires is very early on in the application lifecycle, in fact before ngOnInit(). Therefore, there is no point in updating the CSS colors the first go-around, as the DOM would not be ready. We can check whether or not it’s the first run via the firstChange property. It’s true the first time ngOnChanges is called. Beyond that, we also have to check for the variable itself, as each bound variable is returned with its corresponding SimpleChanges instance. Here’s what we get for each of our @Input variables the first time ngOnChanges executes:
The following code updates the hover and focus colors every time that a value changes after the first run:
ngOnChanges(changes: SimpleChanges): void {
if (changes.hoverBackgroundColor
&&& !changes.hoverBackgroundColor.
You’ll find the new demo on stackblitz.com:
Conclusion
In this tutorial, we learned about CSS variable scoping as well as how to apply them to specific elements using TypeScript/JavaScript. Ultimately, the decision of whether to declare your CSS variables at the root or within rule blocks, is yours to make. I personally try to scope all variables as tightly as is feasible because you can always increase the scope later.


