
6/12/13
In this review we look at the free version of WPTouch, a mobile plugin for WordPress. Note that in order for the plugin to work properly, you need WordPress 3.1 or higher and that the plugin is compatible up to version 3.5.2.
For reference, I’ve used WPTouch on my blog: Travels with Nathan.
To get started, go to the Dashboard and click on Plugins: Add New. Search for WPTouch (if you haven’t downloaded it) and click on the Install button. Once the plugin has been installed and activated, go to Settings: WPTouch.
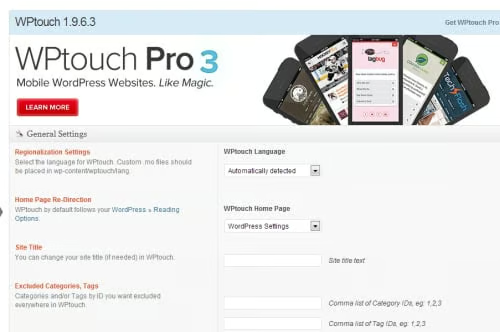
You’ll see the following screen above. Note that WPTouch will also be active for mobile devices but it will need to be configured. At this point you’ll also be able to view the installation on your mobile device.
Note: I had wanted to create screen shots of my progress on my Samsung Galaxy Nexus, but despite testing out several techniques and programs, I was unable to do so. The best I can offer is the finished configuration, which you’ll see at the end of this article.
Before You Get Started
Most WordPress sites make use of JavaScript, CSS and image files which can slow down uploads. These negatively impact the user experience and could cause them to leave your site.
Also, since each WordPress installation is different, this will impact the site appearance on mobile devices. One reason for this is the size of the screen. It’s simply not possible to effectively display a desktop site on a mobile device. Trying to do so will result in a highly compressed screen that’s difficult or impossible to read at best or a layout that might break apart.
In the WPTouch interface, you’ll see an admin panel which allows you to customize many aspects of your site for an effective mobile presentation. This admin panel is only for the mobile presentation and doesn’t affect your desktop theme.
If users don’t like the mobile appearance and want to see your normal site on a mobile phone (not recommended in my experience), there’s a switch they can make use of in the footer.
The WPTouch plugin also installs a bit of code into your current theme. This will only be shown to users with an iPhone, iPod touch, Android or BlackBerry. This will give them ability to switch between themes.
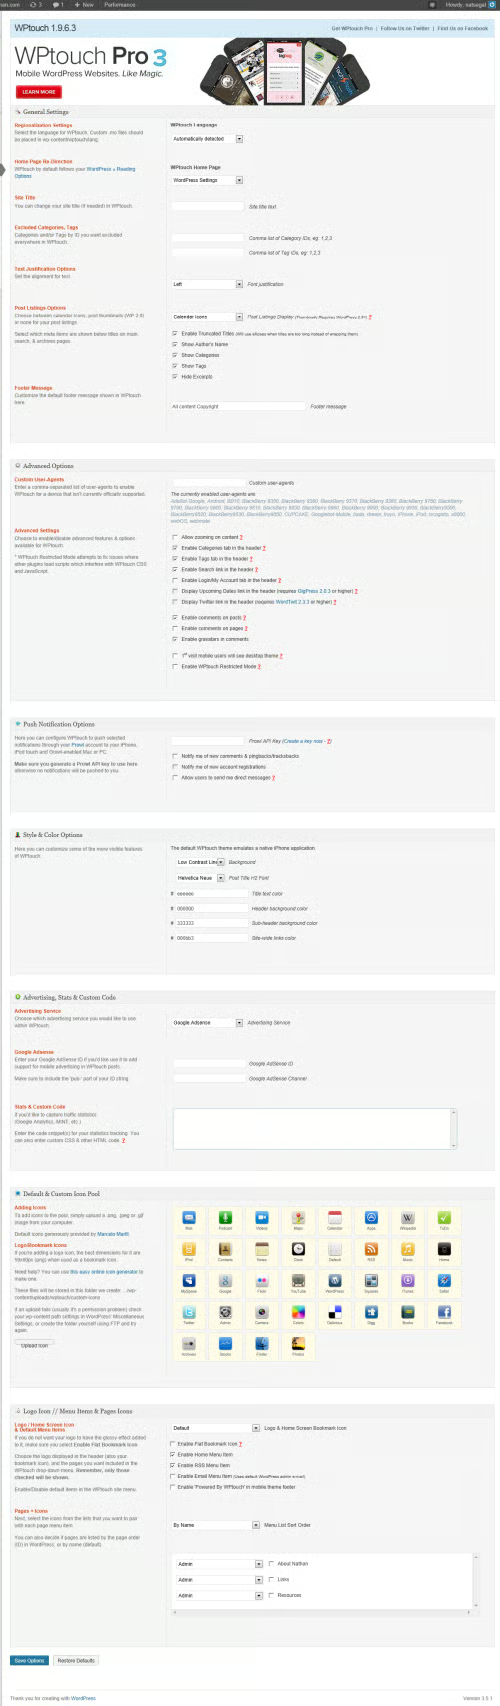
Here’s the full panel of options for WPTouch.
Looking at the WPTouch site (and the interface, I found many options but some (such as the excluded ID categories and tags), I didn’t undertand at all. A manual, even a short one would have helped a lot here.
One of the first things I noticed when I activated the plugin on my Android is that my logo didn’t appear, which is just as well because the text on it would be microscopic on a mobile interface. In place of the logo you’re given the option of entering the text name of your site on the mobile interface. Also, strangely enough, most of the logo options aren’t at the top of the interface but near the bottom of the interface, as I found out later.
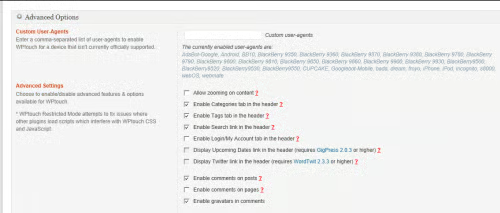
In the Advanced Options section, I noticed a question mark beside several of the settings, which looked like a link, but when I clicked on it, nothing happened. Suspecting that the problem might be my browser I launched the plugin in both Google Chrome and IE 9. Same result. At this point I don’t know if the problem is a bug or a missed setting on my end.
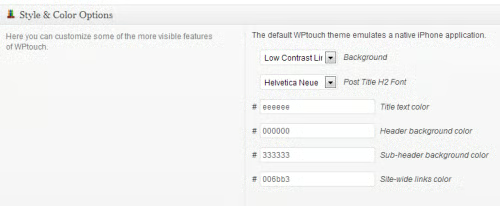
In the style and color options section, I learned that WPTouch emulates a native iPhone application. Here, I chose to leave the settings at their defaults.
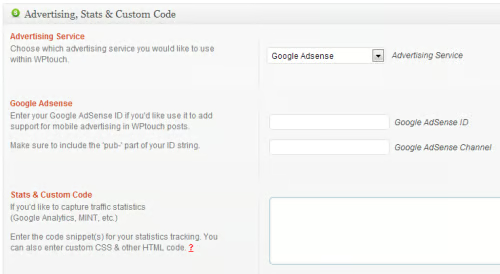
In the Advertising, Stats and Custom Code section, you can enable Google Adsense and make use of tracking services for the mobile site, such as Google Analytics.
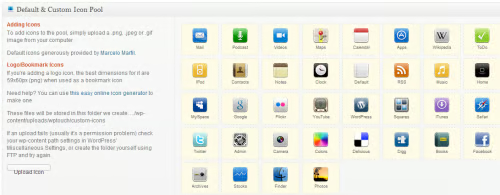
In the default and custom icon pool, you’re given access to a variety of icons for your mobile interface. You can also upload custom icons and if you do, the recommended size is 59×60 pixels for a bookmark icon. WPTouch also gives you the link of a program you can use to create icons. Unfortunately, I received a 404 error when I clicked on it.
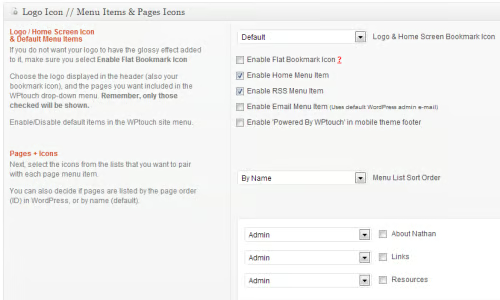
Logo Icon // Home Screen Icon and Default Menu Items
This is the last major section on the interface, where you can select an icon for your logo and icons for the various pages of your site. I chose the Maps icon rather than create one from scratch and some other icons for my pages. None of those matched my theme, though. I would have had to create all of the icons I wanted from scratch.
At the very bottom of the interface is a Save Changes button. Personally, I would have liked to see that button at different stages along the way, mostly due to the issue of losing your settings if something goes wrong during the setup process.
Since I didn
’
t get the results I was hoping for with the WPTouch free plugin, I installed the review copy of WPTouch Pro 3. Even in the default state I liked the look and feel of the layout. This was so much better than the free plugin and I
’
m looking forward to writing a review of it.
.
Conclusion
Overall, WPTouch seems like a simple program to use, but I would have appreciated an instruction manual. That would have filled in the fine points of the program and would have allowed me greater understanding. Ufortunately, the worst problem was that despite saving the updates on the interface, I was unable to view them on my mobile device, despite saving them multiple times. As a result I cannot recommend the free plugin.
Having said that, one of my colleagues uses <a href=”http://www.bravenewcode.com/wptouch/” target=”_blank”>WPTouch Pro 3</a>, the paid version and is happy with it. This will be the subject of an upcoming review.
