
A great way to increase viewership to your blog is to create a podcast. There are many ways to do it, though the easiest way I know of is to install and configure the Blubrry PowerPress plugin.
First off, download the Blubrry PowerPress plugin and install it in the plugins location on your WordPress site.
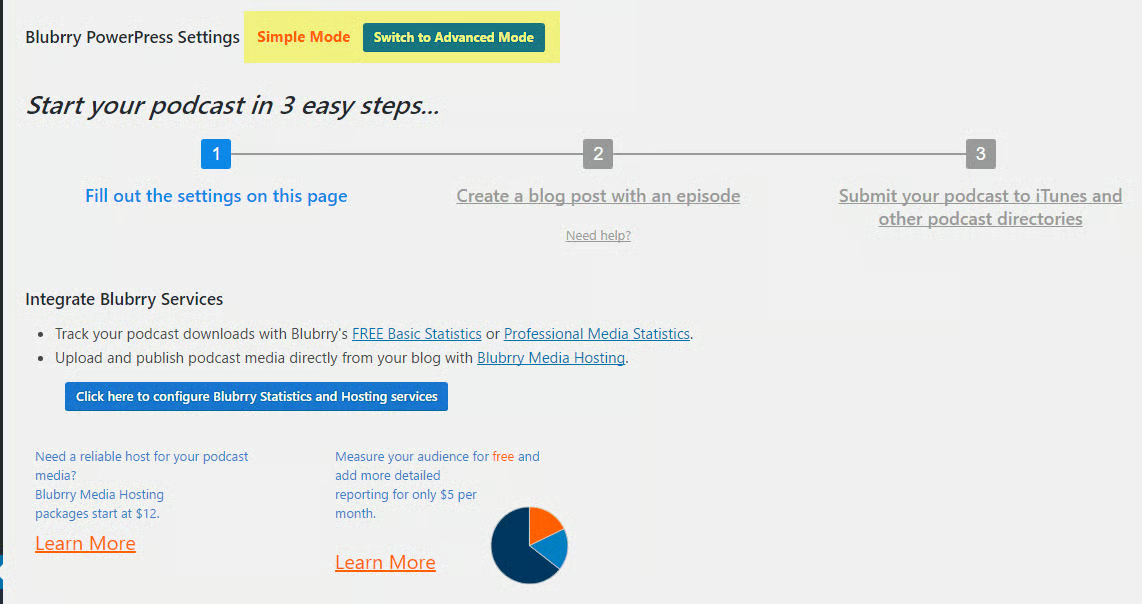
When you activate the plugin, click on Settings. This brings up the page above. Note that there are three major steps. Also note that the setup defaults to Simple Mode. You could use the Advanced Mode, but that’s not necessary. The Advanced Mode only comes into play when you want to customize your podcasting experience.

As you scroll down the page, you will see several sections for settings. Note the settings I’ve filled in above. As you can see, I’ve left the Program Title section blank to use the name of the blog. I’ve filled in the Subtitle, the iTunes Program Summary and set the iTunes Category.
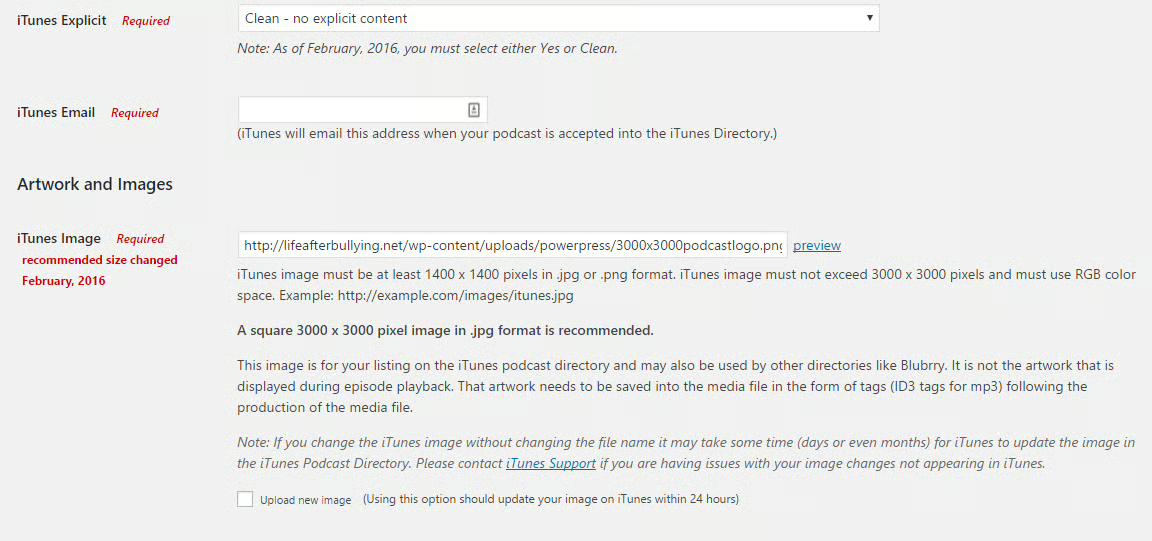
In the above section, you must set iTunes Explicit or Clean — no explicit content in this case, use an email address to be notified about the iTunes submission and set create an image that is a minimum of 1400 x 1400 to a maximum of 3000 x 3000 pixels. The format needs to be .PNG or .JPG (I used an email address but removed it here to preserve my privacy).
Note: If you want to change the image later, you can, though it takes some time for the new image to appear. This could be months before it’s updated in the directory. According to iTunes, if the update doesn’t appear quickly, contact them for support.
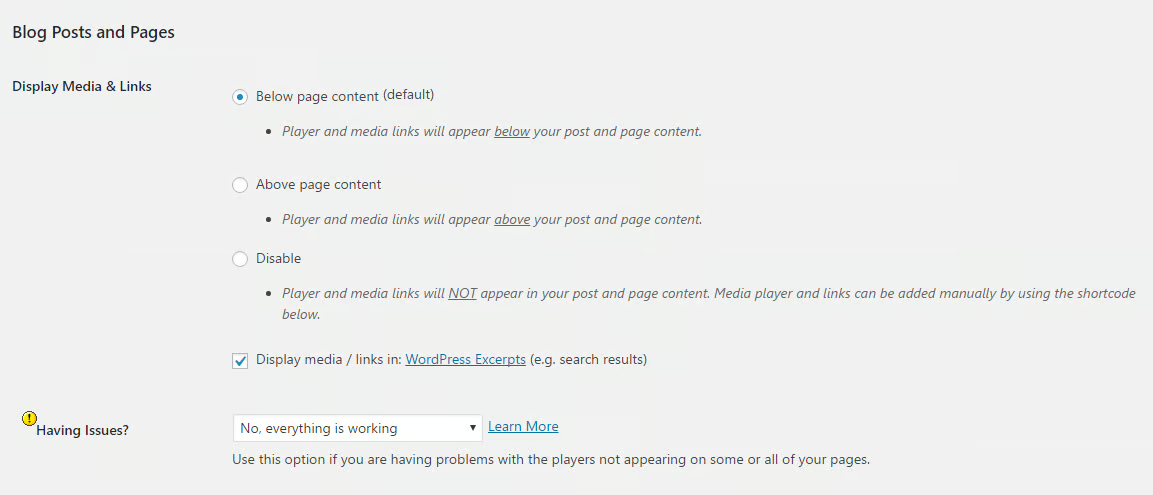
Next is the section on Blog Posts and Pages. As you can see, I’ve set the display media to load the MP3 player below the page. I’ve enabled Display Media, as well.
Create a Post and Add the MP3 File
When it comes time to load the .MP3 file, you have some options. One of those is to upload it to your own hosting account. This will save you cash though the down side is if your podcast becomes popular, this could overload your server.
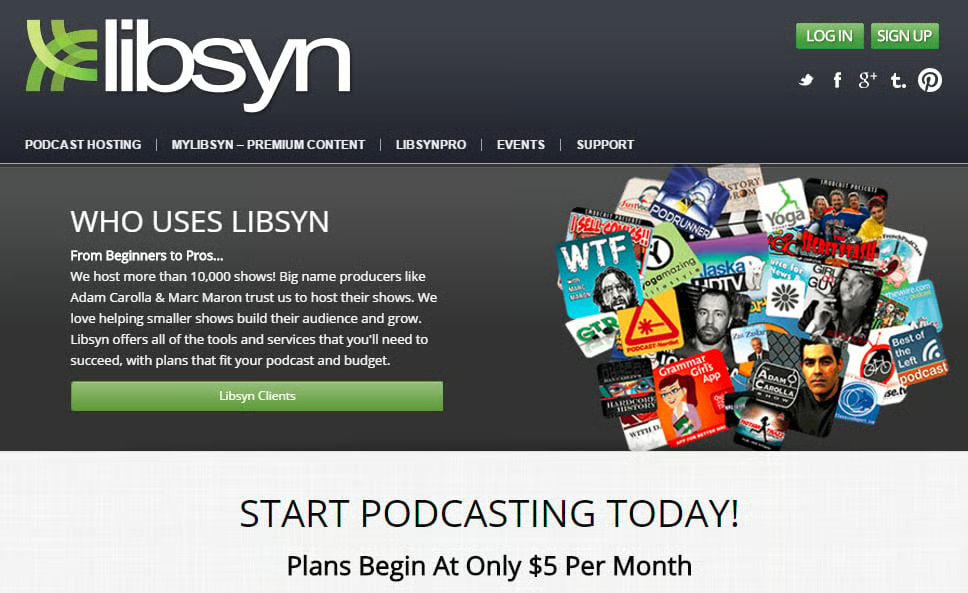
Another option is to make use of a service such as Libsyn, which is designed to handle podcasts. You can also host your MP3 files through Blubrry, as in the screen shot below.
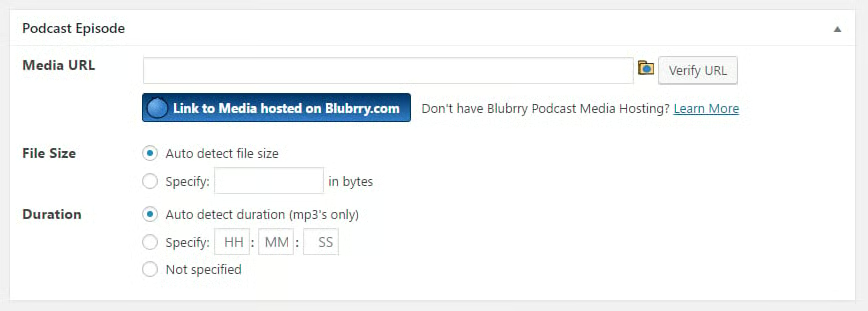
Once you have uploaded the MP3 file, you need to make a post and add the MP3 to a post, which will look like the above. Note that when you enter the path for your MP3, you must click on the Verify URL button at the far right. Once the path has been validated, you can publish the post.

If you need to modify the podcast later, enable the Podcast Episode checkbox and the entire podcast path will become visible and you can make the necessary changes.
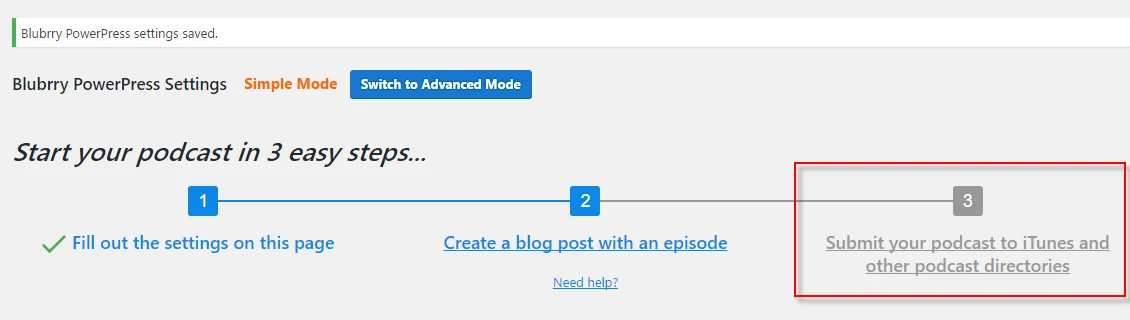
Once you’re done with the post, you’re ready for step three, which is to submit your podcast to iTunes. Scroll to the top of the PowerPress page and click on Submit your podcast to iTunes and other podcast directories.

This brings up the Publish Podcast to iTunes page. You will see your feed URL. Highlight and copy the feed. You will need this when you make your iTunes submission. Below that is the Before you submit your podcast to iTunes section. Make sure you read this carefully and fill it out exactly as required.
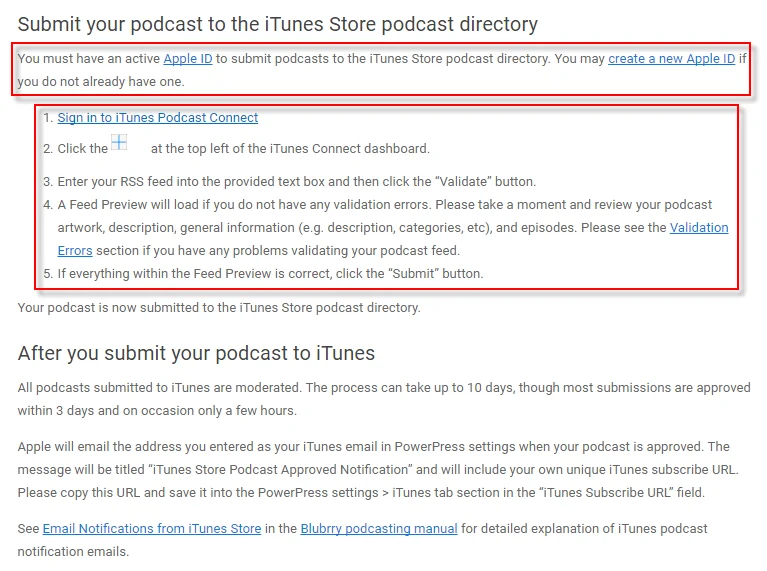
To submit your podcast, you need a valid Apple ID.
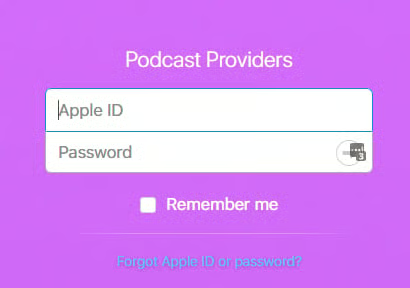
If you don’t have one, you need to create it and sign in. Once there, you will be on a page with no obvious next step. Click on the heading at the top-left.
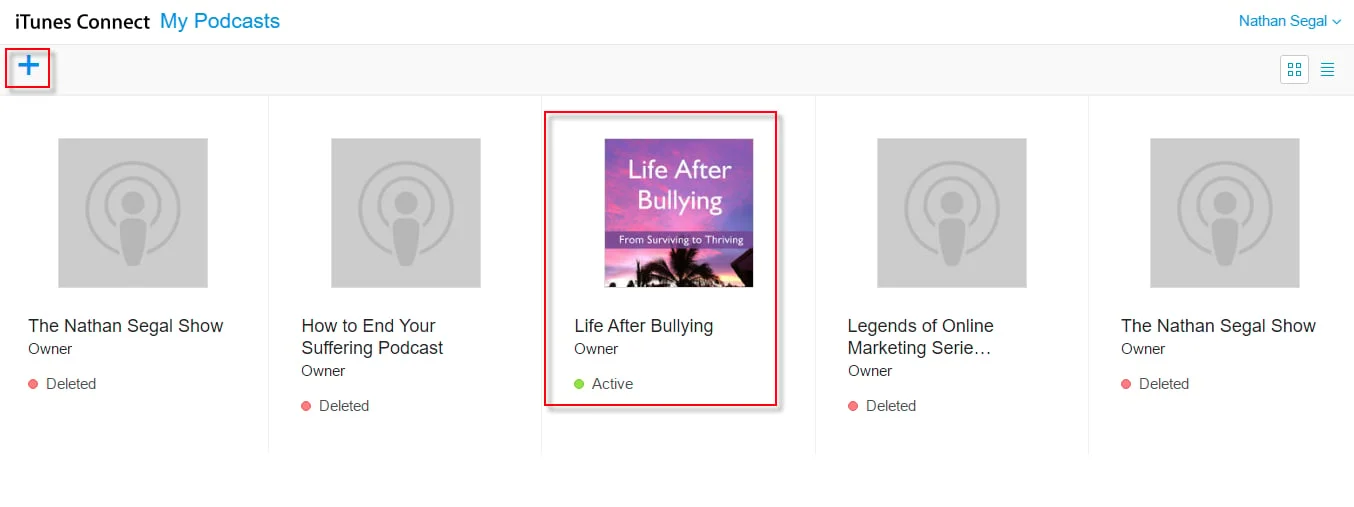
This will take you the page above. Click on the “+” button at top-left to submit your podcast.

Here, you paste in your feed, validate it, and submit it. Once done, it could take a few days for Apple to approve your podcast.
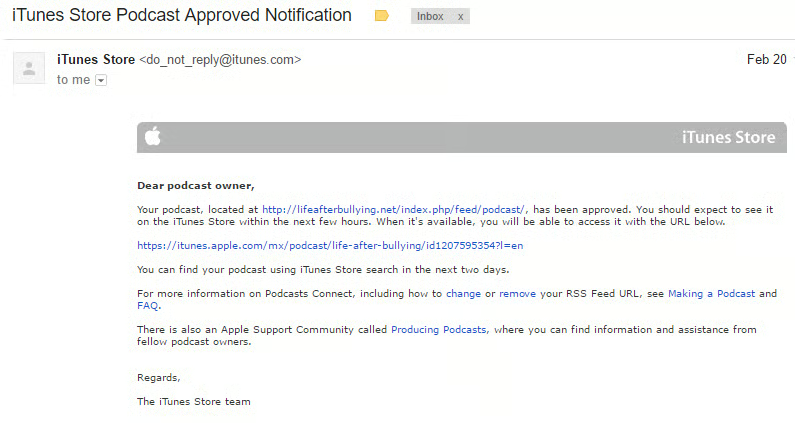
When they do, you will receive an email message like the above. Once you do, your podcast will be live on iTunes.
Viewing the Result
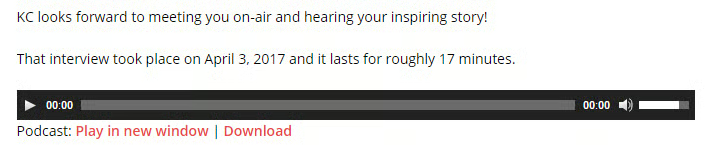
Here is what the default player looks like at the bottom of your post.
Options and Troubleshooting
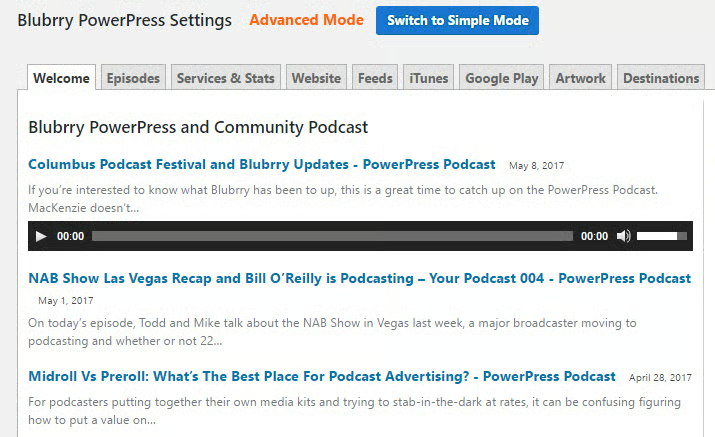
Everything covered so far has been for the Simple Mode. If you want to tinker with the Advanced Mode, click on the button at the top of the Blubrry PowerPress screen. As you can see, your options are Welcome, Episodes, Services and Stats, Website, Feeds, iTunes, Google Play, Artwork, and Destination.
In the Blog Posts and Pages section, I chose the option of Below Page Content. But what if you want more control, and to place the player somewhere else? Here’s how to do it:
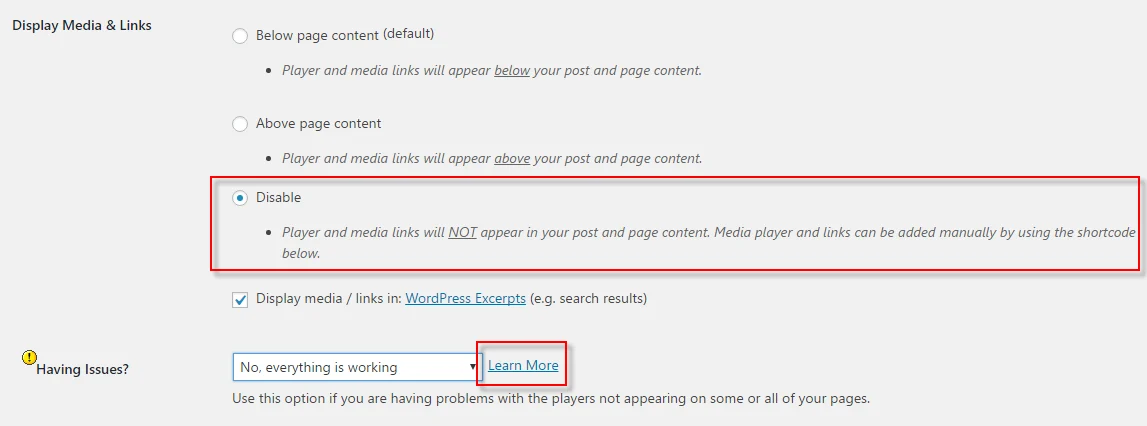
Go to Display Media and Links. Enable the disable section, which removes the player from all posts and page content. You are instructed to add the player using a shortcode. Click on the Learn More link.

This takes you to a page Resolving Plugin or Theme Issues. Scroll to the How to fix a player and links display issue with PowerPress. Click on the link.
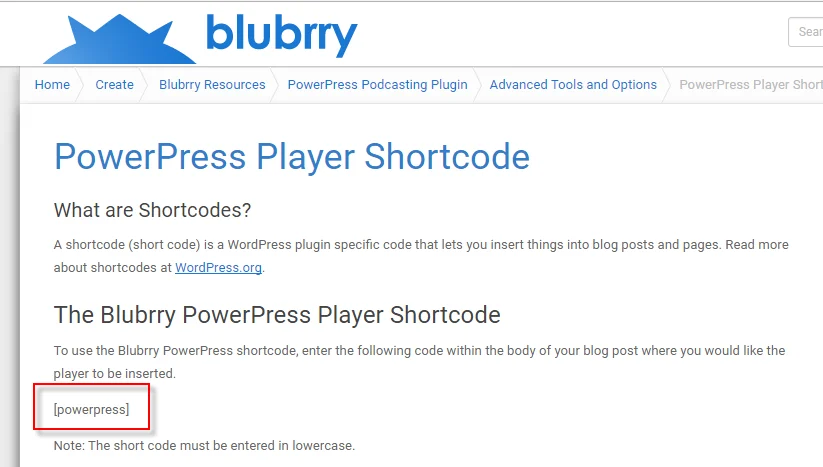
This takes you to the PowerPress Player Shortcode page. Copy the shortcode and use it within the content of your blog post, making sure to click on the Text tab, first. Update your post.
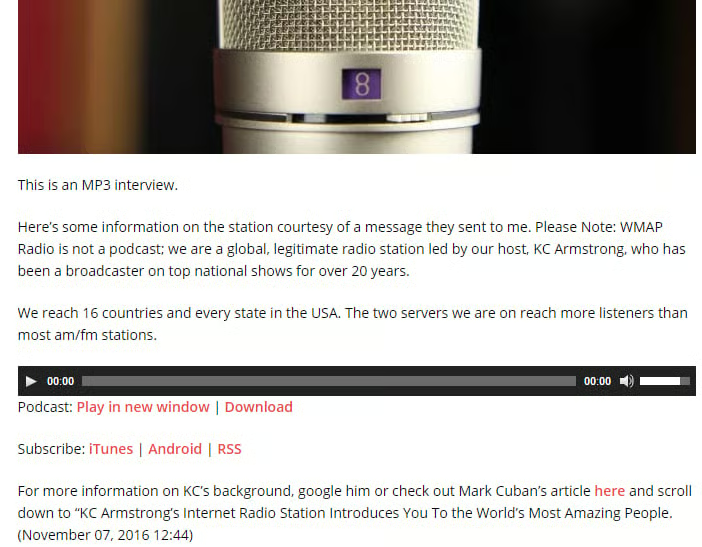
For the purposes of demonstration only, I inserted the player into the middle of the post.
That’s it. You now know how to setup the Blubrry PowerPress plugin to publish your podcasts.
About the Author
Nathan Segal has been working as a freelance writer for 18 years. In that time he has published more than 1,000 articles and has written 9 books. You can learn more about him at http://NathanSegal.org.
