As a web developer, you may have worked with content management systems (CMS) such as Joomla!, Drupal or others, and toyed with the prospect of using one of them to create your own ecommerce site. After struggling to do so, I came across PrestaShop, an open source “instant storefront” CMS that seemed to have all the features I was looking for. In this review we’ll take a look at PrestaShop, walk you through the installation process, and show you what it can do.
Frankly, after seeing the demo of PrestaShop, I was shocked to find that it’s open source, and as such, free. The only “extra” is that there are lots of modules and templates that are available for PrestaShop that are not free, but realistically, the software comes out-of-the-box with all of the features I was after to begin with.
PrestaShop allows you to add catagories of products, subcategories of products, products complete with feature listings, pictures, related items and more detailed information. You can create customer groups, newsletters, a customer referral program, even a loyalty system for returning customers.
You are able to create special offers, promotions, and coupons, create customizable order status reports and emails, and accept payments from an unlimited number of payment systems including Paypal, Moneybookers, Hipay and Google Checkout. Add to that the ability to view statistics from your site’s customers, provide instant translations for your complete site, and accept unlimited currencies, and you have a full-featured ecommerce package.
PrestaShop Requirements and Installation
In this review, we’re looking at PrestaShop 1.3. Although Release Candidate 5 of PrestaShop 1.4 is available, I prefer to evaluate stable software for reviews.
PrestaShop requires PHP 5 or later and the use of a MySQL 5 database, so if you already have PHP installed on your host (Windows, Linux or Unix), you’re half way done. If you’re lucky, you’ll be able to use your web host’s CPanel to create a new database, as shown below.
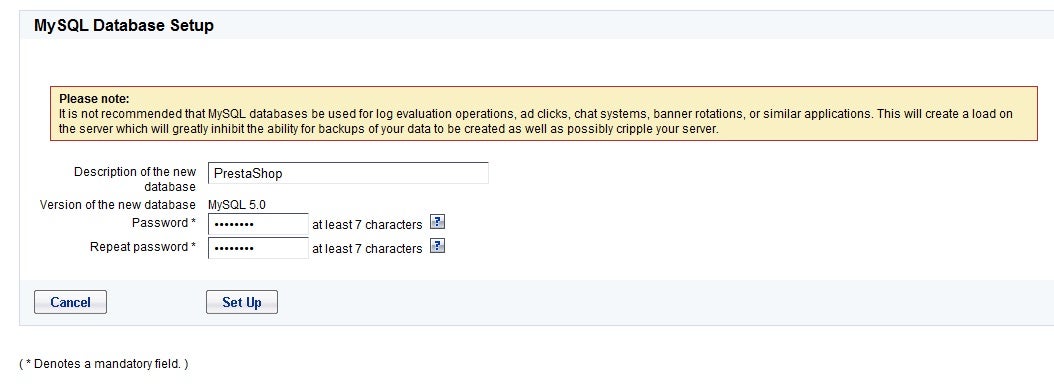
Once the database is setup, you will be presented with a screen which shows you the database information, including the name, username and hostname. I suggest that you copy and paste them into a document so that you’ll have them ready to begin the installation procedure, which is done via a web browser interface.
You will need to transfer the files for PrestaShop from your local computer over to your web host. This is usually done using a File Transfer Protocol(FTP) client such as WS_FTP, but you can move the files however you are used to doing it. Once they are all on your web host, you are ready to proceed.
Forcing a Web Server to Use PHP 5 With .htaccess
One issue that you might run into is that your host already has PHP installed, but when you go to run the installation script, you receive an error message. This is largely caused by using a version of PHP lower than version 5. To manually enable your server to use PHP 5, you can add a line to the beginning of your site’s .htaccess file, like this:
AddType x-mapp-php5 .php
That will force the web server to use PHP 5, and you’ll be able to run the installation script. It’s saved me many times when installing software on my web server, and perhaps it will save you a bit of frustration this time.
Installing PrestaShop
To begin, point your browser to the site of your installation, like this:
http://www.yoursite.com/install/
if you are using PrestaShop as the basis for your site (i.e. it’s in the root/main directory), or like this:
http://www.yoursite.com/prestashop/install/
if you are using it in a secondary directory, like I am in this review. Once there, if everything is working properly, you should see this screen:
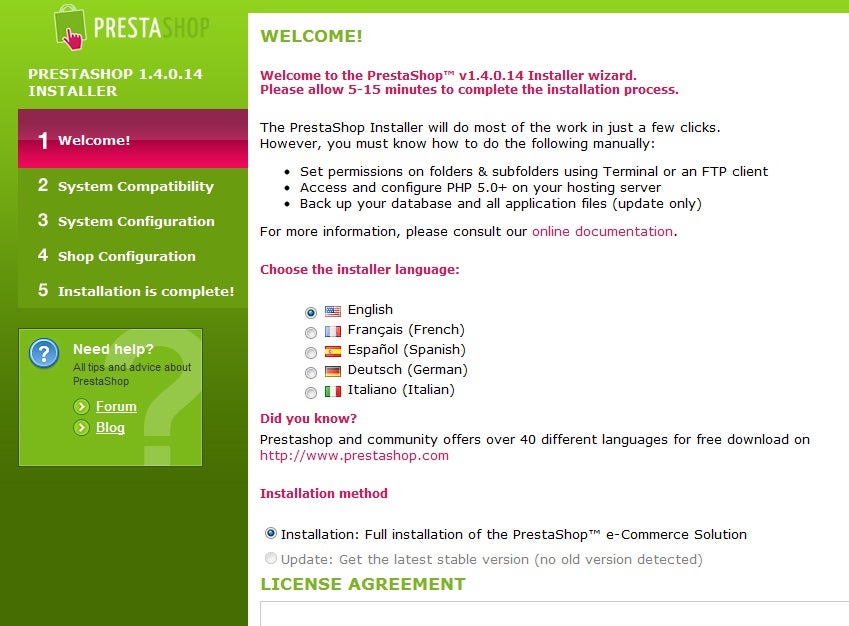
After agreeing to the Terms and Agreement for use, you proceed to the next step, which involves a quick test of your site’s setup and permissions. If they are correct, you will see the following:

The next step is to input all the info you got when you created the MySQL database. If you kept it handy, as I mentioned, this step takes less than a minute. Here’s what it looks like when you get to that point:
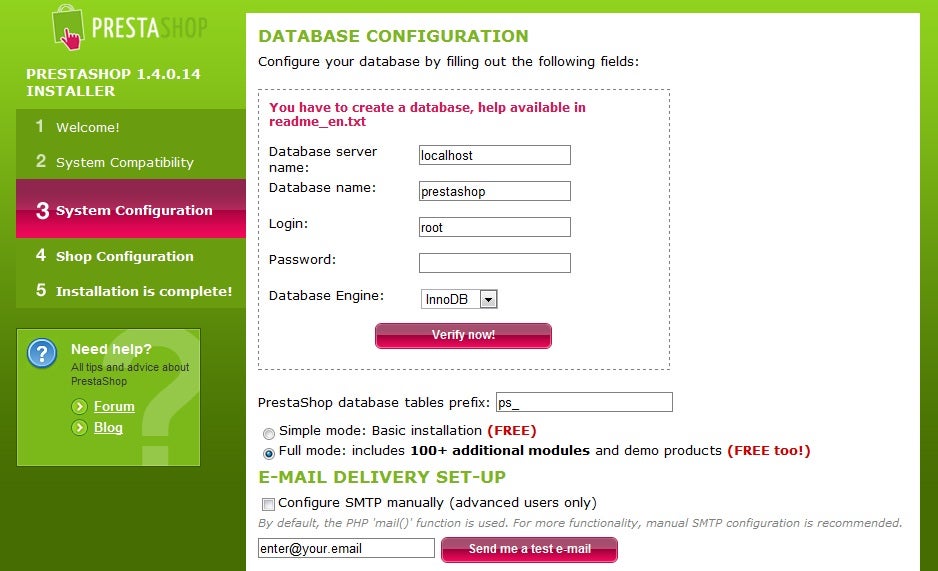
Once you have added the database info, it tests the connection to the database, then you’re ready to move on to the next step. Note that it asks you for the database “Login” when really you need to put the database username in that field.
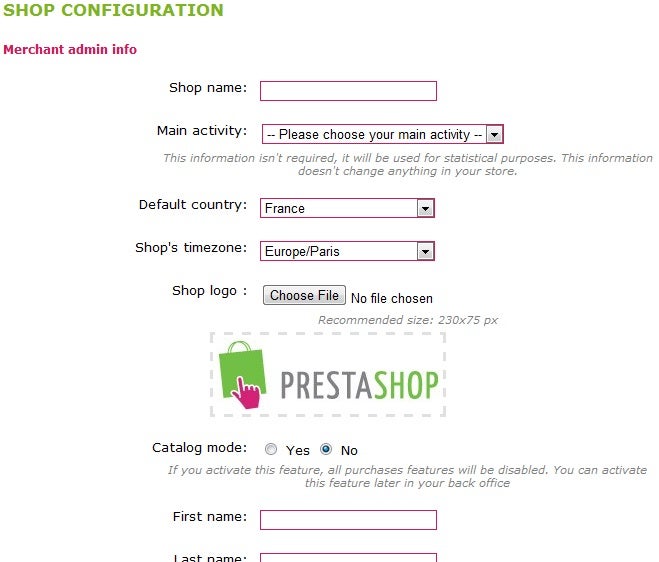
The next step is where you confgure the site by adding the site name, timezone, logo, your name, etc. It only takes a few moments and you’re ready to complete the installation. Here’s what it looks like:
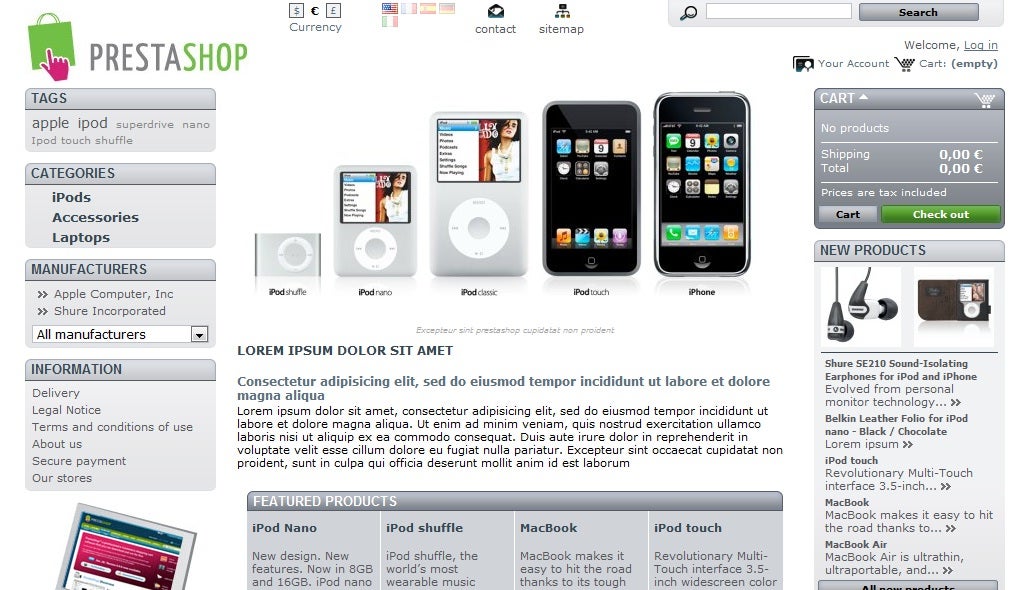
Congrats, that’s it! The installation is complete–the only thing left to do is delete the /install directory and files, along with the readme files in the main directory. You’ll also need to rename the /admin folder to another, less attractive name such as “employees” or something similar. Here’s what it looks like when you’re finished with the installation procedures–this is what a visitor to your site sees.
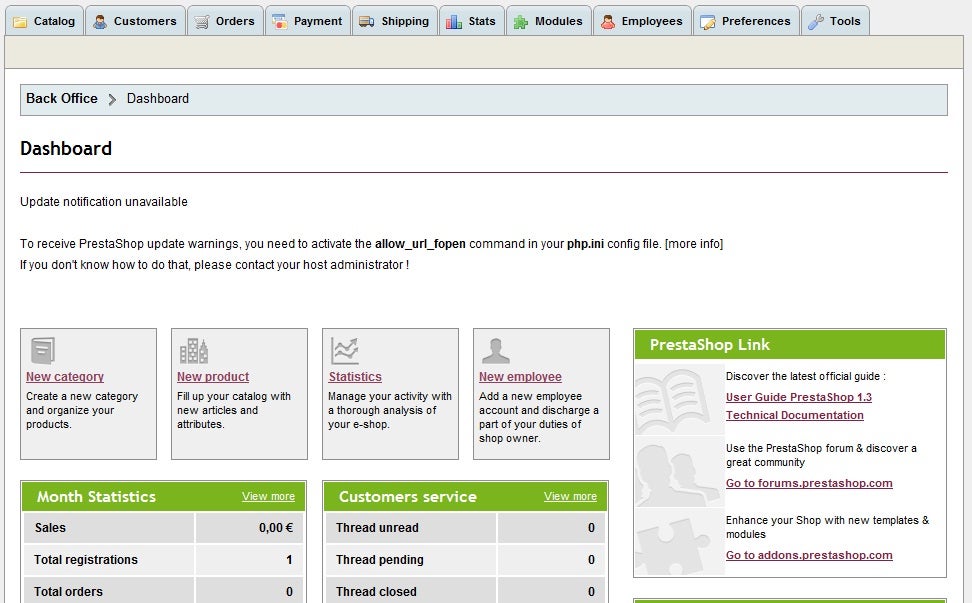
And here’s what the administration page looks like:
Conclusion
Okay, so it’s installed, and the basic PrestaShop software is alive and working on your web host. Now is when the real work begins…not development work, but ecommerce work–creating categories, adding items, adding images, filling in all the content for category pages, refining your logo, turning the site from a simple script, into an online storefront. This is where all your time will be spent. Installing the script is fairly easy, but setting up your storefront is tedious, and takes a substantial amount of time. Don’t get me wrong–this is the case with ALL ecommerce shops scripts–all the items you see available in an eshop had to be added one at a time. All in all, PrestaShop is a terrific tool you can use to create serious online stores for yourself or your clients.


