HTML5 Canvas: What Is It?
The <canvas> element can seem confusing at first glance. Often described as an HTML5 element you can use for drawing purposes, the truth is, the element is only a container that you can draw in via other methods (such as JavaScript).
So why would you want to draw on a page anyway? What sort of drawing can you do? For the most part, <canvas> is used for images like charts and diagrams, animations, and as a workaround for issues with CSS. While that may sound simple at first glance, their are a ton of really cool canvas experiments out there, where web developers have used the element in some creative and ingenius ways. Perform a quick Google search for: “cool html5 canvas examples” and you will see what I mean.
So what types of shapes can you actually draw through the <canvas> element? At the core, the basic shapes include: arcs, curves (different types), lines, and rectangles. Those, of course, can be combined to create virtually any shape or object imagineable with the right skillset and patience. Combined with some handy effects (transparency, composition, gradients, shadows, fills, and strokes), and you truly have a way to create your own virtual masterpiece.
HTML5 Canvas Examples
To begin with, let’s create a basic shape in our <canvas> element. The code is fairly simple:
<!DOCTYPE html>
<html>
<body>
<p>Don’t be a square!</p>
<canvas id=”squareCanvas” width=”400″ height=”400″ style=”border:10px solid #000000;”>
</canvas>
</body>
</html>
Here, we print out some text, then draw our canvas shape. We set the attributes of the canvas to have a width and height of “400” and create a border of 10 pixels. The result is a big square with a thick black border.
Of course, the real power of canvas is the ability to draw with JavaScript. In the following code, we create a 500×500 canvas with a 10 pixel yellow border. Then, using JavaScript, we “draw” a black square in the center of our canvas.
<!DOCTYPE html>
<html>
<body>
<h3>Black Square in Yellow Canvas by James Payne</h3>
<canvas id=”squareCanvas” width=”500″ height=”500″ style=”border:10px solid #FFFF00;”>
</canvas>
<script>
var art = document.getElementById(“squareCanvas”);
var stylish = art.getContext(“2d”);
stylish.fillStyle = “#000000”;
stylish.fillRect(125,125,250,250);
</script>
</body>
</html>
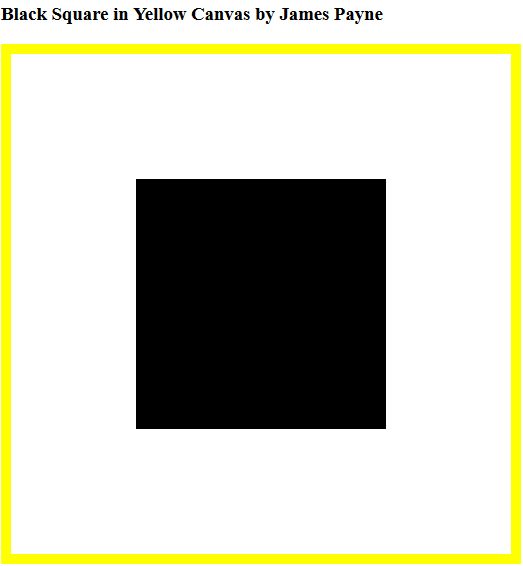
In the above example, fillStyle tells the browser what color to fill our drawing with (black in this instance). Meanwhile, fillRect defines the location and size of the drawing within our canvas (which we named “squareCanvas”.
Looking at the code, fillRect can be a little tricky to understand at first. Essentially, you have four coordinates or parameters to fill in. The first number (125), tells the browser how many pixels in the image should start. If we had set this number to “0”, the drawing would begin right against the canvas. The second number (also 125) tells the browser how many pixels down from the top of the canvas to begin the drawing.
Alternately, you could view the four coordinates as just that; the four coordinates to start each point of our drawing at. Everything between those four points, in this instance, gets filled with our fillStyle settings.
Draw a Straight Line with HTML5 Canvas
Drawing lines in a canvas is fairly simple as well. In this example, we are going to create a simple square canvas again. Then we are going to add a script that draw a line directly in the center that runs from the top of the canvas, to the bottom:
<!DOCTYPE html>
<html>
<body>
<canvas id=”lineCanvas” width=”200″ height=”200″ style=”border:1px solid #000000;”>
</canvas>
<script>
var line_example = document.getElementById(“lineCanvas”);
var straight = line_example.getContext(“2d”);
straight.moveTo(100,0);
straight.lineTo(100,200);
straight.stroke();
</script>
</body>
</html>
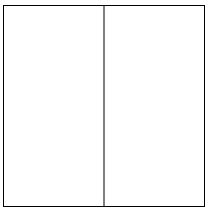
In the above example, moveTo(100,0) is where we set the starting point for our line. LineTo(100,200) is where we set the end point of the line. Finally, stroke() is used to add fill to the line. In this instance, we leave its parameter blank, which results in a default black line.
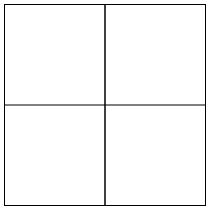
But what if we wanted to add another line to our canvas? Doing so is pretty easy. We just add the coordinates for our second line to the <script> like so:
<!DOCTYPE html>
<html>
<body>
<canvas id=”lineCanvas” width=”200″ height=”200″ style=”border:1px solid #000000;”>
</canvas>
<script>
var line_example = document.getElementById(“lineCanvas”);
var straight = line_example.getContext(“2d”);
straight.moveTo(100,0);
straight.lineTo(100,200);
straight.stroke();
var line_example2 = document.getElementById(“lineCanvas”);
var straight2 = line_example2.getContext(“2d”);
straight2.moveTo(0,100);
straight2.lineTo(200,100);
straight2.stroke();
</script>
</body>
</html>
Drawing Text in HTML5 Canvas
In addition to shapes, you can also create text drawings inside of your canvas. Here is an example using the font Arial with a 32px size:
<!DOCTYPE html>
<html>
<body>
<canvas id=”textCanvas” width=”200″ height=”200″ style=”border:10px solid #000000;”>
</canvas>
<script>
var example_text = document.getElementById(“textCanvas”);
var my_text = example_text.getContext(“2d”);
my_text.font = “32px Arial”;
my_text.fillText(“My Text”,50,100);
</script>
</body>
</html>
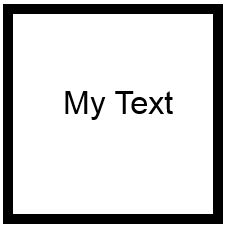
Here, text.font sets the size and font type to use for our drawing. Meanwhile, fillText has several parameters. The first is the text you want to “draw”, while the second and third represent the X,Y axis. The “50” in the above code determines the beginning point of our text from the left-side of the canvas, while the 100 determines how many pixels from the top our text is.
Other Uses for HTML5 Canvas
In addition to adding shapes and text to a canvas element, you can also insert images, gradients, and even (for those that are exceptionally skilled) complex animations. Unfortunately, we do not have time to cover these techniques in this article. Stay tuned, however, as we will be following up on this tutorial with another, focusing on advanced HTML5 canvas examples.