
In this article, we’re going to walk you through the process of installing Joomla! using Cloudaccess.net, a virtual Joomla! application host.
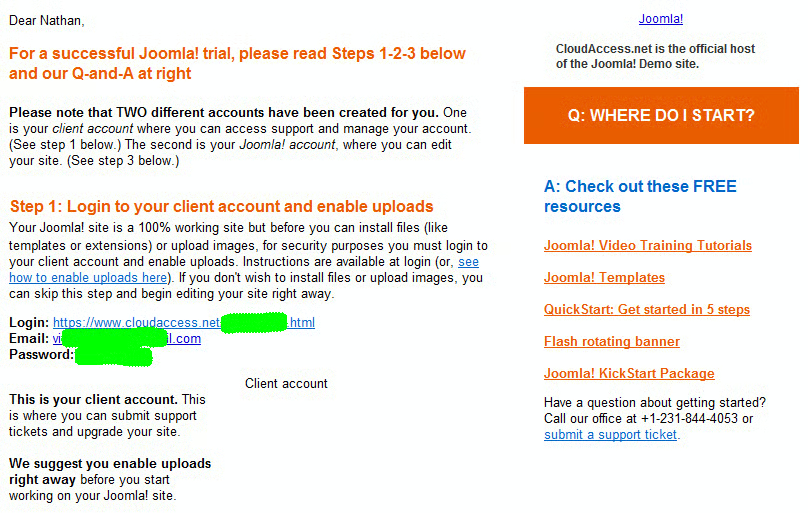
When you sign up for a demo with Cloudaccess.net, you’ll receive a welcome message like the one below, which also gives you access to the getting started tutorials and login information for both the frontend and backend of Joomla!. The edits you make on the backend (aka The Joomla! Administrator) are reflected on the frontend of the your site. To elaborate, the first account is the client account which gives you access to support and to manage your account. The second account is for editing your site. You also get access to free email and phone support.
This is the frontend of your Joomla! site.

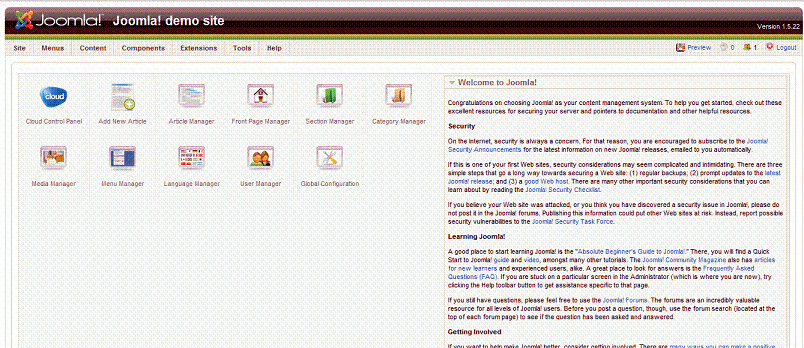
This is the backend of your Joomla! Demo site.
Here are some important things that you can do with Joomla!, unlike a traditional web site:
- With a Joomla site you create and edit your content on the web server, directly. You can do this with a web browser and there you don’t need any special software. This allows you to control your content from any computer with an Internet connection, anywhere in the world.
- If more than one person needs to update the site, you can create access for multiple editors and control the permissions, as well.
- Joomla! gives you access to many third party add-ons known as extensions. Some are free, some are paid. With these you can add features such as forms, feeds, membership sites and magazines.
- You can build custom applications and modify the code to add more options.
- Joomla! pages are displayed using a template. Some are available for purchase or you can create your own.
When you make use of Cloudaccess.net, you get a pre-installed site and when new versions of Joomla! are released your site is automatically updated, which helps to reduce security issues. The site is scalable as your needs increase.
The Joomla! Front-End
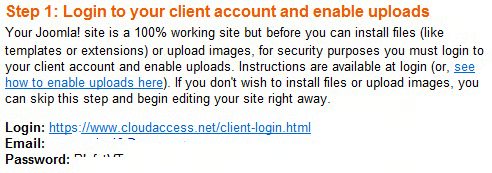
Before you get started, you’ll want to go to the Joomla! trial information email message and follow the directions on how to how to enable your account for uploads. This is for security reasons. Once you click on the link to enable uploads it takes about 30 minutes to process.
This is the page that comes up when you log in to Joomla!
The first thing to know is that your site comes with sample pieces of data so you’ll understand how everything fits together.
The front end of your site appears as the result of the template file. You can use any of the three templates supplied with Joomla!, make use of the CloudAccess.net template, buy one from a professional developer or have one designed to meet your specifications.
A template contains two aspects: The design which includes elements such as the fonts, logo, columns and more. These are controlled by the template file and CSS (cascading style sheets). The second aspect of a template concerns positions. If you think of a series of boxes, each bit of content needs to be placed inside a box, which are known as positions. The concept is reminiscent of the box model of CSS. The positions of the boxes change from one template to the other and are controlled by the designer.
When a page is requested, the Joomla! program assembles all of the boxes together to form a page. The main body position is necessary in every template. This is usually the placement for current articles. Often there is a left and right section, though by the look of the front end above, there is a main and left position. The training video won’t show you that, because it’s for an older Joomla! page, which appears to be version 1.5.

Here’s a screen capture of the video so you can see what I mean.
The next thing to consider are modules. Two types of content appear on a page, which could be thought of as primary and secondary. The primary content consists of your articles, which would appear in the main position. The secondary content is that which appears in all the other positions, like menus. Also, each position can contain multiple pieces of content. Each piece of content is referred to as a “module.”

To elaborate, if you look the top of the front end, you’ll see a menu module that contains links to other pages. As you move around the page you’ll see many other modules. There are many modules that are built into Joomla! and thousands of third party extensions.
The Joomla! Administrator
In this section we’ll take a brief look at the functionality of the Joomla! administration section.
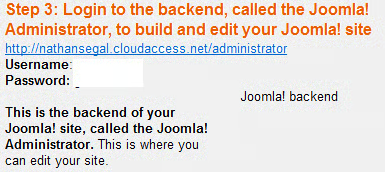
To get started, go to the Joomla! Trial login email you received and use that information to log into the backend, which is known as the control panel. On the right is helpful information about Joomla! On the left side is a cluster of icons that give you access to features that are used on a regular basis. Above that is a menu bar which gives you access to all the features. We’ll have a brief look at what these are:
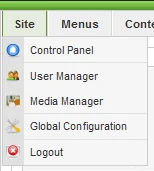
Directly under the heading is the word Site is Control Panel which takes you back to the control panel page. Under that is User Manager which allows you to create multiple user accounts. These users can add content to your site. Media Manager is where you upload images, etc. Global Configuration controls Site, System and Server settings. And below that is the Logout button.
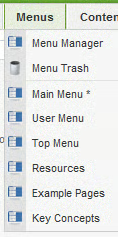
The Menu tab gives you access to the different menus, each of which controls your content. The Frontpage Manager is also under this tab.
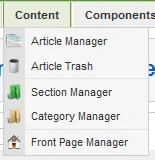
This is where your content is stored and managed.
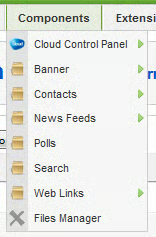
The Components tab gives you control over the functionality of certain items, such as Banners, Contacts, Polls, Web Links and more.
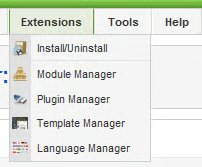
This is where you gain access to the controls that govern Extensions. To the right of this tab you can access Tools and Help files.
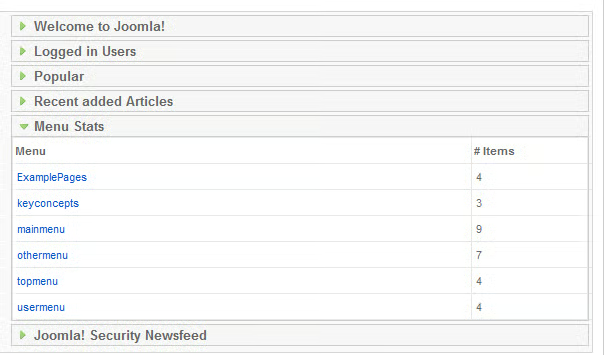
On the right side of the Control Panel is this section. When I logged in, it contained helpful information about Joomla!. Note that you can open or close the heading on the right to get more information on what’s going on within Joomla!. In this case, I closed the Welcome to Joomla! tab and opened the Menu section.
In upcoming articles, we’ll go into more depth and look at storage, articles, images, modules and more.
