When you set up a site with Joomla! you have enough information to build a basic site, but if you want more options, you’ll need to use extensions. In this article you’ll learn how to browse the Joomla! extensions directory, and download, install and configure an extension.
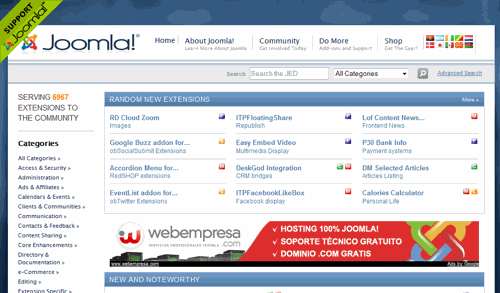
These extensions can be found in the Joomla! extensions directory.
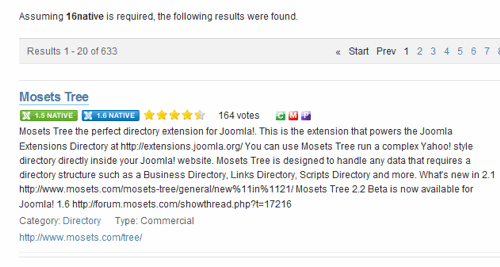
You can search for extensions or browse through the listings. Once you find a category that you like, you might have to go deeper into it by clicking on a sub-category. As you look at each extension, you’ll see a short description, whether it will work for Joomla! 1.5 or 1.6 and you’ll notice a voting section, as well.
Extensions are commmercial or free, meaning that if it’s commercial, you’ll have to pay for a license to use it. To learn more about an Extension, click on the name of it. When you find the extension you want to use, right-click on it and in the popup window, choose Save Link As, and save the file to your computer.
Be aware that when you download the file, it may contain installation instructions so it’s important to check for those. You might also need to extract the file to find the correct one for uploading.
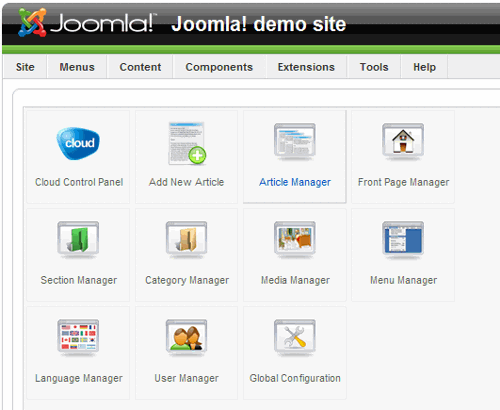
Once you’ve downloaded and/or extracted the file, go to Administrator and log in.
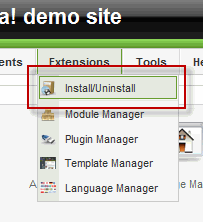
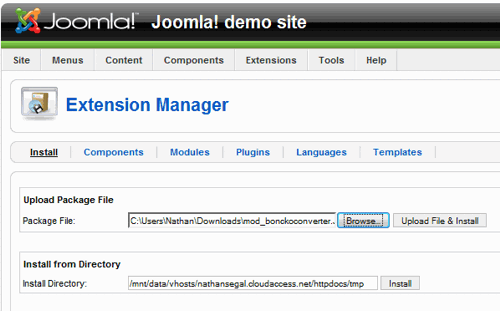
Next, go to Extensions: Install/Uninstall.
Locate the file that you downloaded, click on it, then click on the Upload file and Install button. In this case, I downloaded the Flip Photo Pro extension from Cloudaccess.net. With this extension it begins an automatic installation process once it’s finished uploading and installs with a sample banner and module. This is disabled by default.
To view it on the frontend it’s necessary to edit the module settings. To find the extension, type “flip” in the Filter section and click on “Go.” When the file name (flipphotopro in our case) comes up, click on it to edit it.
In the Module [Edit] page, set the following:
- Show Title: Off
- Enabled: Yes
- Position: User 1
Save the settings.
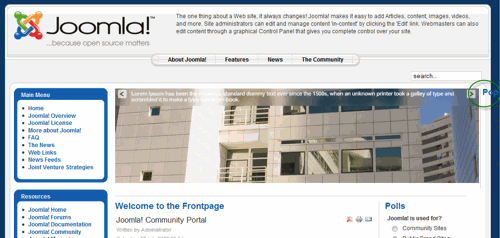
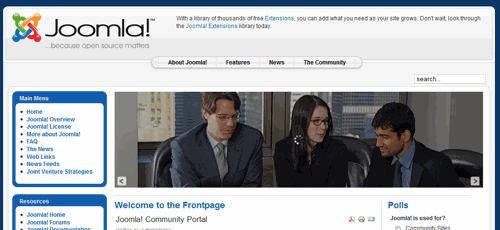
Now, go to the frontend and refresh the page. As you can see, the banner appears but it’s not quite right, as you can see with the text on the right. This is the Popular module which was in place prior to using the banner.
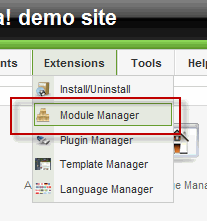
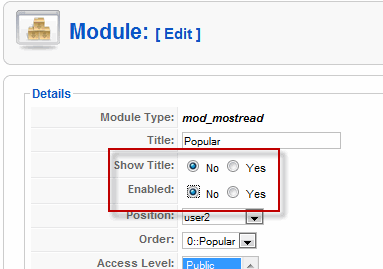
To fix the problem, go to Extensions: Module Manager and do a search for the word: “Popular.” In the Module [Edit] page, set:
- Show Title: Off
- Enabled: Off
Save the settings.
Go to the frontend and refresh the page. Now the banner fits the frontend.
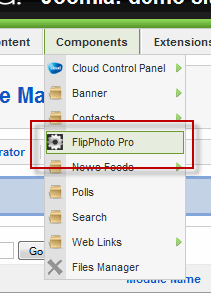
With this banner, you’ll notice some text on the upper section. If you want to turn that off, you’ll need to go to Components: FlipPhoto Pro. On this page, click on the Sample Data heading to edit it.
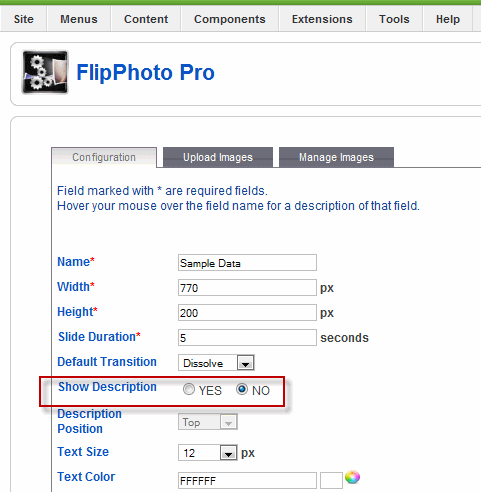
On the FlipPhoto Pro page, set Show Description to “No.” Note all the other settings on this page, such as banner size, etc. Click on the Apply button at the top right to save your changes.
Go back to the frontend and refresh the page. The text is gone.
Extension Types
It’s important to realize there are three different types of extensions and they operate differently, as well.
The first type is a plug-in and these are used with individual articles.
Another extension type is a module and these are controlled by going to Extensions: Module Manager. In this case, Modules are placed into positions in your template.
The last extension type are Components, found in the Components menu. These will often have several sub-menus which will lead to more pages. Components may appear in the main part of a page or in a module. If you have difficulty using an extension, contact the developer or post a question on the Joomla! forums.
You now know the basics of how to work with Extensions. In the next series of articles you’ll learn how to take what we’ve covered so far and begin the process of building a website in Joomla!. Some of topics we’ll cover include: Templates, contact forms, ecommerce, shopping carts, creating graphical elements with programs such as Photoshop or Gimp, CSS (Cascading Style Sheets) and more.


