Templates for Creating Websites
As you can imagine, there are many ways of building a standard website, or a CMS site which makes use of other template designs, such as Joomla! or WordPress. In this series we’re going to look at different methods of creating websites using templates, both commercial and free. We’ll start out by looking at Adobe Dreamweaver’s layout capabilities.
Essentially, building a website requires a combination of HTML, CSS, and possibly JavaScript and/or other components.
Whenever possible, I recommend making use of templates that come with a software program. Having said that, there are many 3rd party templates available and we’ll be looking at those later in this series, along with free options and layouts for both Joomla! and WordPress.
Before we get started, there are several things we should briefly cover first, including:
- Brainstorming your content
- Creating a storyboard
- How to prevent email spam
Creating a Mind Map
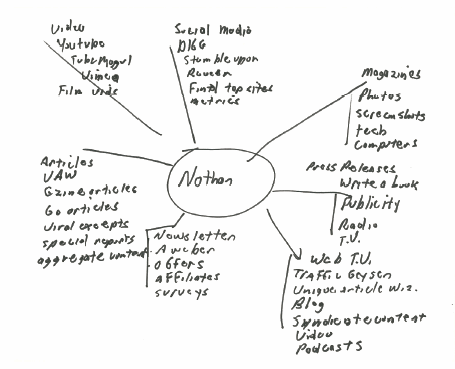
A really useful tool for designing a web site is to use a mind map, which offers a fast method of coming up with new ideas. Here’s how it works: You place your name in the center of a piece of paper and circle it, then draw out a bunch of radiating lines. Six will do to start.
Next, you let your mind come up with all sorts of ideas and you place each one at the end of a line. If the topics are similar, stack them or create a branch. Once you begin, the process will happen quickly and will take only a few minutes.
Editing your ideas comes later. As a way of going further, you might want to take one of the ideas you have written down and create a new mind map.
The Importance of StoryBoarding
This is a process used by the animation and film industry. When creating a production, in this case a website, it’s a useful way of planning out what you’re going to do before you actually do it. A storyboard could be thought of as a flow chart and during this process you’ll plan out the look of your website. Along the way you’ll run into different issues which can be resolved on paper, such as creating popups, hovering menus, etc. Once you’ve completed the process, you’ve essentially built your site. All you have to do is translate that into a finished design.
The Issue of Spam
When building a website, it’s important to address this problem up-front. Spam affects everyone and can be an major headache if you don’t catch and stop it early in the game. Fortunately, a few solutions are offered here.
Creating Web Layouts with Dreamweaver
As I’ve said in other articles, Dreamweaver is my number one web design program. It offers many template designs and can save you a lot of time.
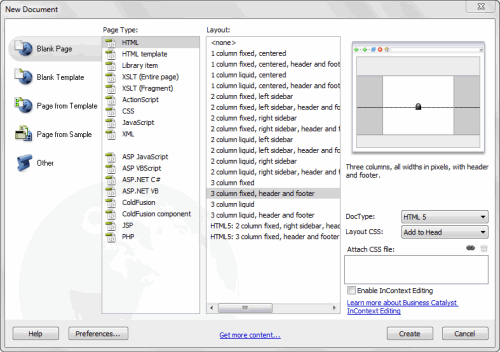
When you launch the program, go to File: New. When the New Document dialog box opens, you’ll see multiple columns. For the purpose of this article I’ve decided to keep things simple. On the far left of the dialog box you’ll notice several page types. In this case I’ve chosen to use the Blank Page option because this is the best setting for the layout that have in mind. Under Page Type I’ve chosen HTML. Under the Layout column I’ve chosen 3 Column Fixed, Header and Footer. This type of layout will give you a fixed appearance in the browswer. If you want your layout to flow from edge to edge in the browser, choose the liquid option.
At the far right of the dialog box you’re given a preview of the layout. Directly below that are several other options. Here are the settings I used:
DOCTYPE: HTML 5
Layout CSS: Add to Head. Other options are: Create New File and Link to Existing File.
Attach CSS File: The lock icon is enabled.
When you’re satisfied with the settings, click the Create button.
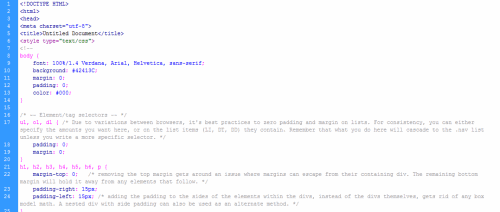
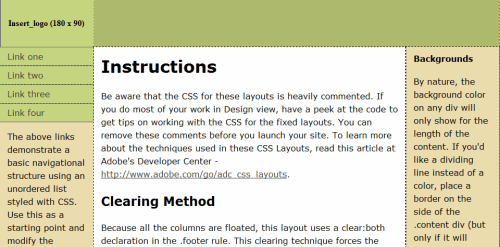
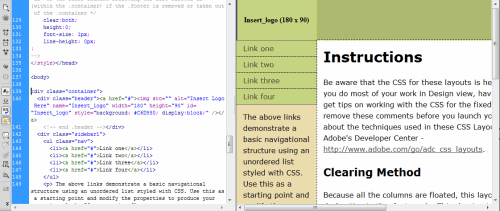
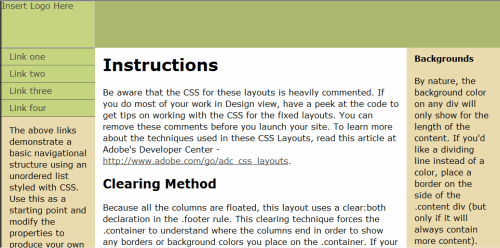
When Dreamweaver creates the layout, you can view it in one of several ways. The main options are: Code View, Design View, Split and Live View. Here are some screen shots of the various layouts.
One thing you’ll see about these layouts is that they’re heavily commented, giving you all sorts of information about the layout and how to use them.
You can see the commenting in the design view.
Here’s the split view layout.
The live view is my favorite way of previewing the layout, because it gives you a good idea of what the finished layout will look like. This has been demonstrated in the Dreamweaver series.
Once the layout has been created, you can build your site. In the next article we’re going to look at different CSS tools. If you cannot afford Dreamweaver, there are other options. Also in the next article is a menu creation system, which is really easy to use and will give you excellent results, quickly. I’ve used it for many of my sites.
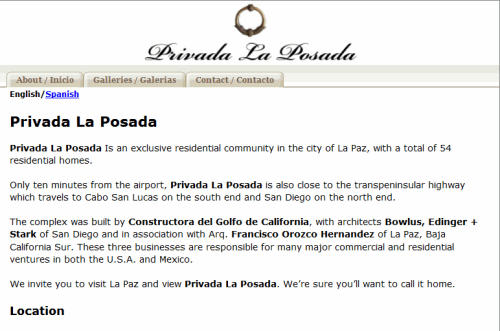
Here’s an example of a site I recently built for a client, using that menu system. Note that I also used the 3 Column fixed, header and footer template for this layout.


