


In this article we’re going to look at the process of setting up a “squeeze page” in OptimizePress. A squeeze page is a short page or overlay that comes up when you visit a website and it’s purpose is to capture your attention and to induce you to sign up in exhange for a report, an email series or perhaps a video series. The signup part of the squeeze page is an autoresponder, which is crucial to your success in Internet marketing. In this article I use iContact, though there are many others, such as aWeber and Infusionsoft.
The autoresponder is used to collect names and email addresses. This allows you to follow up. You can send emails with valuable information or messages that contain information and a marketing pitch. Building a list is one of the most important Internet marketing strategies. What many people don’t realize is that that first sale of a product isn’t where the customer relationship ends. In fact, if you have a list, it’s just the beginning. This may come as a surprise to you, but if you don’t have list of customers and you only focus on the one sale, you could be leaving 90% of the money you could be making on the table.
Another option is to collect cell phone numbers for SMS text messages (Short Message Service). Unlike email, which has dwindled in popularity over the years, SMS text messages have an almost 100% open rate and this is due in part to the fact that many people take their phones almost everywhere they go, even to bed.
Getting back to the squeeze page, when someone signs up for your offering, they get a confirmation email from your autoresponder which may or may not include a video, report, etc. Another option is to be redirected to the sales page, which contains your product offering. Another variation is being sent to a catalog of products to purchase.
Here, we’re going to add a squeeze page. To do so, go to Pages: Add New. For the title I’ll use: Find Out How to Position Yourself As An Expert in Any Industry.
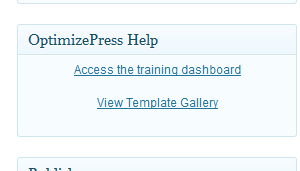
On the far right of the title, you’ll see the OptimizePress Help box, with a couple of headings in it.
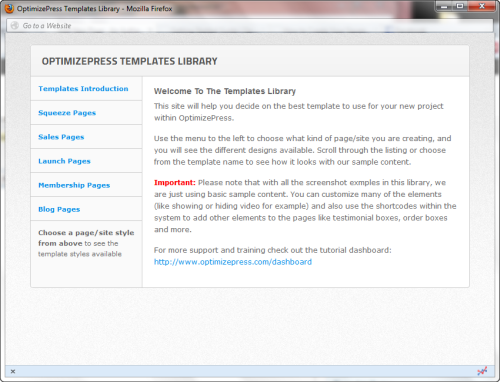
Since we’ve never created a squeeze page before, we’ll click on View Template Gallery.
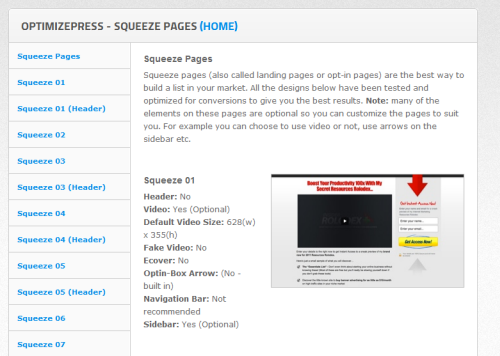
In this dialog box, click on the Squeeze Pages link. This gives you several different squeeze page designs to choose from. Note that these are where you preview the pages, not use them in your layout. Also note that many of the options can be customized to suit your taste. With these layouts you can use an introductory video and/or text only. For this layout, I’m going to use Squeeze Page 03, which allows for a text only option.
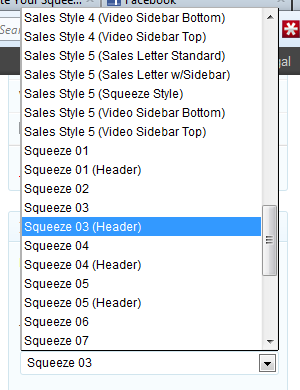
Close the Template Gallery. On the far right of the Dashboard, scroll down until you see the Page Attributes heading. Below that, I’m going to click on Template and choose Squeeze 03.
Next, we’re going to use the editor in WordPress. Note the tab at the top right which allows you to use a Visual approach or HTML. We’re going to make use of the Visual tab. Here, I’ll enter some simple text and a few bullets. When creating a squeeze page you want to keep it as short as possible. Some guidelines would be a short intro of a couple of sentences, 2-3 bullets, then a closing sentence or two.
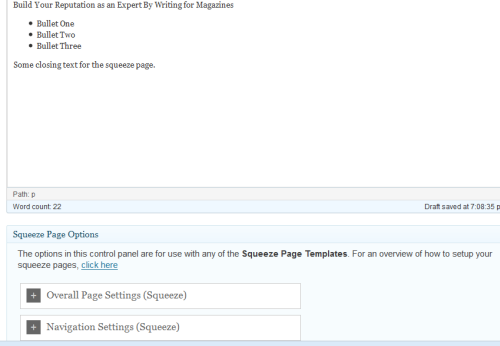
Also note that when you’re building your layout it’s important to use only the OptimizePress squeeze page controls directly below the editing window. If you use the normal WordPress controls, your changes might not appear. You’ll note a link at the bottom of the window here which gives you more options for setting up your squeeze page.
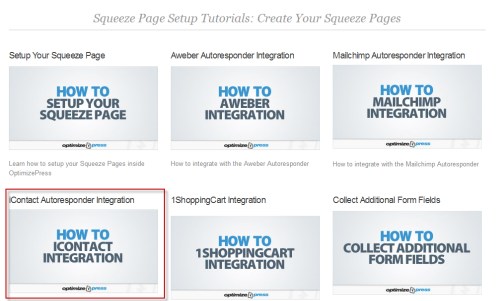
When you click on it, it brings up the following tutorial options. Several of these are for autoresponders, including Mailchimp, aweber and iContact. As mentioned earlier, we’ll be using iContact for our autoresponder.
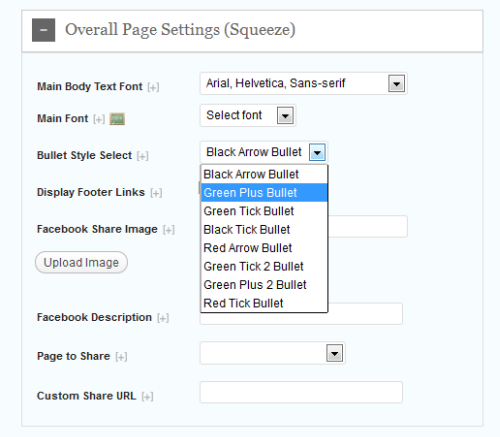
Below that are several headers. If you click on the the Overall Page Settings (Squeeze) header you’ll get a lot of options for setting up your page, including bullets, fonts, etc. Any settings that you make here will override the settings in the WordPress editor.

While there are many settings to choose from, you’ll probably want to work with the headline controls, which are further down. When you open this panel, you’ll see four options: Pre-Headline, Headline, Subheadline and Headline Below Video. As you click on each tab, you’ll have to enable the Show Options checkbox to see what the options are. In this case I’ll click on Headline and insert some text. Everything else will be left at the default settings. You also have the ability to add logos and other options, as well.
Scrolling down and looking at the headers, you have a video option and you can add a video from Youtube although it’s recommended that you add one from an Amazon S3 account. There are also several video controls you can make use of as well.
The last thing we’re going to do here is to set up the autoresponder to work with OptimizePress. It’s recommended that you use a professional autoresponder such as: Get Response, InfusionSoft, aweber or iContact. As mentioned earlier, we’re going to use iContact.
When you set up an autoresponder, you’ll need to create a list and enable a number of settings which control how you collect names, store them and display your business information. Some of this identifying information will be sent out to subscribers with each email message, along with information to allow them to unsubscribe if they wish. In this case, we’ll use a web form.
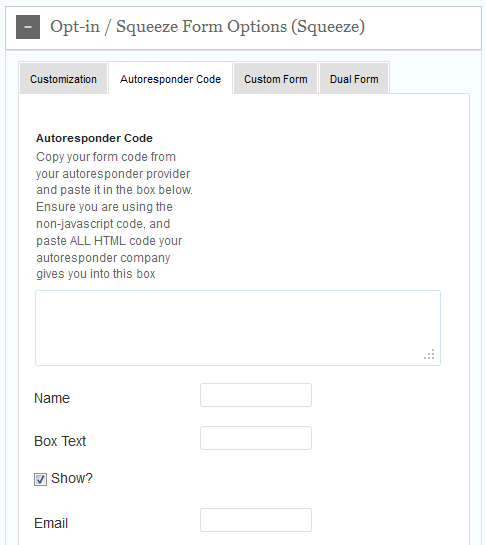
To get started, scroll to the Opt-in/Squeeze Forms Options (Squeeze) header and open it.
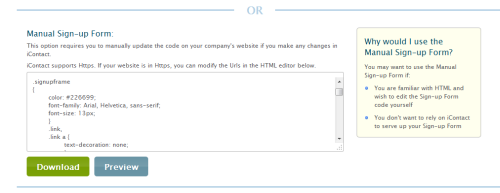
Next, I’ve opened my account in iContact. When building the form, you’ll have two options HTML or JavaScript. With OptimizePress you’ll need to use the HTML form. To select the text click on Ctrl+A, Ctrl+C to copy it and in OptimizePress press Ctrl+V to paste in the code.
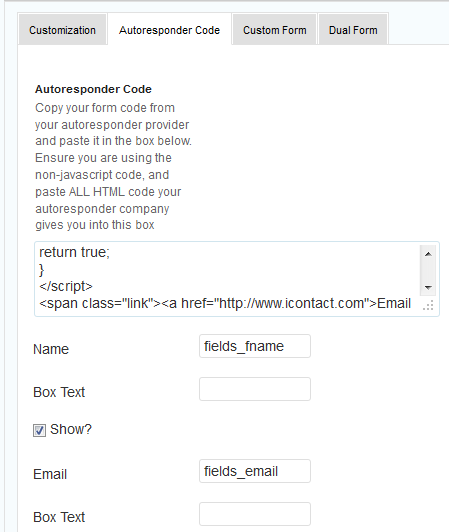
When you do so, some of the fields within OptimezePress become active. Here, you want to make sure that the name field is at the top and email is the lower field.
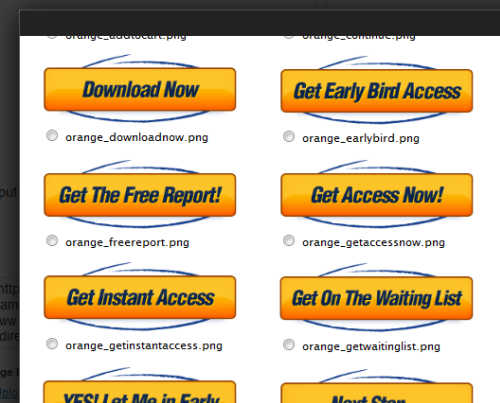
After that you can add extra fields and text options, but there’s only one option I’m going to make use of, which is to click on the heading Select Image or Upload New heading. This brings up a large list of buttons we can use.
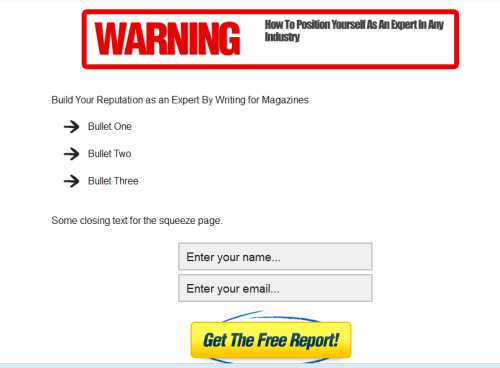
After that, it’s time to scroll up and click on the Publish button (or Update, if you’ve been making changes). After that scroll to the top of the Dashboard and click on View Page. Now you see the finished result. As you can see, it’s not perfect and will need editing, but it’s a beginning.
In the next article we’ll set up a sales page.
