In the Crop Images Online using the Cropper.js Library tutorial, we learned how to select an image and crop it using the jQuery edition of the fengyuanchen Cropper.js library. In the demo, cropped images were appended to the document just below the main canvas. It’s also possible to enable a preview of the cropped image, thus providing real-time updates of the cropping container area. In today’s tutorial, we’ll be modifying a preview’s size using a combination of CSS and JavaScript.
Enabling Previews
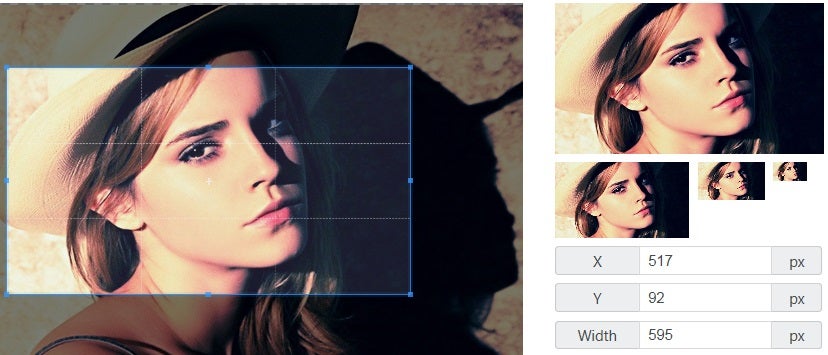
If you visit the cropper.js site, you’ll notice several previews of varying sizes on the right. Feel free to play with the cropping container to observe how the previews update to show the current contents of the cropping container.
Wonder how they do that? It’s really quite simple; all you need to do is include the “preview” option to the cropper constructor:
$('#image').cropper({
  preview: '.preview'
});
It accepts a jQuery selector string that points to the element that will contain the preview – usually a DIV:
<div class="col col-3">
  <div class="preview"></div>
</div>
The first time that I tried the preview option, I got nothing. It turns out that you have to assign some dimensions to your preview element; cropper does not set any defaults:
.preview {
  overflow: hidden;
  width: 200px;
  height: 200px;
}
Here is what the above code produces:
Customizing Previews
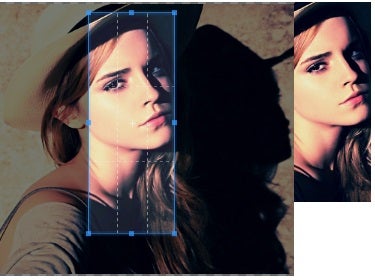
Since you set your own preview dimensions, it should already be quite apparent that the preview’s size is inherently customizable. Having said that, it’s not at all dynamic. Case in point, I was trying to find a way to limit the preview size so that its height would not exceed that of the original image:
As you can see in the above image, while the width stays at the original assigned value, the preview’s height can get out of whack at times. The obvious solution would be to set the max-height property. There’s just one catch; while Cropper does provide a ready() event, that’s too late for setting dynamic values, because the constructor needs the preview element’s dimensions in order to initialize. Therefore, you have to set dimensions before instantiating the cropper:
$(function() {
  var $image = $('#image'),
      width  = $image.width()
      //+4: the universal constant!
      height = $image.height() + 4;

  $('.preview').css({
    //setting width to $image.width() sets the
    //starting size to the same as orig image
    width:    '100%',
    overflow: 'hidden',
    height:    height,
    maxWidth:  width,
    maxHeight: height
  });
});
I found that I needed to add a bit of extra height to the preview element to make it match that of the original image. It would appear that the cropper’s canvas pads the image a bit. In any case, I call it the universal constant; much like Einstein’s cosmological constant, we aren’t sure why we need it, just that we do!
Note that setting the preview’s width to $image.width() will give it the same starting width as the original image.
Going Further
If you really want to get into the nitty gritty of preview generation, I would encourage you to examine the source code of the customize-preview.html file, located in the Cropper download’s examples folder. I forego the preview option entirely, opting instead to handle the generation of three preview elements itself, very much like the main online Cropper demo. Just bear in mind that the demos employ the pure JavaScript version of the library and not the jQuery-enhanced one. Therefore, you may want to convert the code to use jQuery before tweaking it to suit your purposes.
Initializing the Cropping Container
By default, the cropping container is a centered 16 x 9 rectangle. However, we have complete control over its dimensions via the setData() function. Half of the data getter/setter pair, setData() accepts an object containing a number of parameters. These can be fine-tuned to place the cropping container exactly where you want it. I determined the values by tweaking the Cropper demo until I had the cropping container positioned correctly and then called getData() to fetch the values. I was then able to feed them to setData() within the ready() event:
$image.cropper({
  preview: '.preview',
  ready: function (e) {
    $(this).cropper('setData', {
      height: 467,
      rotate: 0,
      scaleX: 1,
      scaleY: 1,
      width:  573,
      x:      469,
      y:      19
    });
  }
});
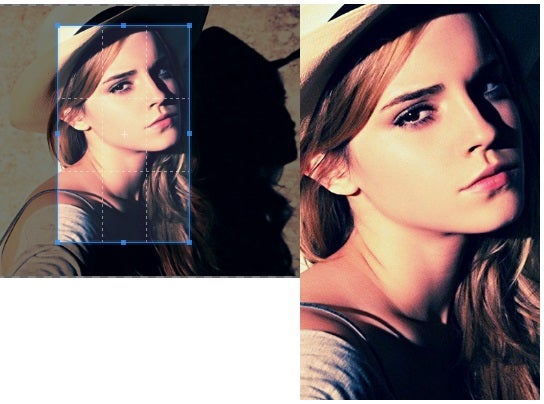
As you can see, you can even rotate and scale the part of the image within the cropping container, but I didn’t go that far in my example. Here is the initial image and preview with the cropping container set as above:
Visit Codepen.io to see today’s demo in action!
Conclusion
Previews are a great way to help your users see exactly what their selection will look like once cropped. Cropper.js lets you enable image a preview with no additional JavaScript coding required, other than setting the preview option upon creating the Cropper object.


