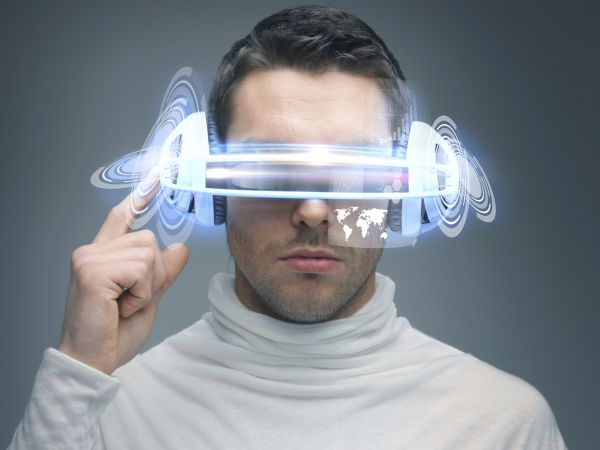
Virtual Reality – or VR – has been presented to us in several movies, from 1992’s Lawnmower Man to the slightly more recent Matrix series. Back in the real world, delivering a true VR experience has been a challenge to say the least. That’s because our brains are a lot tougher to fool that we initially believed them to be. A more achievable interim goal would be to enhance real-world experiences by adding digital information and/or data on top of it. That exciting new avenue has been dubbed Augmented Reality (AR). Unlike VR, AR doesn’t require a headset to work. In fact, thanks to some new JavaScript-driven kits, AR will soon be commonplace in the near future. In today’s article, we’ll take a look at a couple of the most prolific JS libraries so far.
How Augmented Reality Web Apps Work
AR kits are generally aimed at camera-equipped mobile devices because they have to analyze each frame to detect markers, and compute the marker’s position in the reconstructed 3D world. The original video is then rendered with overlaid synthetic 3D objects. This technique can also work on pre-recorded videos, by hooking the AR rendering engine’s source attribute to the video URL. Moreover, image elements may be treated in much the same way as video, by applying marker detection on still images. Hence, the AR kit’s source element may be a video, an image or a canvas. However, in practice, marker detection has proven to be less reliable for videos shot in an uncontrolled environment, due to variations in lighting. Most kits should have a threshold property to adapt your detection to those variations.
Here is a demo that provides a good overview of what AR can do:
The emergence of AR development in JavaScript is largely thanks to the WebRTC getUserMedia device API specification, which is a set of JavaScript APIs for Real Time Communication. Opera was the first browser vendor to allow users to interact with HTML5 applications via webcam and microphone, with Chrome right on its heels.
The rest of the article will focus on a couple of popular JavaScript AR libraries.
JSARToolkit
The JSARToolkit is a JavaScript port of FLARToolKit that renders a 3D model on top of an augmented reality marker in webcam video. At this time, JSARToolKit operates specifically on canvas images and videos played on a canvas.
JSARToolKit accepts a canvas element, analyses its contents, and returns a list of AR markers found in the image and the corresponding transformation matrices. To draw a 3D object on top of a marker, you pass the transformation matrix to whatever 3D rendering library you’re using so that your object is transformed using the matrix. Finally, WebGL is employed to draw the video frame on the canvas, along with the superimposed object. WebGL is a JavaScript API for rendering interactive 2D and 3D graphics within any compatible web browser without the use of plug-ins.
To analyze video using the JSARToolKit, you have to draw each video frame on the canvas, then pass the canvas to JSARToolKit. It takes a lot of processing power, but JSARToolKit is fast enough on modern JavaScript engines to do this in realtime even on 640×480 video frames. However, the larger the video frame, the longer it takes to process. The makers of JSARToolKit recommend a video frame size of 320×240, or 640×480 if you expect to use small or multiple markers.
Be sure to check out Ilmari Heikkinen’s demo for more detailed information on JSARToolKit.
Awe.js
Whereas JSARToolkit specializes on augmented reality markers, Awe.js provides a few other types of AR experiences such as location-based and leap motion sensor AR. It uses WebRTC, WebGL, and getUserMedia device API to produce an AR experience in the browser.
In awe.js, everything is defined within the global window.awe.init() function:
window.awe.init({
  device_type: awe.AUTO_DETECT_DEVICE_TYPE,
  settings: {
    //...
  },
});
There is a settings property, as well as the ready() and success() events. The former calls awe.util.require() to import required modules, while the latter calls window.awe.setup_scene(). Each awe.js application consists of a 3D scene into which we add points of interest or “pois”. Each poi marks out a point in space that is important or useful to us. This can be the location of an object or it might be a point where a recognized object or marker is currently positioned. Then you can attach different types of media (e.g. 3D objects, videos, images and sounds) to each poi called projections.
window.awe.init({
  device_type: awe.AUTO_DETECT_DEVICE_TYPE,
  settings: {
    //...
  },
  ready: function() {
    awe.util.require([{
      //...
    }])
  },
  success: function() {
    window.awe.setup_scene();
    //...
  }
});
To add an object (point of interest) into your scene just call:
awe.pois.add({ id: 'my_poi' });
Note that Chrome now requires that webpages using the camera be served over HTTPS.
Patrick Catanzariti created a demo that renders some 3D menu buttons over a marker.
Conclusion
Remember that WebRTC and getUserMedia are still new emerging technologies and are still undergoing lots of changes. For that reason, be cautious when using it in your own projects and be sure to do feature detection before trying to use any AR feature.


