
7/17/13
In the last article we looked at an overview of WPTouch Pro 3. Today we look at some of the advanced features that let you customize the look and feel of this program.

To learn how to configure your installation, click on the Knowledgebase section. This brings up the Knowledgebase web page.
The first thing we’re going to do is look at the core settings.
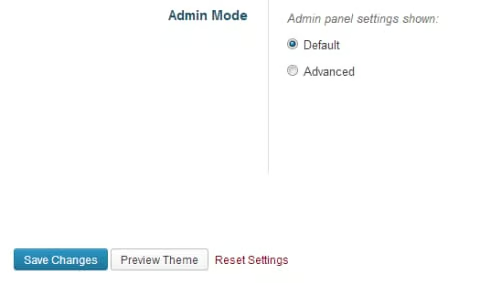
To do so, go to the WPTouch Pro section on the WordPress dashboard and click on the Core Settings heading. In the pane that opens, scroll down to Admin mode, change the setting to Advanced and click on the blue Save Changes button at the bottom of the page. In advanced mode you’ll have access to more options for customizing your WPTouch site.
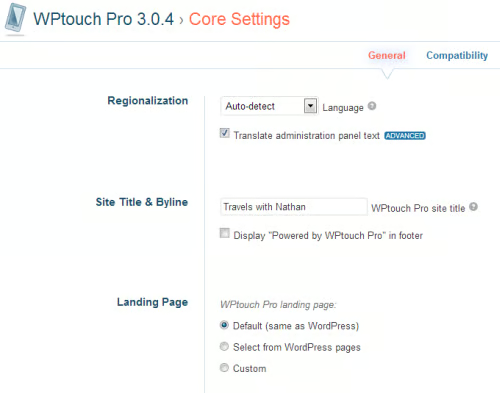
Looking at the Core Settings, you’ll see two tabs at the top of the page: General and Compatibility. Under the General tab, the advanced options are:
• Translate Adminstration Panel text (and there’s a popup to the left with a wide range of languages to choose from)
• Under Desktop/Mobile Switching, you can choose the target for the mobile switch link
• The desktop theme switch buttons allow visitors to switch between the mobile interface and the main webpage.
• You can set a URL to custom CSS stylesheet to load
• Under the Tools/Debug section, you can Use jQuery 2.0 in themes (this is faster with mobile devices) instead of using the WordPress’ version, Show load times and query counts in the footer and Enable debug log.
Under the Compatibility tab, the advanced option is:
• Try to include desktop theme functions.php file. This might be required for desktop themes with features that won’t display when WPTouch Pro is active.
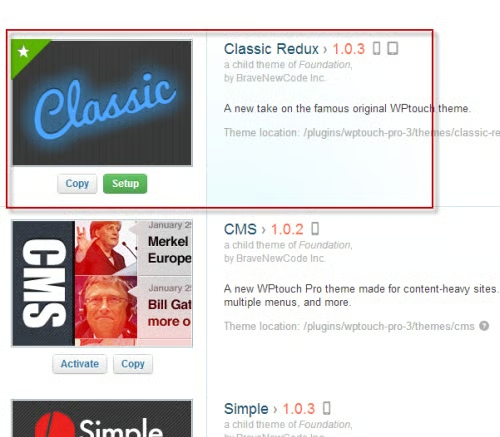
Next under the WPTouch Pro section is the Themes heading. Last time we chose the Classic Redux theme so we’ll stick with that but we’ll customize the look and feel. There are two ways we can do that. One way is to click on the the green Setup button below the Classic screen shot. Another way is to click on the Theme Options heading in the WPTouch menu section.
Both will take you to the Classic Redux Theme Options page.
Branding
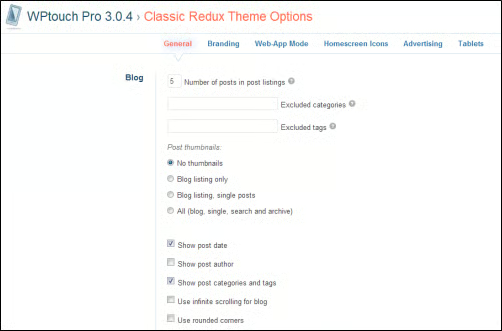
Since we enabled the advanced mode earlier, you’ll see these displayed with a blue advance marker beside each section. Under the General tab, I’m going to leave things as they were before, but under the Branding tab, I’m going to make some changes.
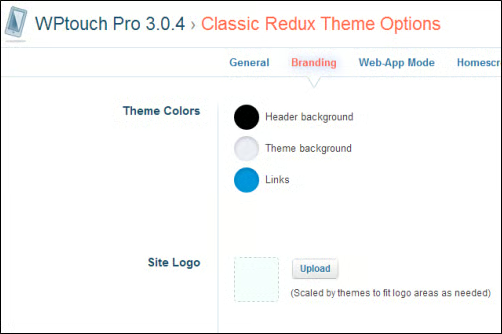
In this section, I changed the theme colors a bit. You can upload an image (PNG or JPEG), but the software automatically scales the image to a tiny icon on the interface. No matter what I did, I couldn’t find a way to override the automatic setting and make the image bigger. The other problem I ran into is that when I loaded the image, the text “Travels with Nathan” was removed from the title area. I can only speculate, but it seems that there wasn’t enough space for the title and the icon. Based on what I’ve seen, if you have a logo that’s important to you, the design prevents you from using it in a larger format.
Having said that, anoother option is to access the Add Custom Styling page, which allows you to use custom CSS in one of three ways to modify the look and feel of the WPTouch Pro themes. Here, you have three options:
• The Custom Code Field: Located under Core Settings: General: Custom Code, this allows you to add snippets of HTML, CSS, and JavaScript.
• Custom Stylesheet: You can create a new stylesheet and add that to your site. To install it, go to Core Settings: General: Custom Stylesheet.
You may choose to add custom styling to your mobile theme by creating a new stylesheet. The path to this stylesheet can be added to the “Custom Stylesheet” field found under Core Settings > General > Custom Stylesheet. These stylesheets are transferable.
• Add Custom CSS Directly to a WPtouch Pro Theme: This is another approach but before you alter the stylesheet, make a backup, first, of all files you wish to modify. This way you can quickly restore the original look and feel if necessary.
Next in this section I want to highlight a couple of options. One is the Homescreen Icons section. This allows you to upload icons specific to different devices, such as the iPhone/Android, iPhone/Retina, iPad or iPad Retina.
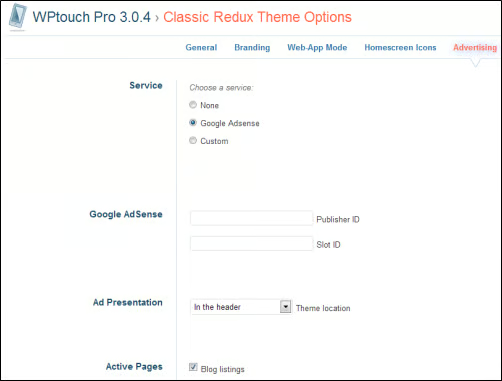
In the Advertising section you can choose None, Adsense, or custom. With the Google Adsense or Custom options, you can load the ads in the header and above or below the page content. You can also display ads
Menus
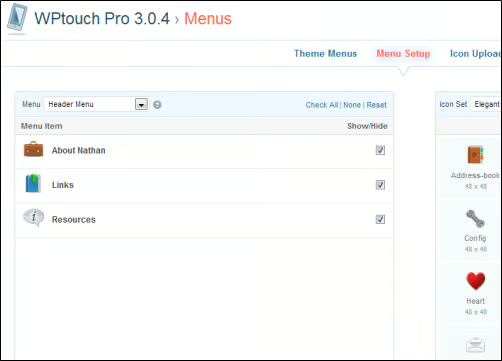
In the menus section you can add icons to your pages. This can come from the built-in list of icons or you can upload your own. In this case, I chose to use icons from the default installation.
Conclusion
Overall I like the look and feel of WPTouch Pro 3, but I was a bit disappointed with the advanced options, especially for the logo with the theme I chose. While you can add custom CSS to change the look and feel, that would be time-consuming. One way to speed up the design process would be to offer different CSS layout sets one can choose from when customizing a theme, especially when working with logos, which are important to the branding of a site. This would make life much easier for the designer.
