Many times as a web designer I find that some of the colors in a photo are not suitable for use with a site’s color scheme. To solve this problem, I use Photoshop to change the photo’s colors to better suit my application.
I’ll be showing you some simple re-coloring techniques on a small scale, but they can be expanded for a wide range of effects. I’m using Adobe Photoshop CS2 but the latest version or even the free Paint.NETcould be used to create these effects.
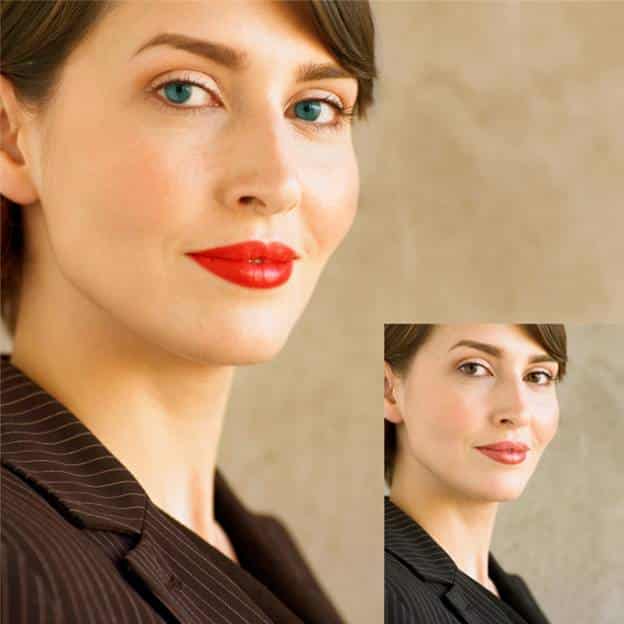
This is the photo I’ll be using in this tutorial:
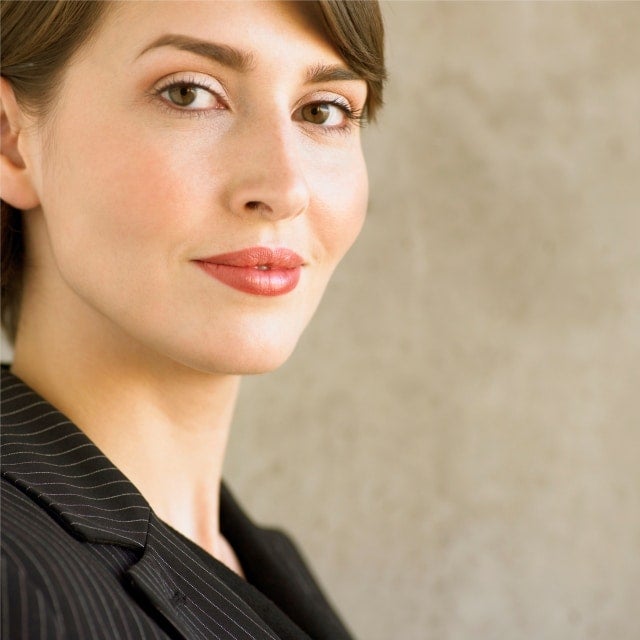
Photos are courtesy of FreeDigitalPhotos.net
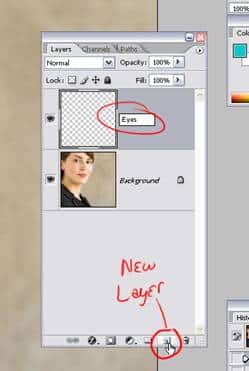
To start, create a new layer & name it “eyes”, this is where the coloring will take place.
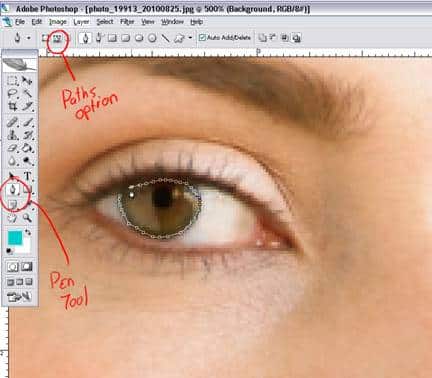
Make sure the background layer is selected and take your pen tool, (be sure the “paths” option is selected in the top left corner), and start to click all around the eye, tracing it and connecting your loop at the end.
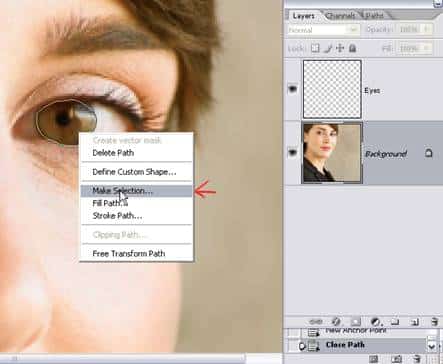
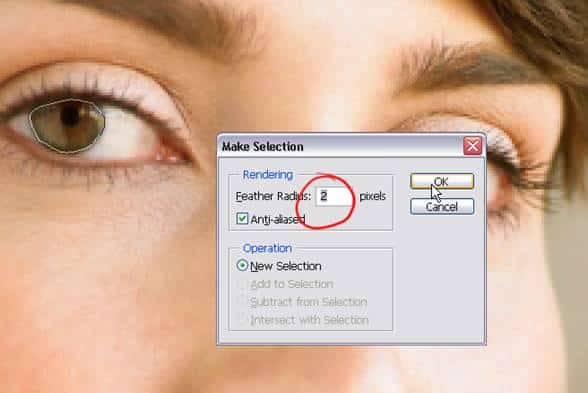
When both eyes are traced around completely, right-click inside one of them and select the “make selection” option. This will then bring up a window where you can change the feather radius to 1 or 2. Depending how effective your tracing was, if it was closer to the outside edge, use 1, if further in, use 2, then click “OK”.
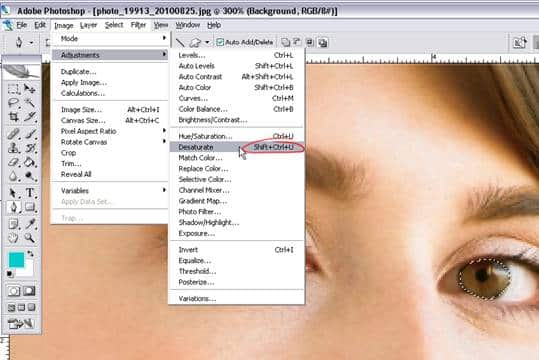
After you click “OK” the line around the eye should now be a blinking/moving line. If this is so, we will now desaturate (remove color from) the eyes. To do this you can press Shift + Ctrl + U, or select it by going to the Image tab > Adjustments > Desaturate.
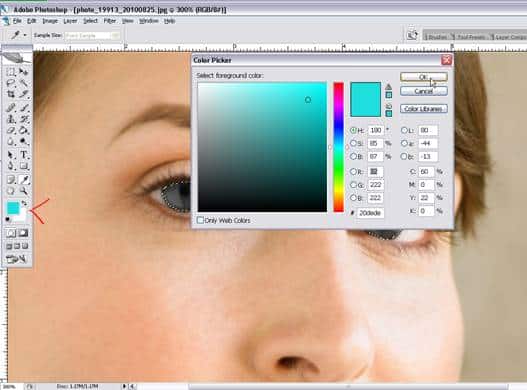
Without deselecting the eyes, select the “eyes” layer. Now, use the color picker and select the color you want.
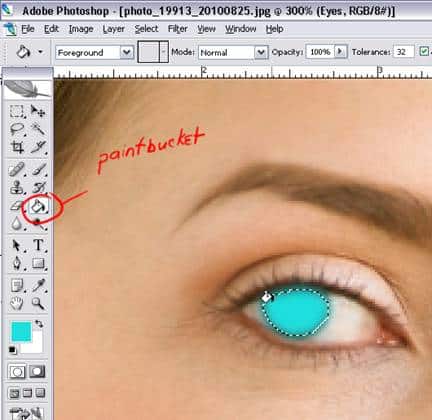
Once the color is chosen, select the paint bucket tool and fill in the eyes. (Note: both eyes should be selected & if this is the case, painting one eye should automatically paint the other selected area.)
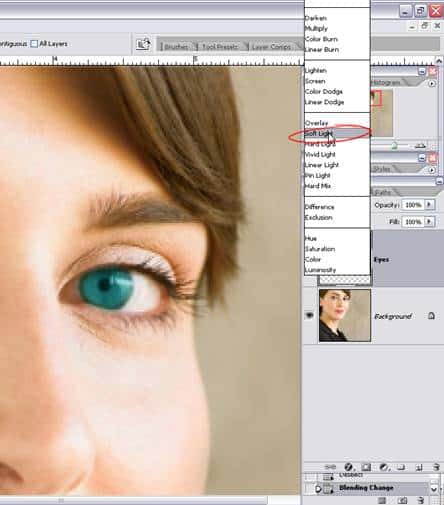
Now, deselect the eyes by hitting Ctrl +D or, Select tab > Deselect. Go to the top of the layer window, click the drop down menu, and click the “soft light” option.
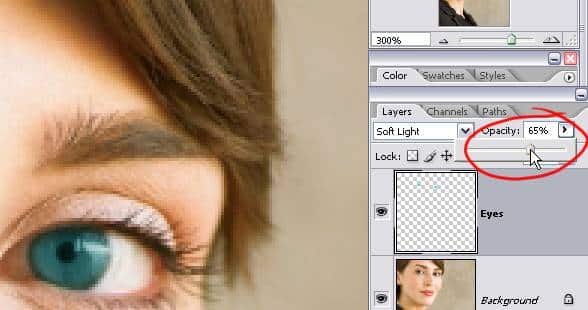
If the coloring seems a bit fake looking, play around with the opacity on the layer box, reduce it a little to tone it down if the color is too vibrant.
You can continue doing the same process for most other things such as the lips, coat, etc. Just remember to make a new layer for each. And while you are in the desaturating process, once the item is selected, make sure the background layer is the one that is selected.
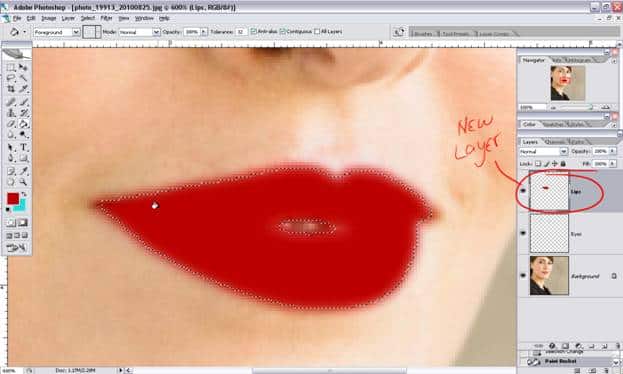
I did the lips in the following screen shots, but skipped the desaturating process and went straight to color after selection.
Selected and colored:
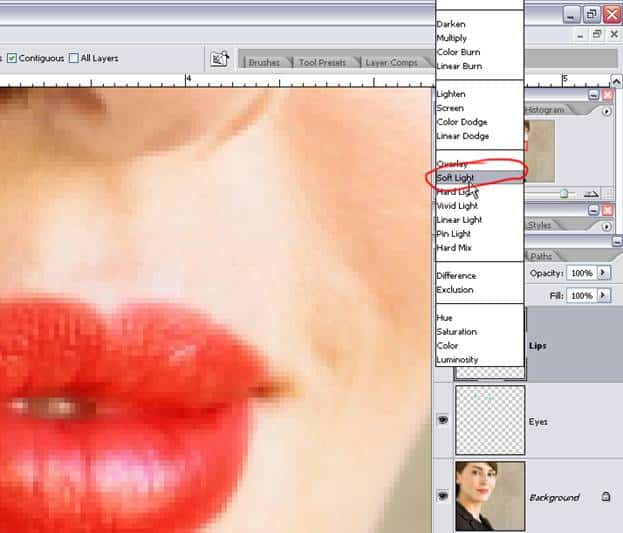
Selecting the “soft light” option:
Also, if the color seems to go too far outside of the specified area, you can select the areas layer (eyes, lips, etc.) and use the eraser slightly around the edges.
Doing this on a few other areas such as the hair, coat and background, you can end up with something like this:
Well that’s all there is it! Hopefully you will be able to look at pictures in a whole new way, knowing that you don’t have to just accept them as they are. You can enhance them to look just how you want them with a few simple steps.