In this article you’ll learn how to work with images and upload them into Joomla! using Joomla!’s Media Manager. Before we get started, you’ll likely be working with digital images from either the web, a digital camera or, possibly, a scanner. In each case the images are likely to be too large for a web page.
To make your images web ready, they’ll one or more of the following treatments: Cropping, resizing, color correction and, ultimately, being saved as a JPEG file. As I’ve noted in other articles, you should never use the PNG file format because it can increase your file sizes by 5-10 times.
You can use a variety of image editing programs to manipulate your images. In past articles I’ve used Paintshop Photo Pro and Photoshop. Still, you have other options. One of these is the online image editor. One caveat about using online editors. If you have large files and/or a slow connection, this will slow down the processing of your images, which is why I prefer to use a dedicated image editor which is resident on your computer.
For this tutorial, I’m going to use Gimp, which is a free image editor. In the case of Joomla!, our modifications will be relatively minor, though there are a few things that we need to do to an image before we can use it in Joomla!. One other thing, since templates vary widely from one designer to another, it’s hard to know in advance what image size to use. As a result, we’ll create several image sizes which we’ll use in our Joint Venture Strategies article. Once you know what images will work in a given template, that will save time when sizing images for future projects.
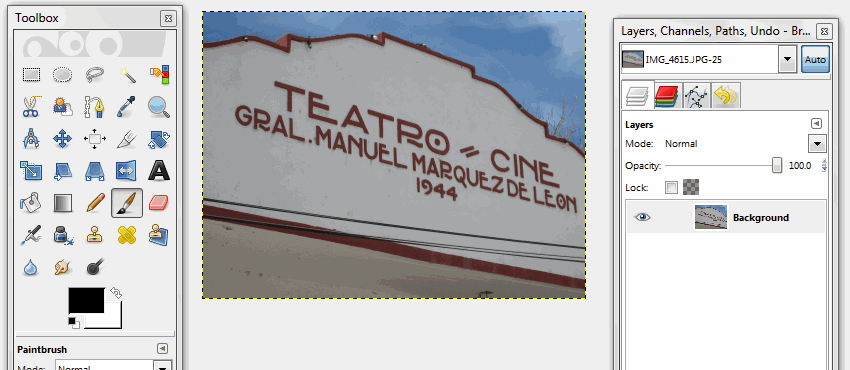
To get started, open an image in Gimp, by clicking on File: Open and then browse for the image on your system. We’ll use the image above, but before we can load it into Joomla!, we have to reduce the size.
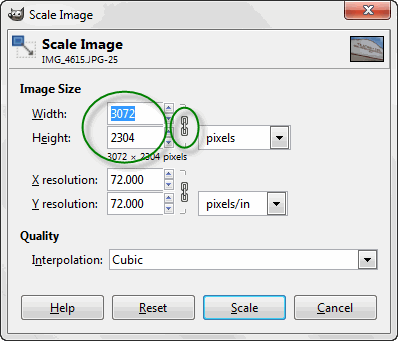
At the moment, the image is 3072×2304 pixels which is much too large for a web page. For our purposes, it will be reduced to four different sizes and we’ll use the width as our measurement. To access the Image Scaling tool, go to Image: Scale Image. The Scale Image dialog box opens and you’ll see the measurements in pixels. You’ll also note an icon of a linked chain to the right of the measurement. This constrains the image, so no matter what size is entered into either the height or the width parameters box, the other measurement will scale to match the proportions. Here are the sizes we’ll use:
- 450×338 pixels
- 400×300 pixels
- 350×263 pixels
- 300×225 pixels
As stated above, each image will be saved as a JPEG file. For the sake of standardization, each image will be saved with a Quality setting of 70%.
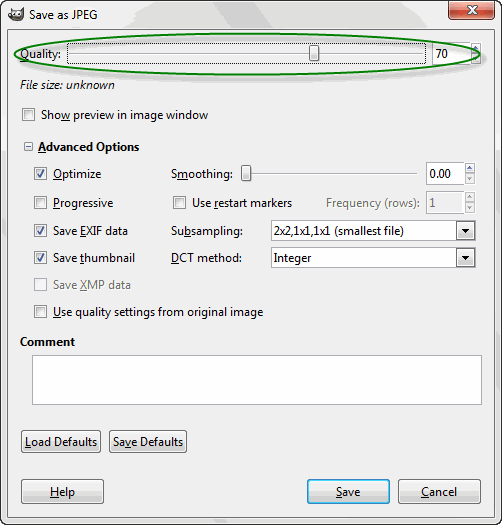
Here’s the Save as JPEG dialog box. Note that the Advanced Options section is open. It’s closed in the default configuration. In this step I’ve created four images, which we’re now ready to upload into Joomla!.
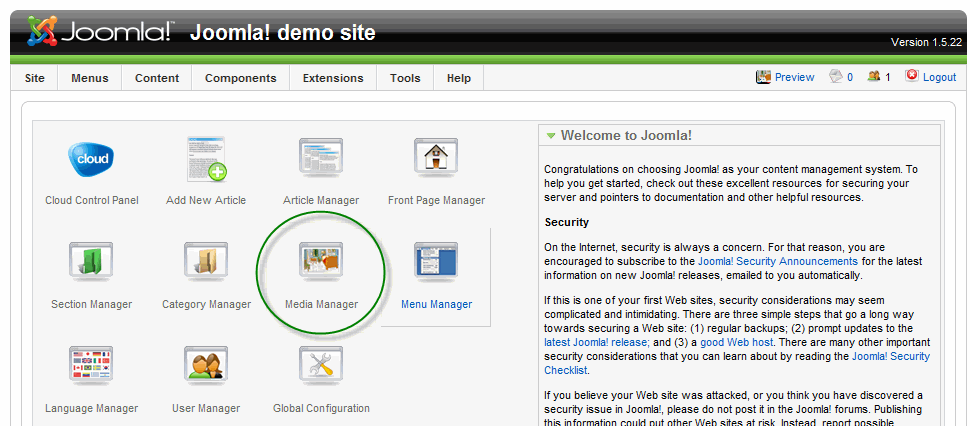
Log into the Joomla! Administrator if you’re not already there and click on the Media Manager icon.
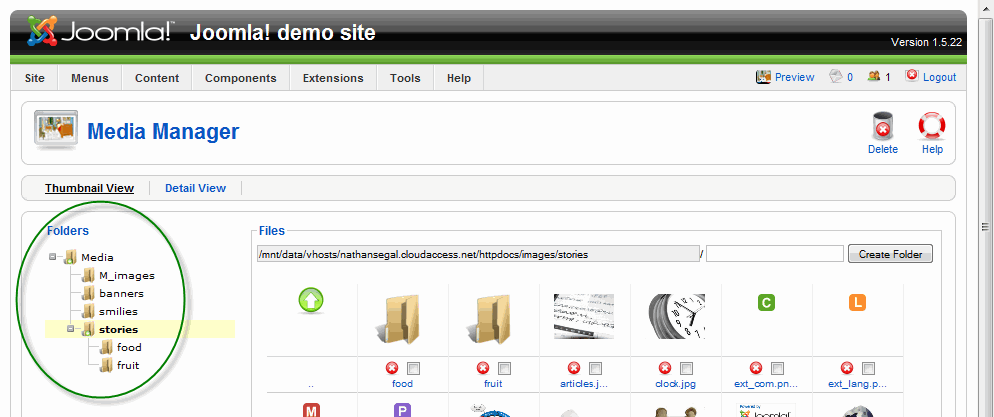
The Media Manager is where you upload all files into Joomla!. On the left side of the page, you’ll notice the Folder heading and several folders listed below. Of those the one that houses images is named: Stories, so click on that to open it. You’ll notice some pre-loaded images there already.
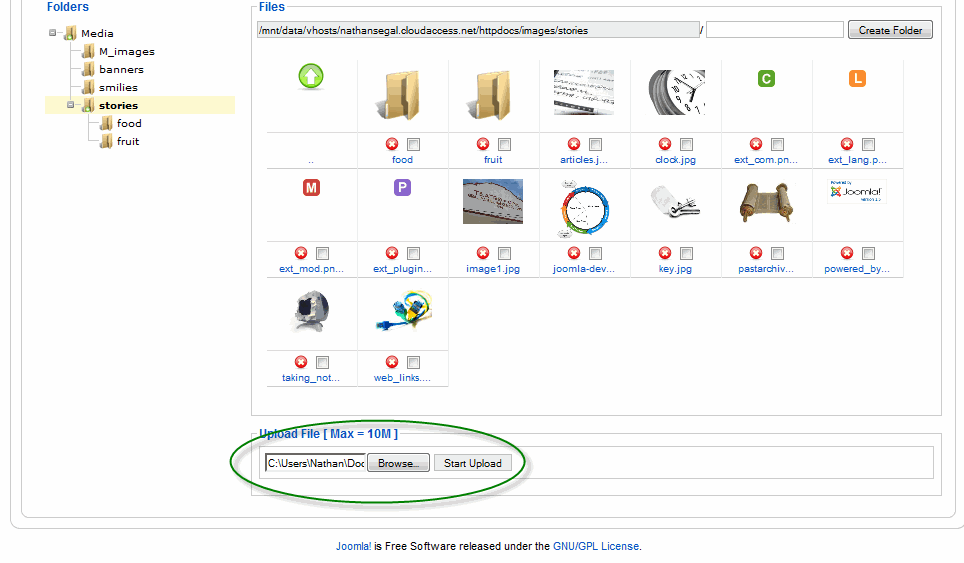
Uploading an image is simple. Scroll to the bottom of the page, click on the Browse button to find the image on your system, then click on the Start Upload button to the right of that. If you have a lot of images, it would be great to load all of them at once. Joomla! has a feature that allows you to open several files (so long as the number doesn’t exceed 10MB) and to load them all at once. There’s only one problem – it doesn’t work. I tested it several times and had no luck, so one by one is the only solution I see right now.
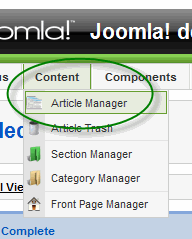
Now it’s time to load an image into our article. In the Administrator, go to Content: Article Manager.
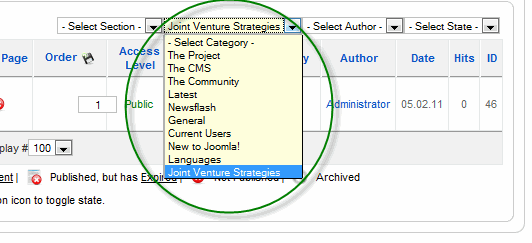
In the Article Manager, we need to find our article. To do so, go to the Select Category drop down list and choose Joint Venture Strategies from the list. When the page refreshes, our article comes up right away. Click on it to open it.
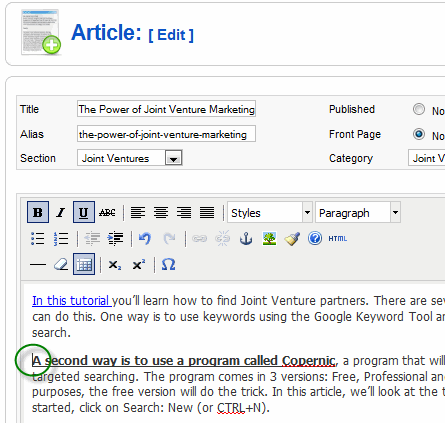
To insert the image, place your cursor at the left hand side of the article, regardless of where you want the image placed (in this case I want it to move to the right-hand side of the page.
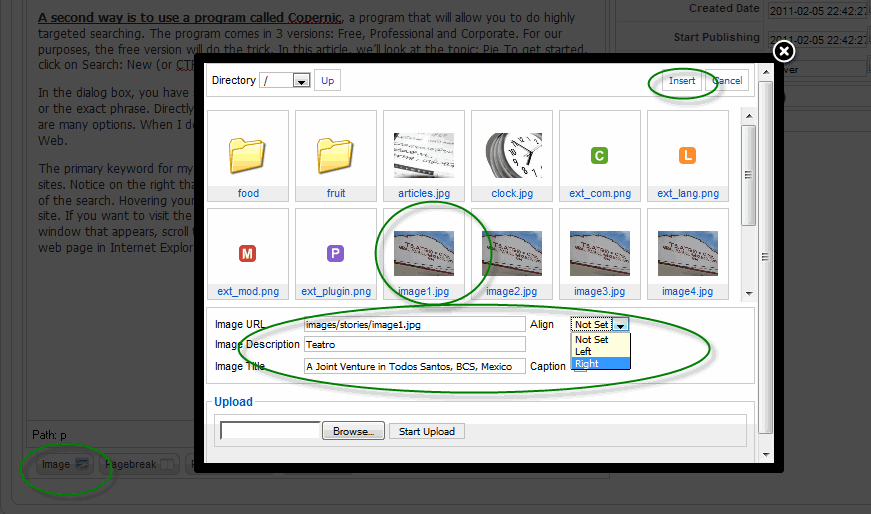
Go to the bottom of the editor and click on the Image button. A new pane appears which shows you all the images in your Stories folder. Click on the image you want to use and write a short description. If you want a caption, fill in the that text field as well. In the Alignment drop down, choose Right. Click on the Insert button at the top of the window.

The image is inserted into the text. To get an idea of how it will look on the frontend, click on the Preview button.
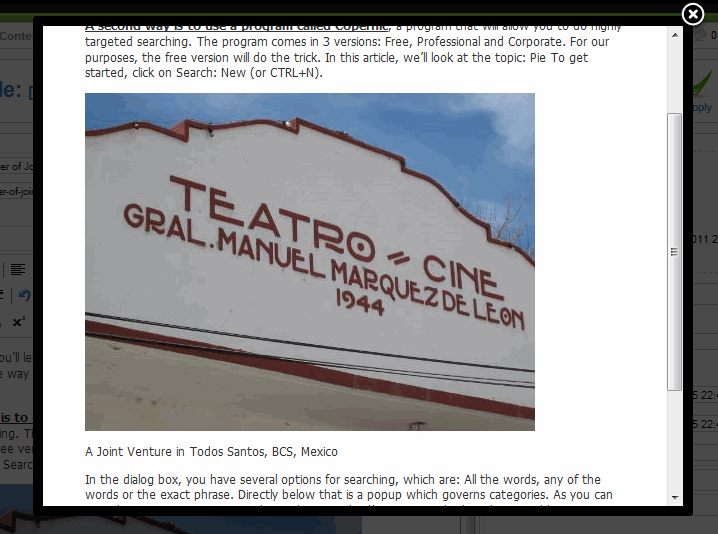
The image with caption. If I decide that the image is too large for the page, I can delete it and upload a new one. In this case I’ll upload the image that’s 350×263 pixels.
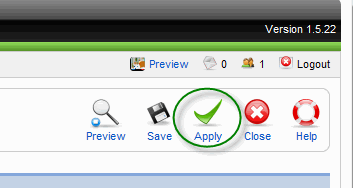
Another option, if you want to keep working on the file is to click on the Apply button at the top right of the page. When you’re finished with your edits, click on the Save button to finish your edits, close the page and unlock the file for the next user.
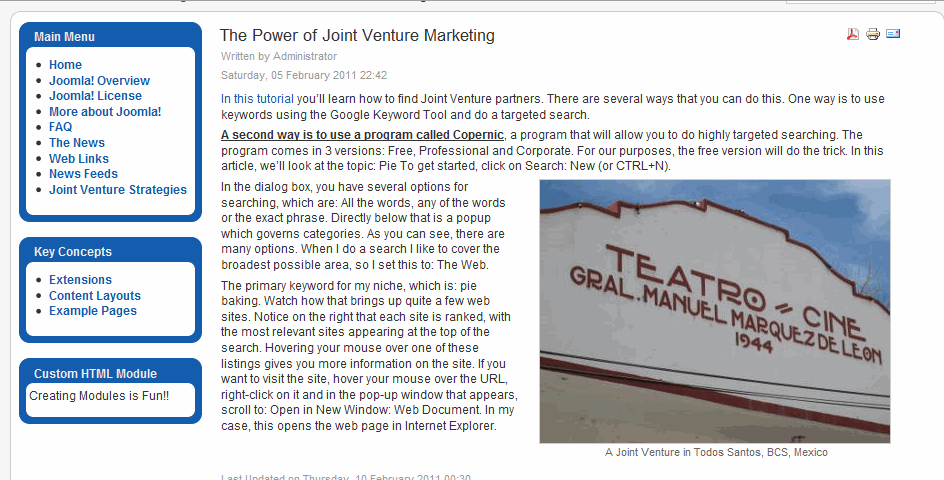
Now it’s time to go to the frontend. I’ll navigate to the page and you can see the finished result.
In the next article we’ll look at templates and how they work in Joomla!.


